A first-timers guide for building and installing cabinets in a Ram Promaster 2500

While I wouldn’t consider myself an expert at cabinetry, I would say I’m adept at figuring out ways to do things. I had no prior experience with wood working, and I have managed to build and install some cabinets that withstood about 6 months of road time so far. Everything that goes into the van has to withstand daily earthquakes. That mindset has helped during the build. We found latches that were made for places that suffer more frequent earthquakes.
Things to consider before finalizing cabinet dimensions
Some of this may sound obvious, but it’s important to consider all of the ‘must-haves’. We knew we wanted an oven and a chest-style refrigerator. Custom cabinets had to take the dimensions of our appliances into account.
A general idea will take you far, but some plans on paper will force some critical thinking. How many pots and pans are needed? Will the cook-top be stowed away when not in use? Where will the food be stored? All of these answers really depend on the purpose of the van. Maybe it’s a full-time off-grid rig. But, maybe it’s just a weekend camper that only needs room for a few things at a time. It’s important to weigh out the needs for storage.
Tools and materials needed for building cabinets
Our cabinets were fairly simple, as I’ve mentioned. The tools are pretty straight forward.
Tools
- Tools
- Miter saw
- Circular saw
- Jigsaw
- Carpenter’s square
- Drill
- Impact driver
- Pocket hole jig
For more information, read my post about tools.
Materials and Hardware
- Pocket screws
- Wood screws
- Wood glue
- 1/2″ x 4′ x 8′ plywood
- Paint
- 2″ x 2″ x 8′ pine lumber
- 2″ x 4″ x 8′ pine lumber
- Shims
- Hinges
- Latches
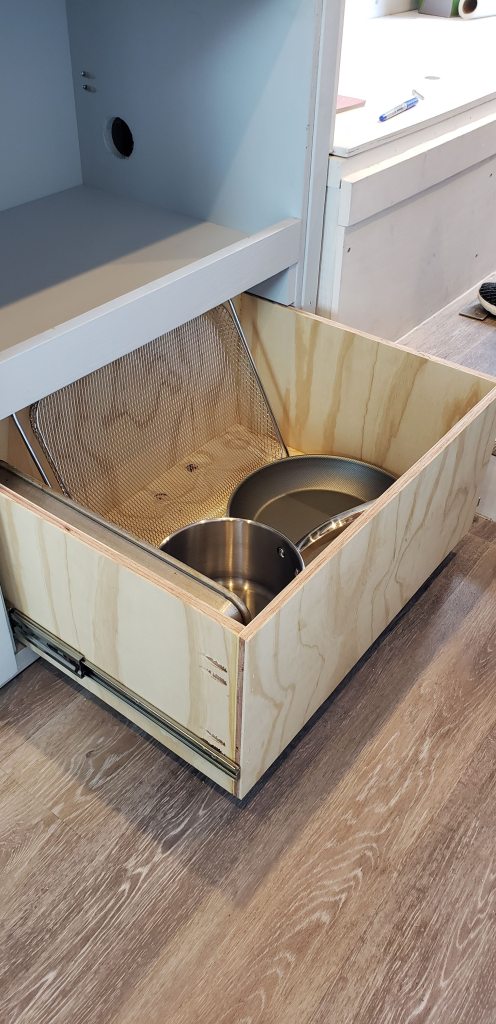
- Soft close drawer slides
- Drawer pulls
- Cardboard for templates (again)
Turns out, even simple cabinets require several materials. This method seemed easier than trying to make actual cabinets out of plywood. However, it’s also worth pointing out that the 2 x 4s used for the frames take up space. In a van, every inch counts and we could have made slightly smaller cabinets to house the refrigerator if we just used plywood. This would have allowed us to build our bathroom a couple of inches wider, which may help when things feel cramped.
Even though this method has downsides, they do feel sturdy. Here’s how we did it:
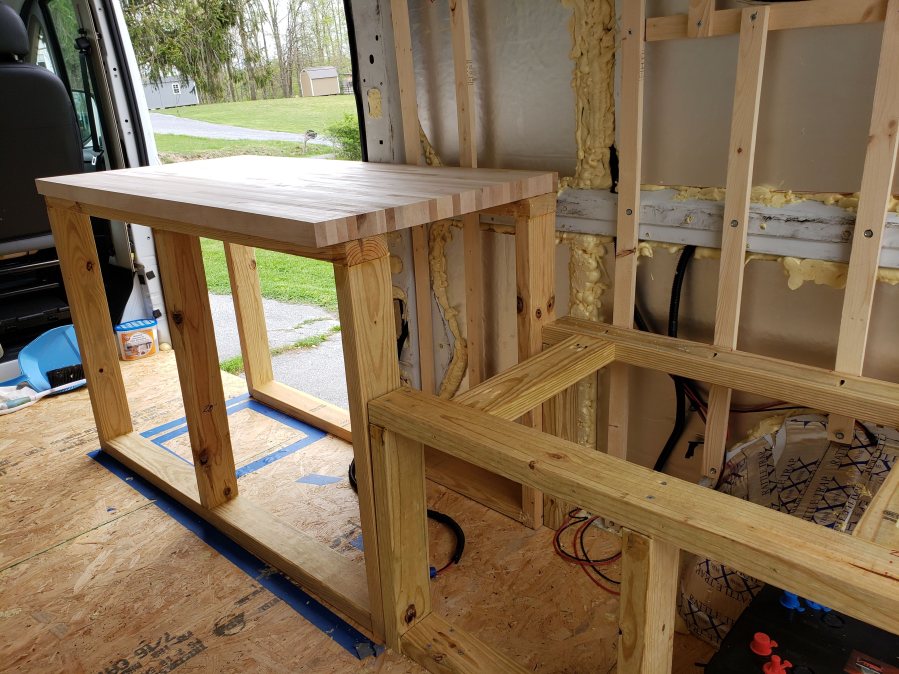
Step 1: Assemble the frames
After the dimensions have been finalized, we built the base cabinet frames using 2 x 4 pine lumber. We went this route because we had no earthly idea how to build cabinets without this basic idea: Build some sturdy frames in place and slap some plywood faces on it. It worked out well. It’s not always possible to use a level when building in a van, so keep a speed square handy. Cut the pieces of your frame with the miter saw.
In this step, we utilized some pocket screws and wood glue in order to hold things nice and tight. Nothing even wiggles. Check out the similar process: Van Conversion: Building our Sleeping and Dining Area
Step 2: Attach the frames to the van
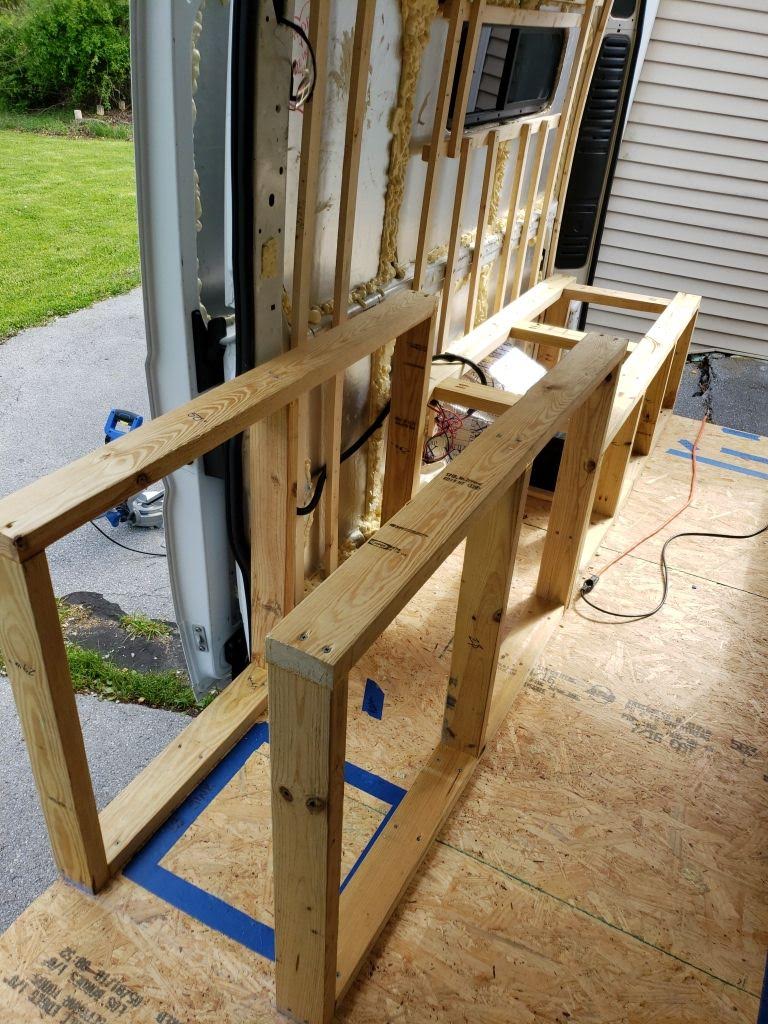

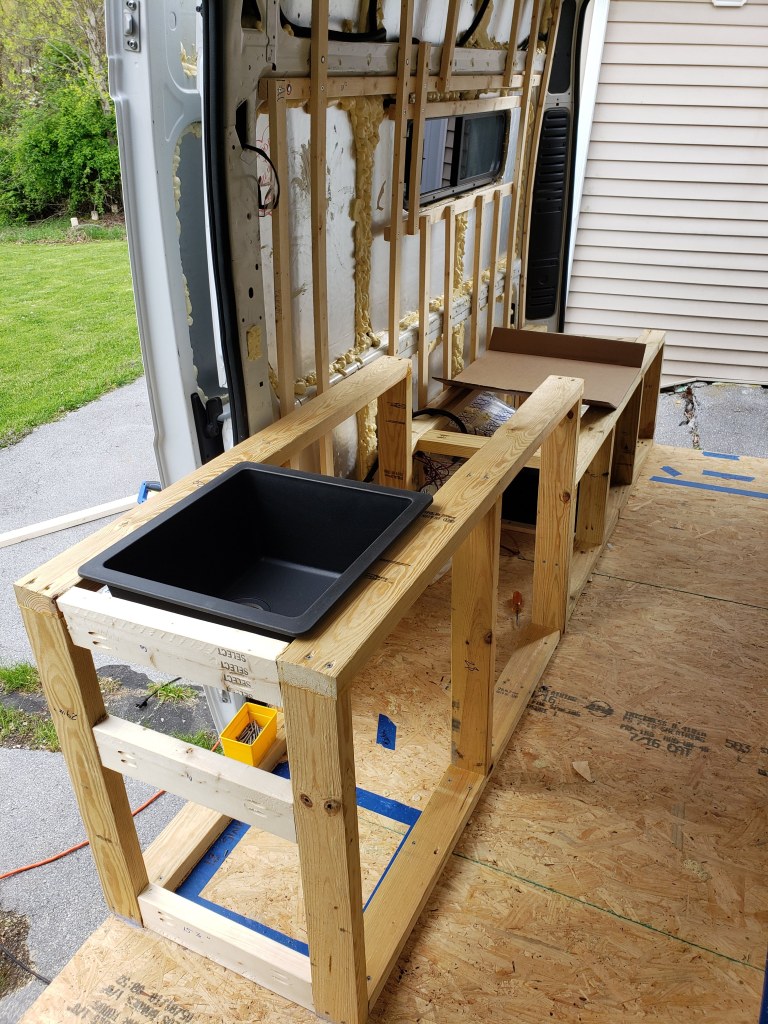

Once everything is square, attach the assembled frames to multiple points on the van. All of our cabinetry is attached to the studs we added during the construction of our framing. Each stud is in turn, fastened directly to the body of the van.
Depending on the position of the cabinet, we also attached it to the ceiling or the floor using some sturdy screws. Keep some wood shims close-by when attaching the base cabinets. Sometimes the shape of the van changes just enough things won’t sit flat even though the cabinets are square.


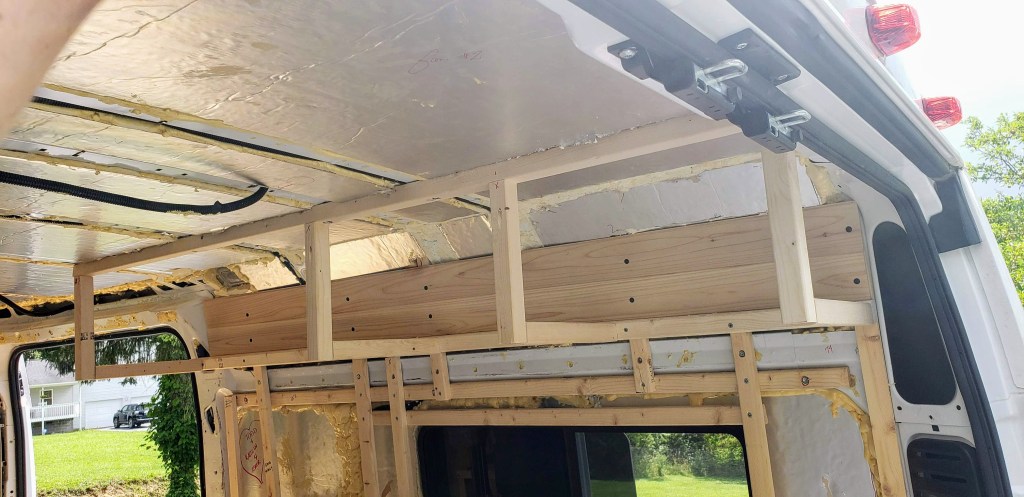
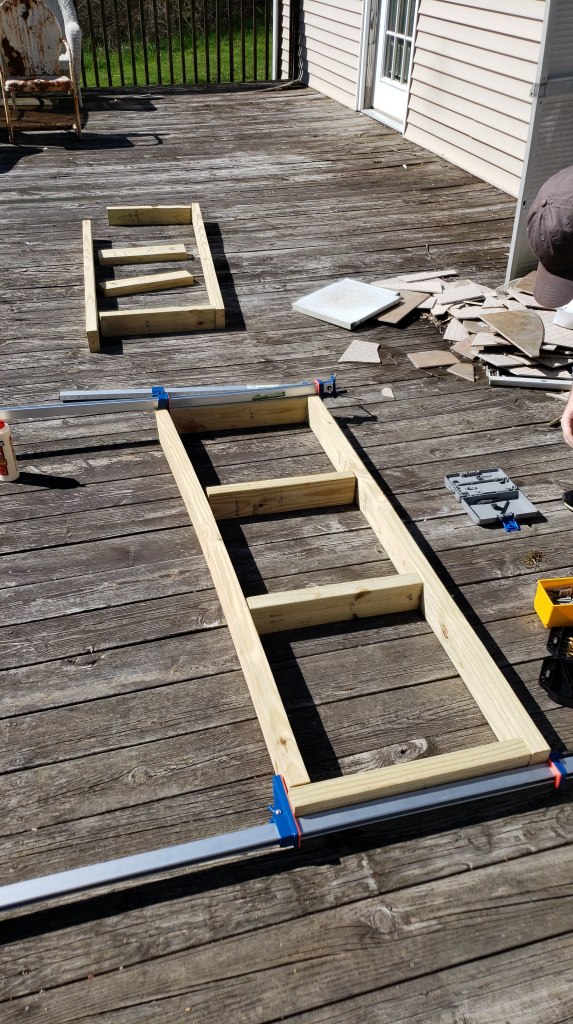
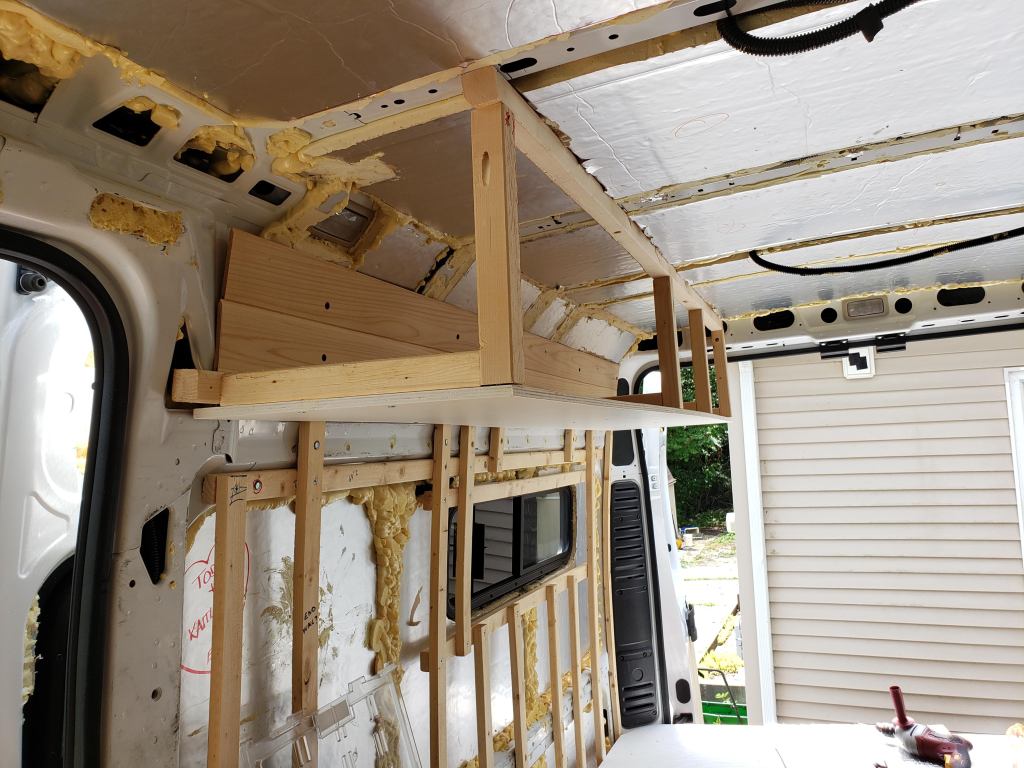
For the upper cabinets, we attached 2 pieces of 2 x 2 pine lumber to the body of the van. These pieces of lumber were our main anchoring points for the upper cabinets. One piece was installed on the ceiling where the top-front of the cabinet was going to be. The other was installed on the wall where the bottom-back of the cabinet was.
The two ‘anchoring’ strips of lumber were then connected with some L-shaped support frames, essentially forming a square with the body of the van. We built them using pocket screws and glue to form a strong joint for the frames. I was able to hang on individual L frames without feeling it budge at all. It seems like a decent design, and we got the idea from watching an Eamon and Bec build video (they received advice from a carpenter for the design).
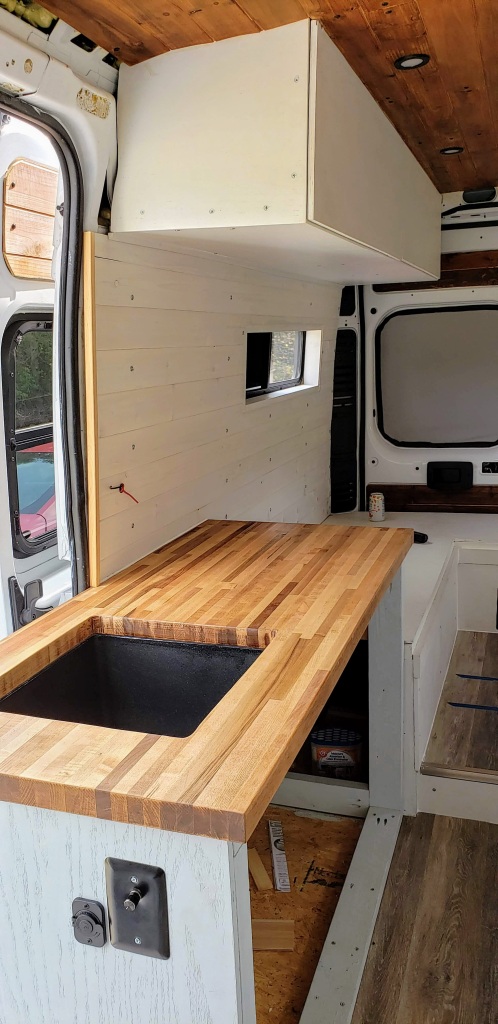
Step 3: Measure and cut plywood faces for the frames


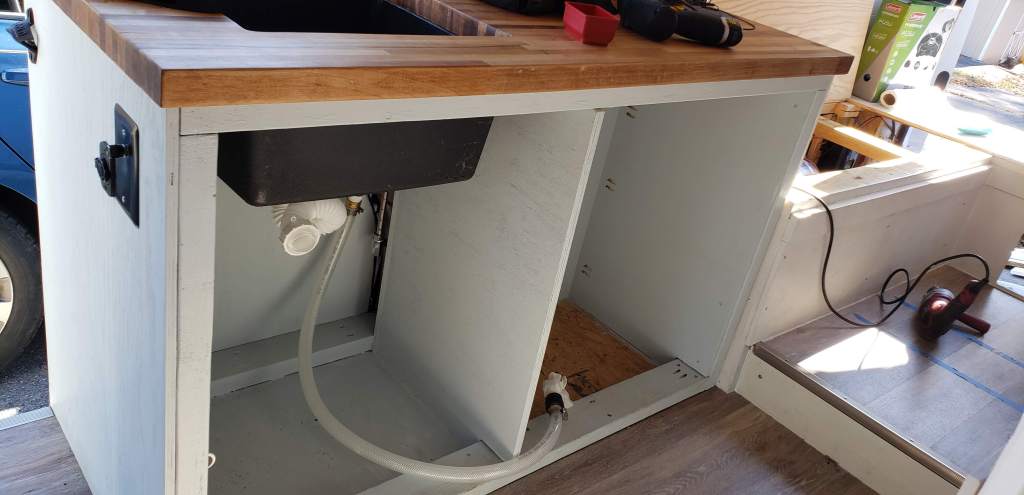
The faces of the cabinets are the pieces of plywood that cover the cabinets that do not need to be hinged. They are typically the sides of the cabinets for the base cabinets. For the uppers, you will need to install some plywood bottoms as well as sides.
Due to the shape of the van, I recommend making some templates out of cardboard. Especially for the upper cabinets. The curvature of the van is really hard to nail down, and it seems to be different in just about every part of the van.


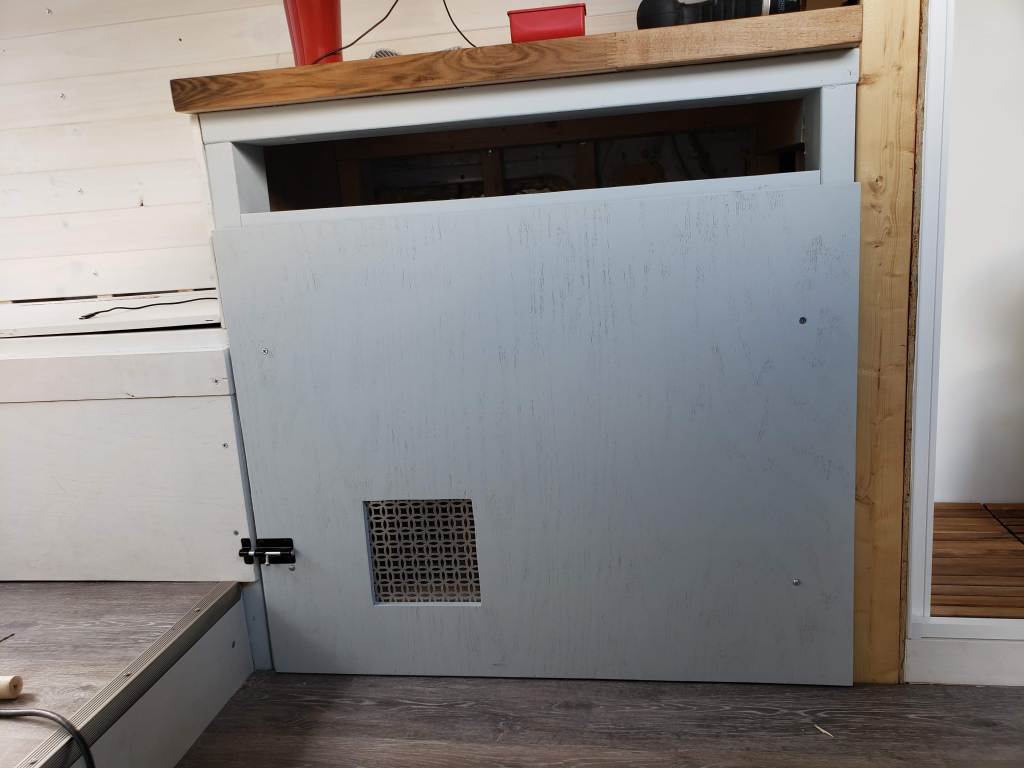
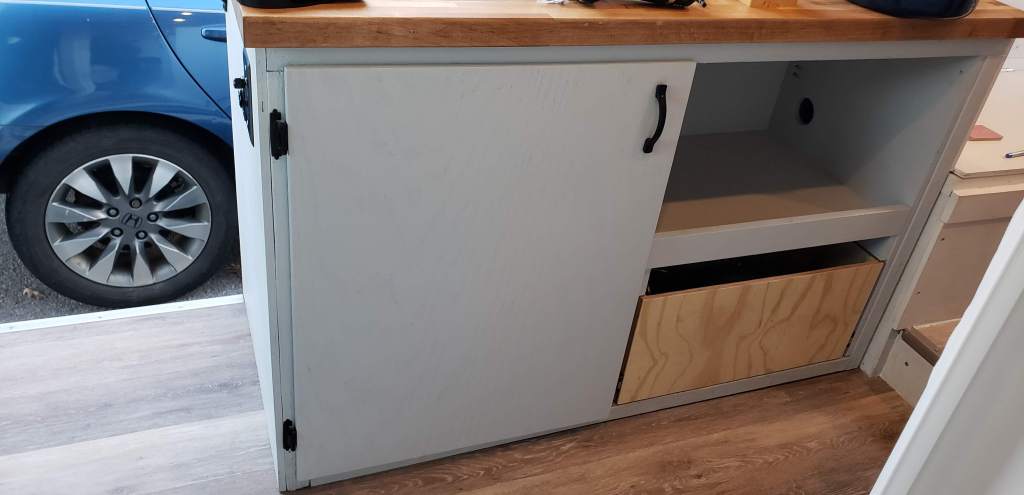
Step 4: Measure and cut doors & drawer coverings
Once the drawers + drawer slides are installed, now is the time to install some coverings. Along with the handles, the hinges, and all of the latches.


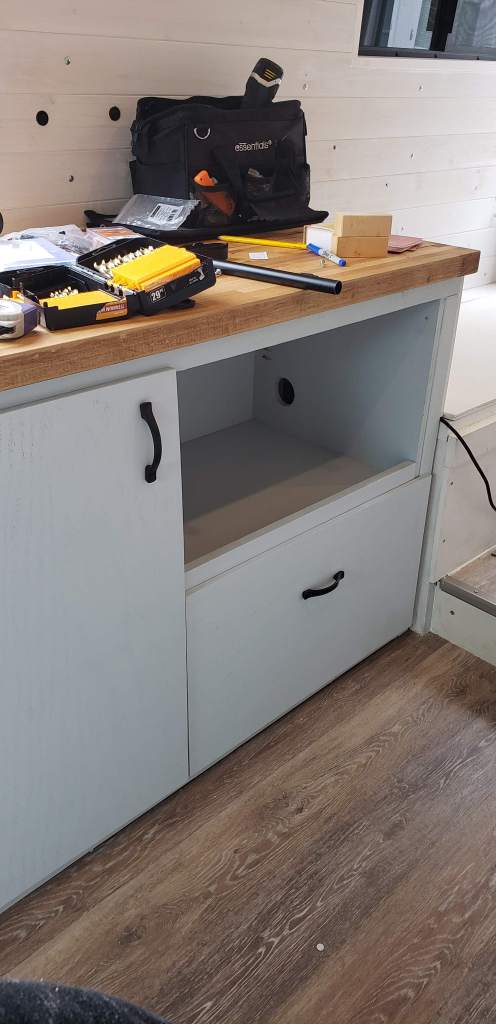
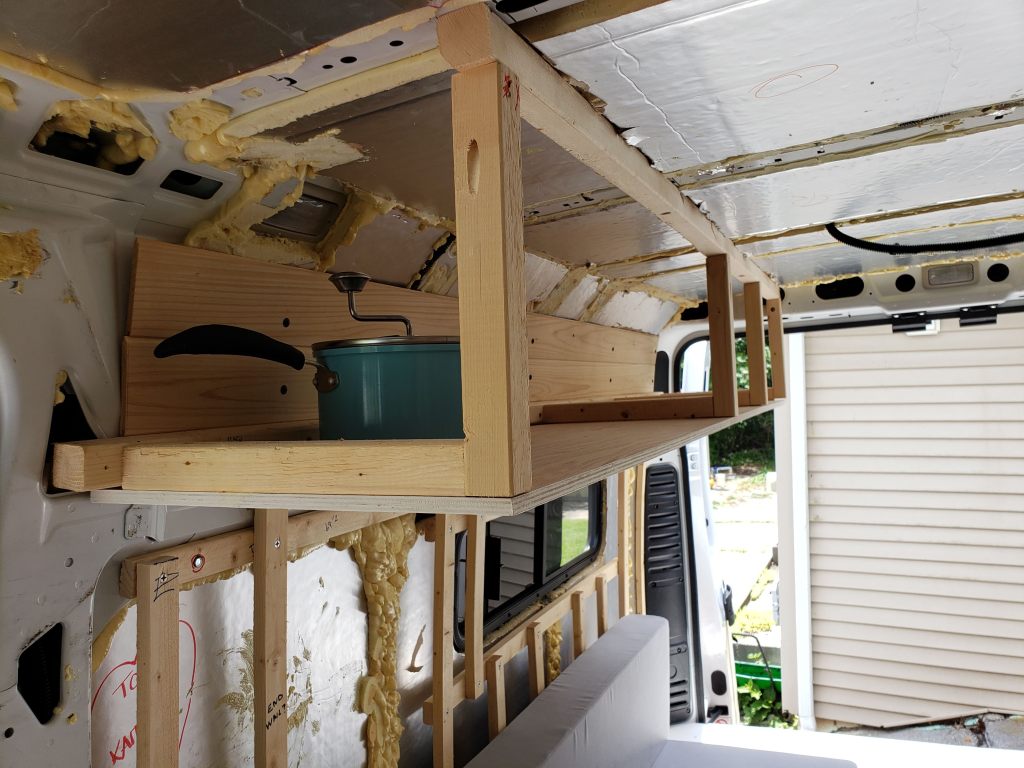
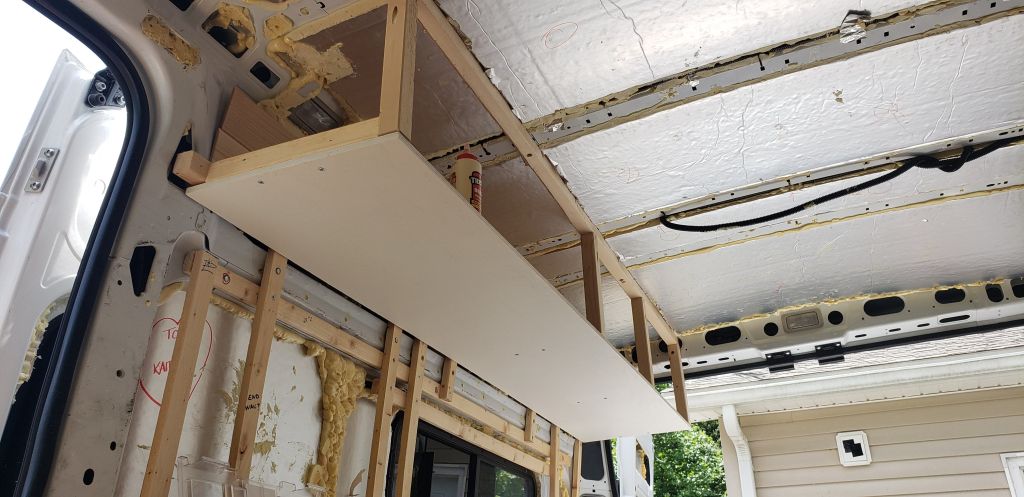
Our particular set up included a shelf that would have to hold our 40 lb oven. We used the idea that we needed to build a pantry shelf in a closet. Essentially, we built a support rail along 3 sides. The front, the left, and right sides all have 1 x 3 pine screwed directly into the plywood walls surrounding the oven area. We then cut a piece of 3/4″ plywood to sit inside at the exact dimensions, then screwed it to the support rails. (See the 4th image in the slideshow above for a picture to go along with this explanation.)
Step 5: Attach the doors with hinges
The upper cabinets and lower cabinets needed different hinges. For the upper cabinet, we purchased some to flip up hinges, but hold it closed tight.
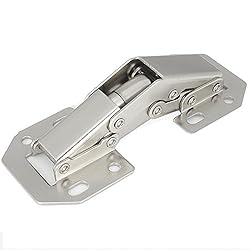
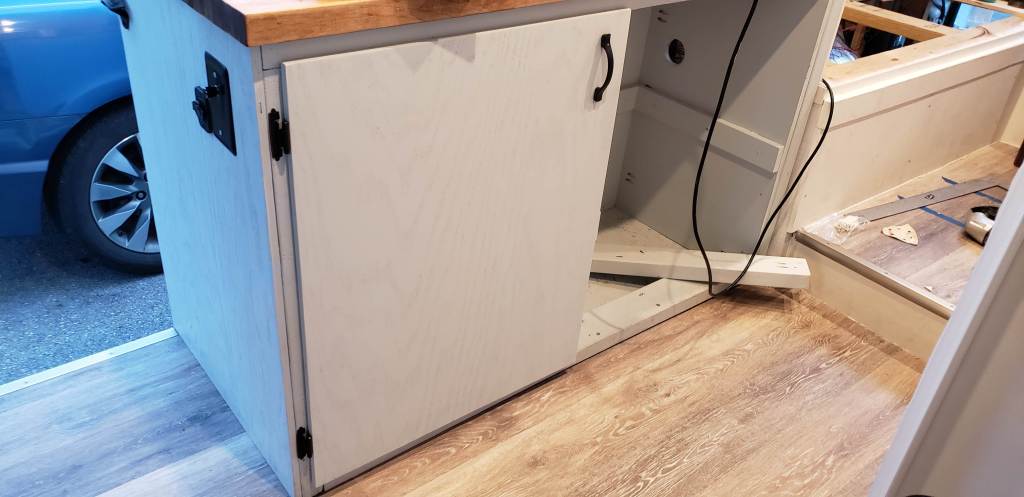
For the lower cabinets that opened like normal cabinets, we just picked some hinges that matched our taste from Home Depot and attached them with the hardware provided.
For all of the doors, though, we attached a latch that make it difficult for the doors to open even if an object were to bounce around inside the cabinet and hit the door.
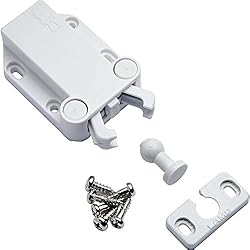
Attach the claw portion to the cabinet, and attach the stem and ball to the door itself. I believe the instructions say to mount the claw portion 1/8″ from the edge of the cabinet in order to pull the door in tight when it’s closed. First, I mounted the claw, then used some double sided tape on the hardware meant for the door to hold it in place. I inserted the ball portion into the claw, then closed the door on it. When reopening the door, the latch was then stuck in the exact place on the door that it needed to be mounted on. Just screw it in place after that!
in order to prevent splitting, I recommend pre-drilling anywhere a screw is going to go.
Bumps and bangs will keep your doors sitting closed tight. This is a wonderful way to hide the hardware, effectively keep doors from swinging open on the road, and keep things budget friendly.
Downside of using 2×4 lumber for cabinet frames
Building a cabinet with some real strength for the road didn’t seem feasible to me because of my lack of knowledge in the area. Building cabinets with a lumber frame seemed like a good way to make something rather functional.
One of the less obvious downsides is that the lumber takes up space inside the cabinets. In the case of building the refrigerator we had to build the cabinet about 4 inches wider than we would have needed to otherwise. Those inches really add up inside of a van.
The lumber frames also add a bit of weight. The Promaster can haul up to 4,000 lbs, so this isn’t a huge deal-breaker in our situation. It might mean the difference between hauling 2 water tanks instead of 1 though, depending on your van.
Ultimately, this method of cabinet building was easy to assemble and securely fasten to the van, so it worked out well regardless of the downsides. Building a van is often about doing things with the tools you have available in ways that make the most sense at the time.
