
Adding a bathroom to our 2017 Ram Promaster 2500
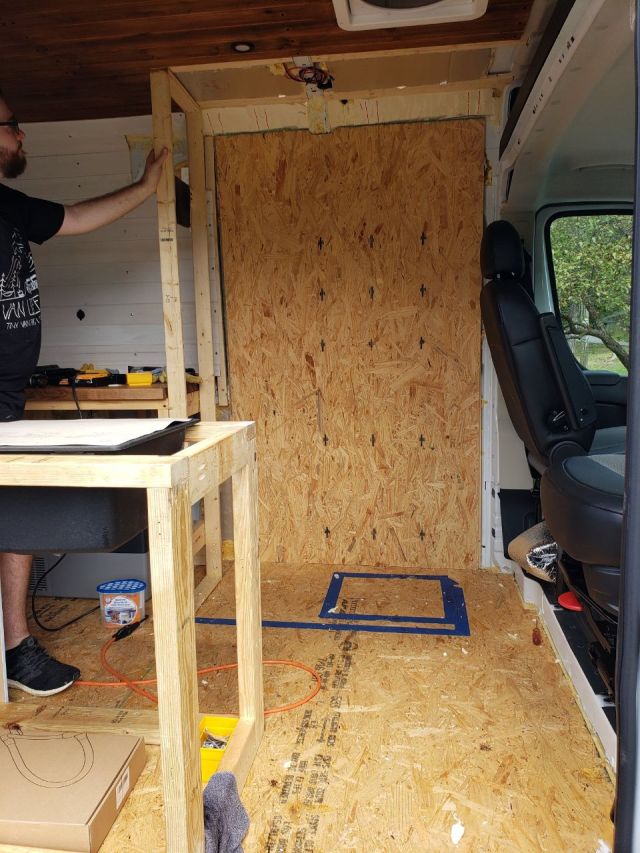
Building a wall frame with 1 x 3 pine 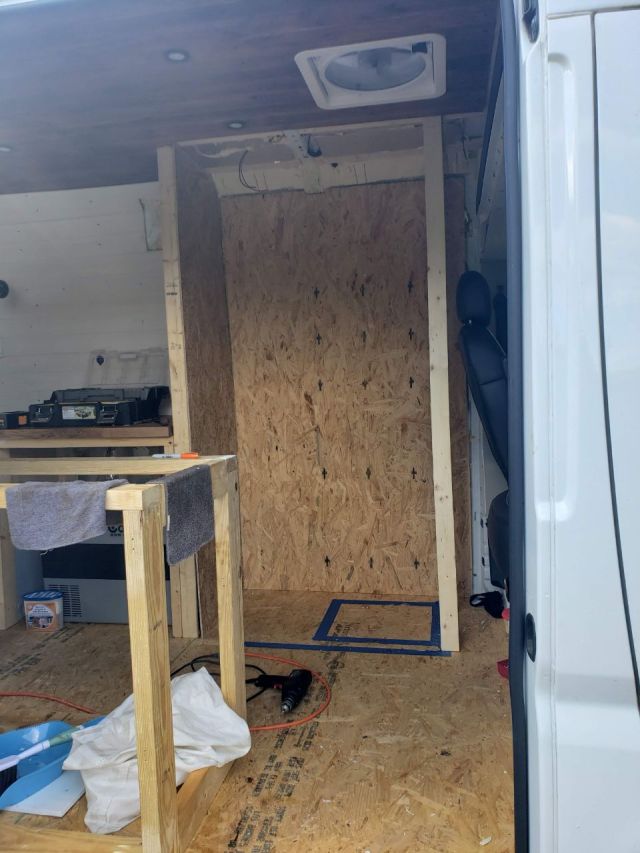
Second wall added 
Cut OSB to fit snugly against the van wall 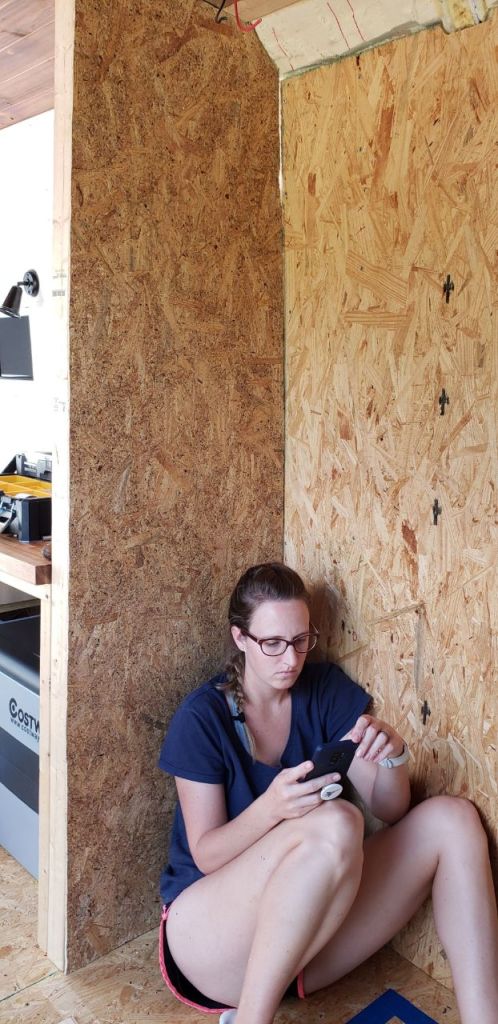
Rethinking our life choices 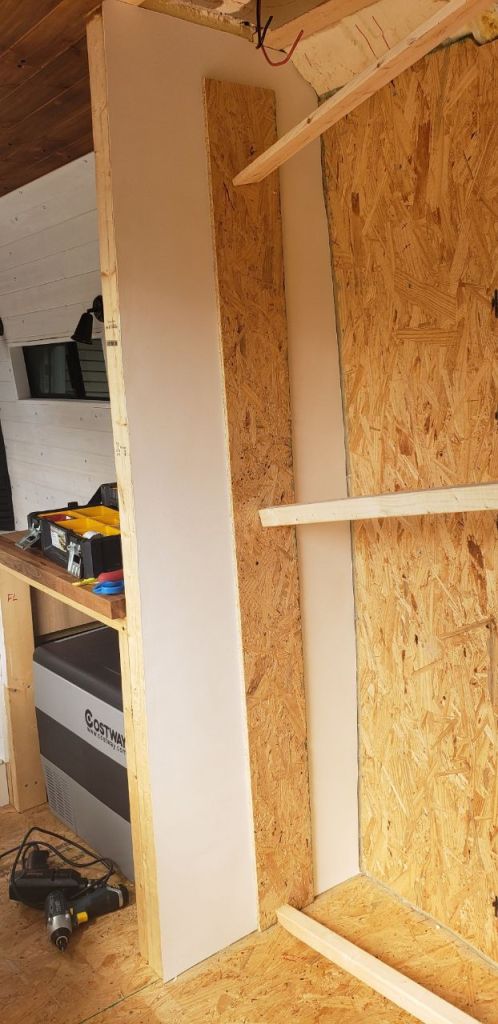
Cut shower board to size, covered in adhesive and braced in place 
Walls and ceiling covered in shower board 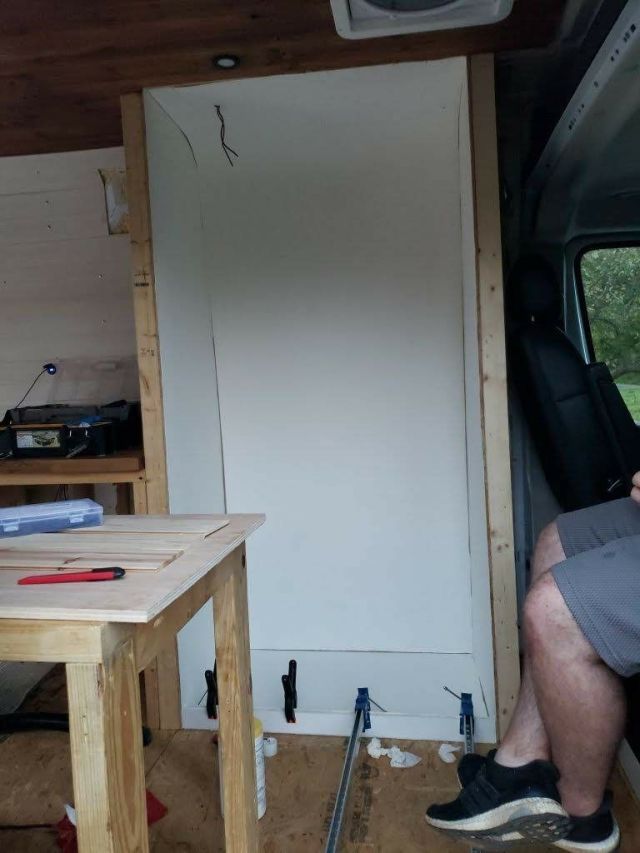
Created a lip with 1×3 and added more shower board to the floor 
Caulked up all the seams with silicone 
Cut some teak floor tiles to size and set in place 
Mounted our no-flush toilet 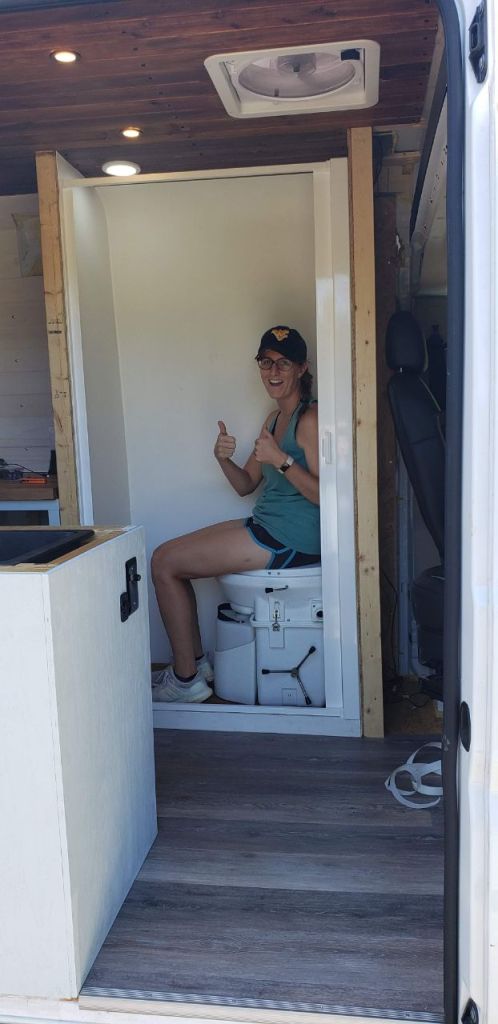
Supervisor signed off 
Retractable shower door
Ah, the throne room. Ours was built primarily to house the nature’s head toilet. However, we knew we wanted it to be a wet room in case we ever needed to add a shower, so we started with that idea in mind. We positioned our bathroom near our extractor fan in order to provide as much ventilation and moisture control as possible without adding an additional fan. In our case, this means the 36″ x 25″ bathroom is positioned immediately behind the driver seat. This also means the toilet is the first thing you see when you open the slider door on the passenger side. Is it awkward? Slightly, but it’s working for us. But before you ask, yes those dimensions do feel cramped.
The process started out intimidating. The bathroom is one of those things you just have to power through. We needed to create a wet room, but I wasn’t even sure where to start. I wanted something light and reasonably priced. After some research, I found PLAS-TEX. This stuff is pretty awesome. It’s 1/16th of an inch thick and designed for commercial use in areas with a lot of moisture.
Materials
- Cardboard for creating templates
- 1/4″ x 4′ x 8′ OSB
- 1″ x 3″ x 8′ pine
- PLAS-TEX shower board
- Adhesive for the shower board
- Silicone caulk
- Teak wood floor
- Natures head composting toilet
- Vinyl tubing for venting toilet
- Durable screen
- Retractable shower door
- Cedar for ceiling
- Waterproof finish for wood ceiling
- Push-button LED
- Pocket screws
- Wood screws
- Wood glue
- Truss head screws for ceiling
- Acetone to help remove any of the mess from the adhesive
Tools
- Miter saw
- Jig saw
- Hole saw
- Trowel for shower board adhesive
- Caulk gun
- Razer blade knife
- Straight edge
- Kreg Pocket hole jig
- Stiff plastic brush and old wash cloth for cleanup
Process
I’ll try to write this as concisely as possible to give a good overview of everything involved in the bathroom. You should know this about me by now: I like lists.
- Decide where the bathroom is and start measuring and cutting your frame for your wall. In my case, I used 1″ x 3″ x 8′ pine lumber and created a rectangular frame and assembled with pocket screws and wood glue and attached it to the floor and ceiling with appropriate length wood screws. The length of the cuts varied slightly based on the ceiling and floor, so measure each cut carefully.
- Use some cardboard and make good templates of your new walls. Where your new walls meet the van ceiling and walls is a difficult area due to the curvature of the van. You will use the templates a couple times in order to cut OSB and the plas-tex shower board. Be sure to label templates and pieces so you know where everything goes when you get to those steps.
- Trace your template onto the OSB.
- Cut the OSB to shape with a jigsaw and attach them to the wall frames. This provides a good sized surface area to glue the shower board to.
- Double check the templates still work for the shower board, make any necessary adjustments and transfer it to the shower board. My advice is to start with the piece larger than you need it in case you need to trim things down.
- Cut the shower board using a sharp knife. Use a straight edge along the long cuts. It doesn’t have to be perfect, as long as it’s close you can cover up mistakes with caulk later.
- Using the trowel specified by the adhesive, apply to one piece of the shower board and quickly get it in place.
- Brace the shower board in place for the duration specified by the adhesive. Most likely several hours.
- Repeat for the other walls
- Lay in a shower pan, or create one like we did with a piece of 1 x 3 pine as the ‘lip’ of the shower. Just adhere shower board everywhere.
- Caulk the seams with silicone in order to make sure water cannot get through. Caulking just takes practice, buy extra and don’t be afraid to wipe it up and apply a new bead if it doesn’t look good.
- Once the caulk dried, we added our flooring. This is optional, but we liked the look of the teak against the white shower board.
- After the flooring was in, I mounted the toilet with the brackets that were provided and connected the ventilation tubes for proper airflow for composting. (This step almost merits it’s own blog post, I’ll take some additional pictures and give more details for how I handled this in a review for the toilet itself.)
- For the ceiling, we continued the cedar planks from the rest of the van into the bathroom. But that meant some additional water proofing was necessary. We used 4 coats of a varnish, which made the wood slightly darker than the rest of the ceiling, but it’s hardly noticeable.
- Cut a hole for the ceiling light, connect everything and caulk it up.
- Test the push button on the light because it makes a lovely clicky noise.
- Use copious amounts of acetone to remove the adhesive you got everywhere. Be sure to work in a ventilated area.
If this list sounds long, it’s because it is. The work wasn’t particularly fun, but now we are fairly happy with what we have. I’m not sure if a project like a van build is ever truly complete, but we left some room for upgrades.
Eventual upgrades
We have made some additional purchases, but have not yet committed to actually doing the work for a shower. Initially we had planned to just get showers at camp grounds, truck stops, and planet fitness. However, situations change and now we are considering a system for hot water showers.
- Shower head + plumbing + water pump
- Additional fresh water storage
- Plumbing into an under-mounted grey tank
- Hot water heater
Each upgrade takes up space and potentially consumes energy. It all boils down to finding out what works best for your budget and needs.
Extra resources
https://www.vanlifeoutfitters.com/building-a-camper-van-wet-bath/

Pingback: Van Conversion Financial Report: Building our Bathroom – Just Edith
Pingback: Product Review: Nature’s Head Composting Toilet – Just Edith
Pingback: Van Conversion: Building Simple, Custom Cabinets – Just Edith