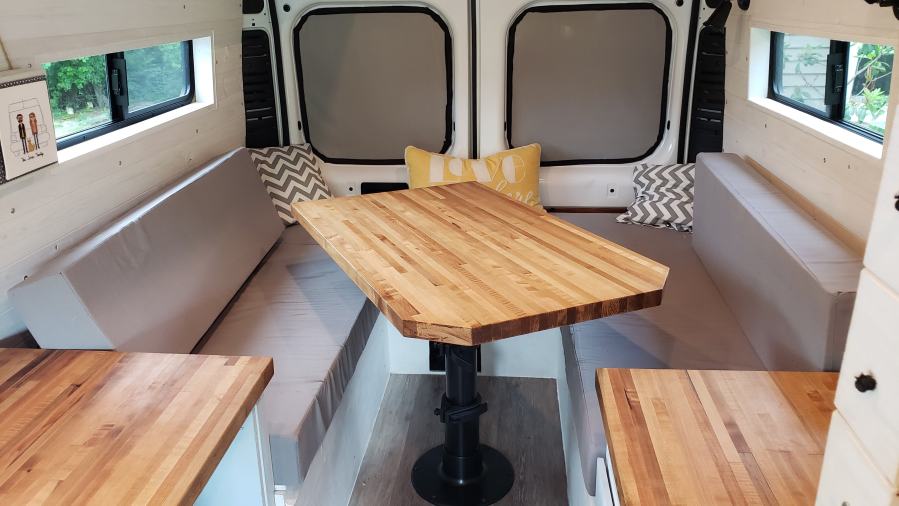
How we built a seating, dining, and sleeping area in our 2017 Ram Promaster 2500
There are several things to consider when planning for your seating area. How high will the bench be? How far back can we scooch and lean? Is there enough head room underneath that cabinet we want to install? How much cushioning will we need, how firm will it be, and how will that affect our measurements?
This list could go on forever while diving deeper into the questions, but it’s important to ask them. Kaitlin and I took inspiration from numerous builds, but ultimately the area ended up being unique to our tastes and needs.
Having had no real experience building things (especially things resembling cabinets), I did what made the most sense to me. The basic plan involved creating frames from 2 x 4 pine and covering them with plywood. The benches themselves feel pretty sturdy, but building the benches without the 2 x 4 frames would save money and a couple inches of space. Inches can add up to feel like a lot when dealing with a space the size of a van.
While the bed does include cushions, I will be talking about the construction of the benches in this post and save the cushions for a later post.
Materials used
- 2″ x 4″ x 8′ Lumber
- 1″ x 3″ x 8′ Lumber
- 1/2″ x 4′ x 8′ Plywood
- Paint
- Piano hinges for bench tops
- Wood screws
- Wood glue
- Pocket screws
- Butcher block for table
- 3-stage pedestal for table
Tools used
- Miter saw
- Circular saw
- Hole saw
- Pocket hole jig
- Drill
- Clamps to fit around the frames
Build process
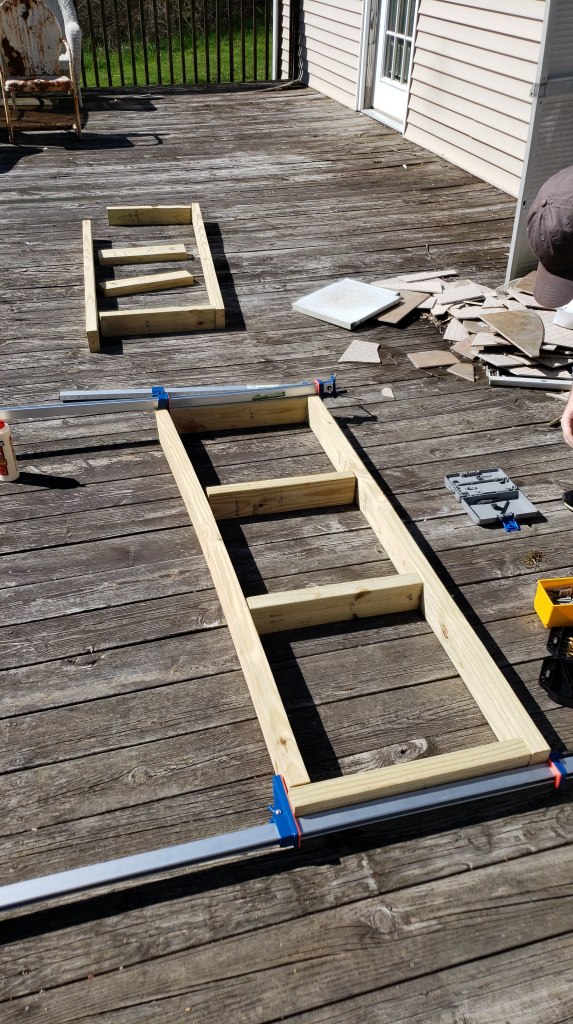
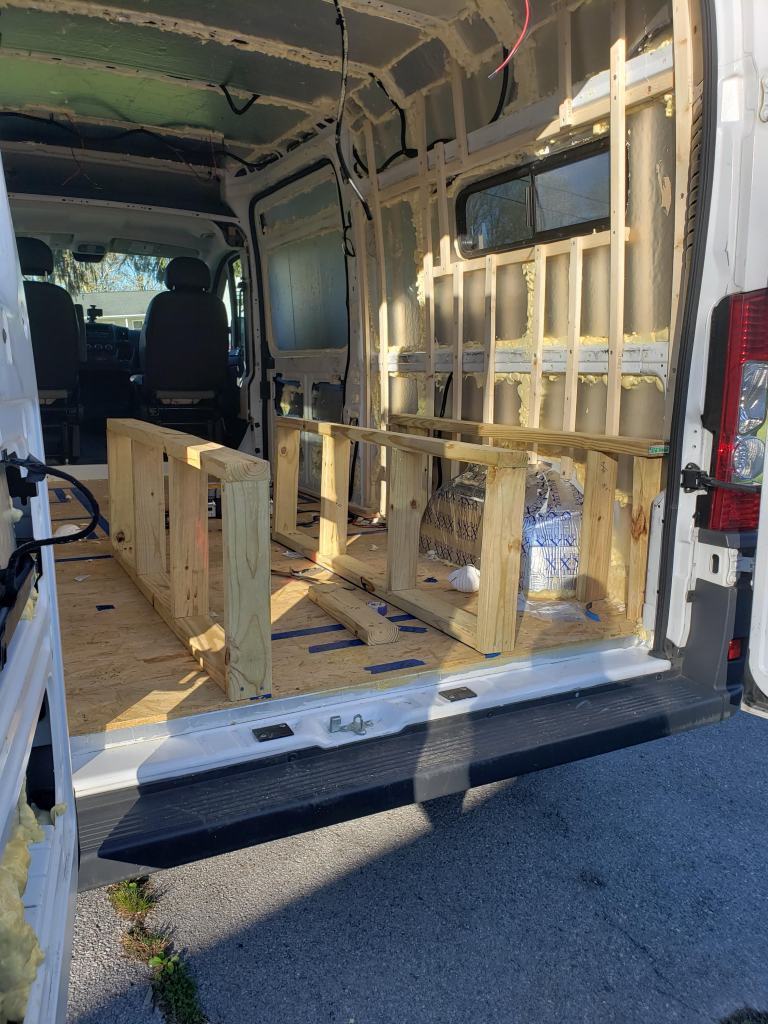
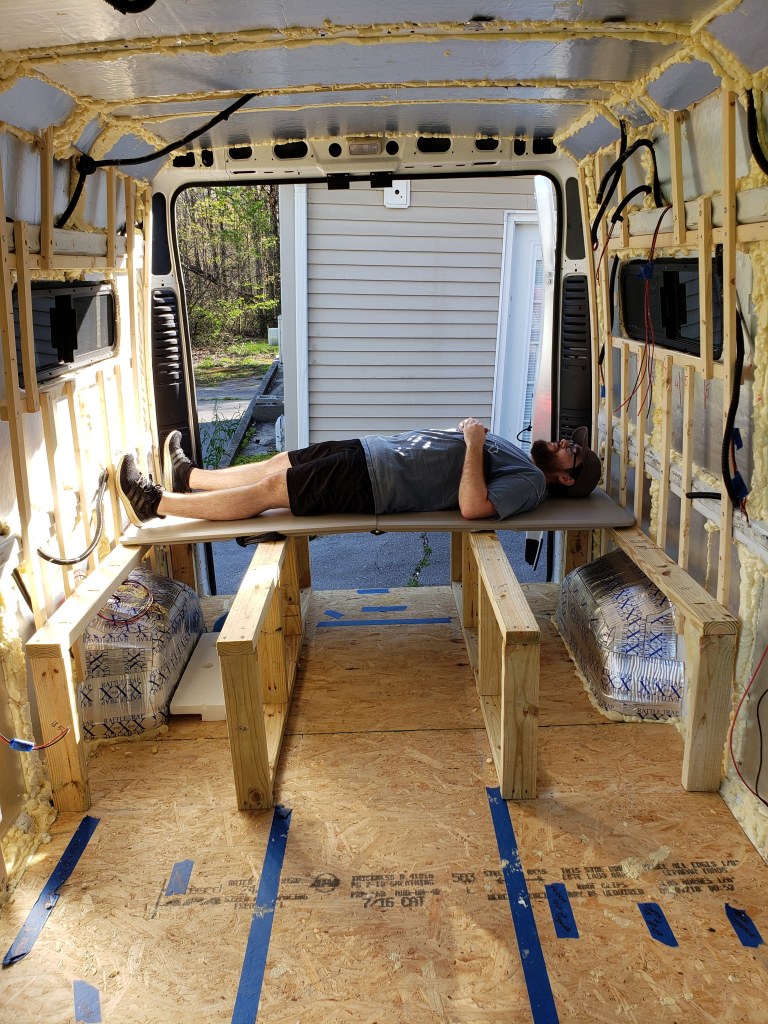

As mentioned, this whole process started by assembling a couple of rectangles with 2 x 4 boards. Once dimensions were determined, we cut the boards to length using the miter saw. After cutting, we used the pocket hole jig to create pocket holes of the appropriate depth to secure the boards together. Throw in a couple of short support pieces for good measure, then secure them to the wall and floor. Once the the rectangles are secure, connect the bench frames with a few more support pieces.
These benches can probably hold a million pounds, but they are honestly a little overkill. If I were to do it again, I would probably figure out how to build the benches using just 3/4″ plywood. This would save some money and some space inside the benches.


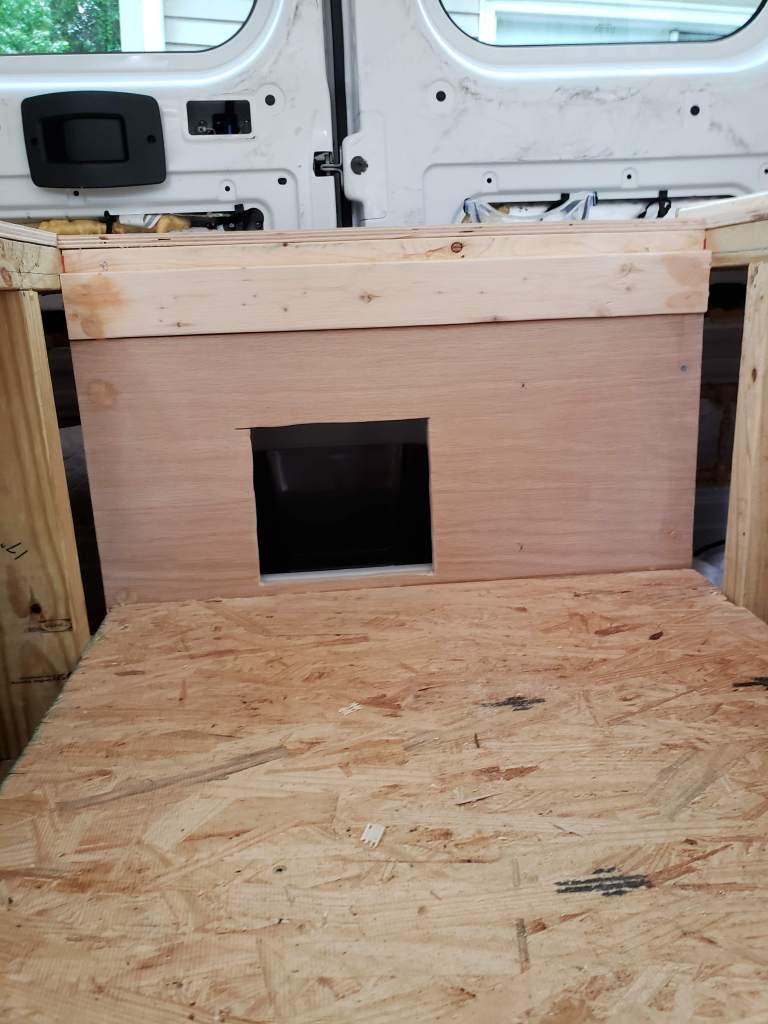
Check out our door for the cat area! 


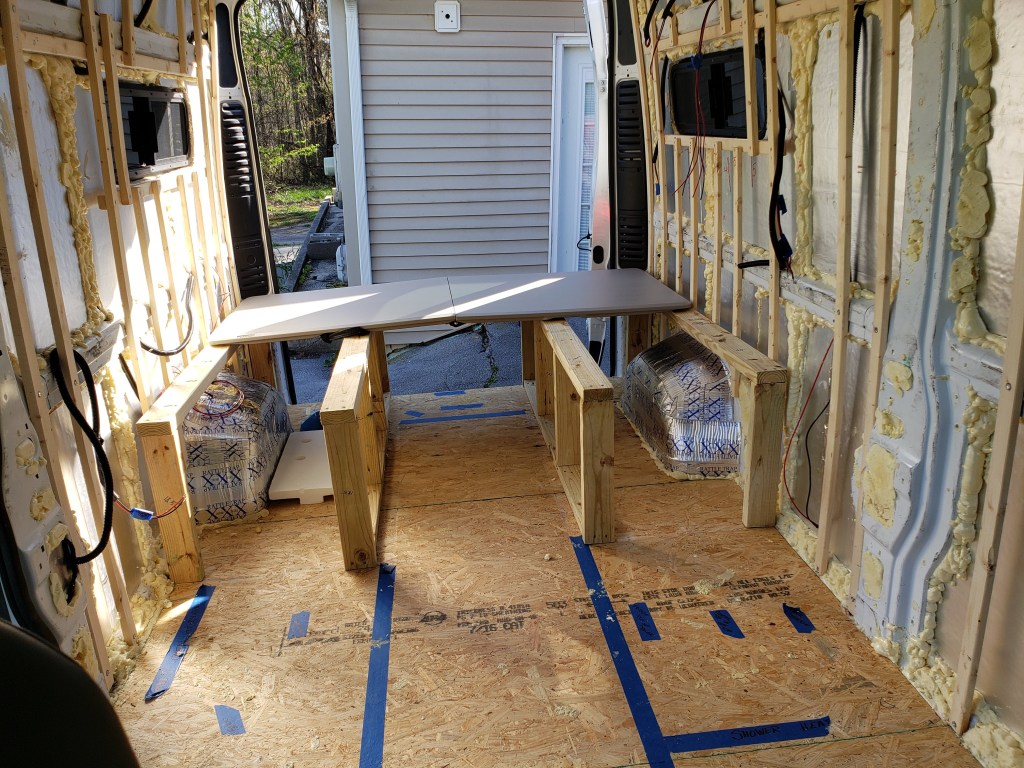
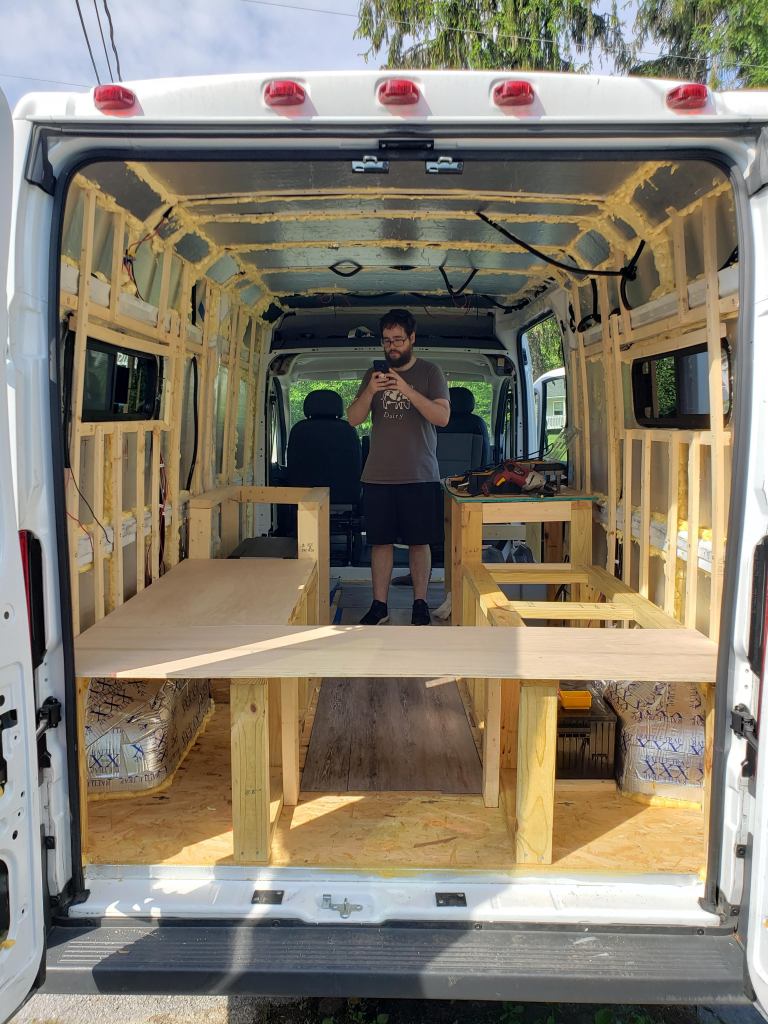
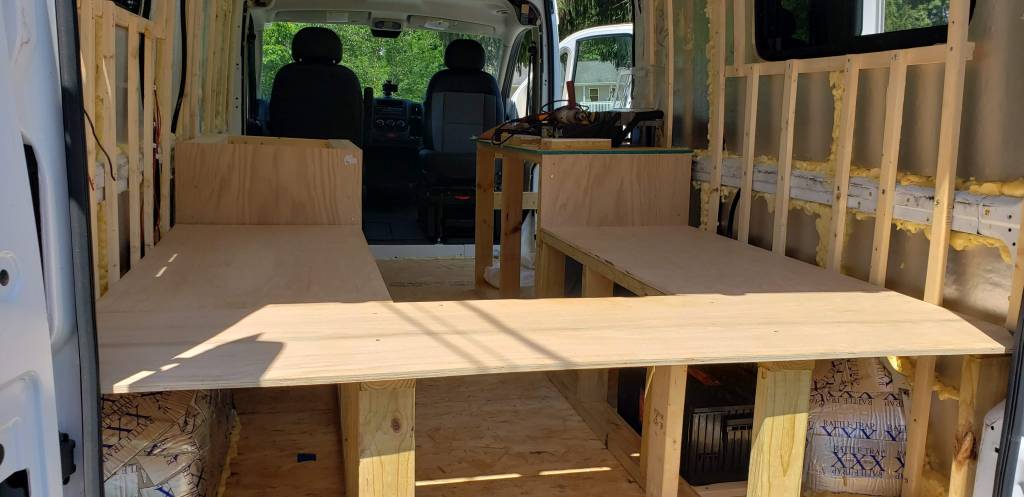
After assembling the frames, it was time to start adding the plywood faces. Cut them to size using a circular saw with a straight edge brace. Alternatively, invest a bit of money into a table saw and make your life a lot easier. Decide where you want to add some hinges for easily accessing the newly created storage areas. The bench that runs along the width of the van in the very back was not hinged, so we attached it directly to the bench using some wood screws. You may notice some butcher block appearing and disappearing throughout the gallery, we were trying to make sure everything fit as expected in various steps. It never hurts to double check.
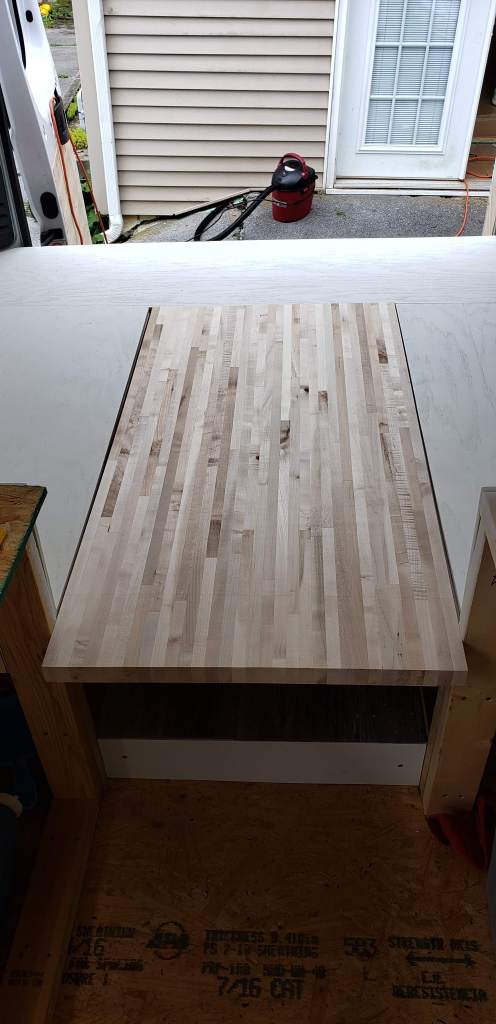
Once the plywood faces were attached, the next step was to create a support ‘lip’ for the table to rest on when converting it to bed mode. Measure and cut a couple of 1″ x 3″ boards. Then attach them to the bench fronts below the edge so the table will sit flush with the top of your bench while resting on the lip. This depends on the thickness of the table that will be used for dining on. The butcher block from home depot is about 1.5″ thick, so we mounted the support rail accordingly.

Paint everything to see how it looks finished and enjoy some picturesque scenes!
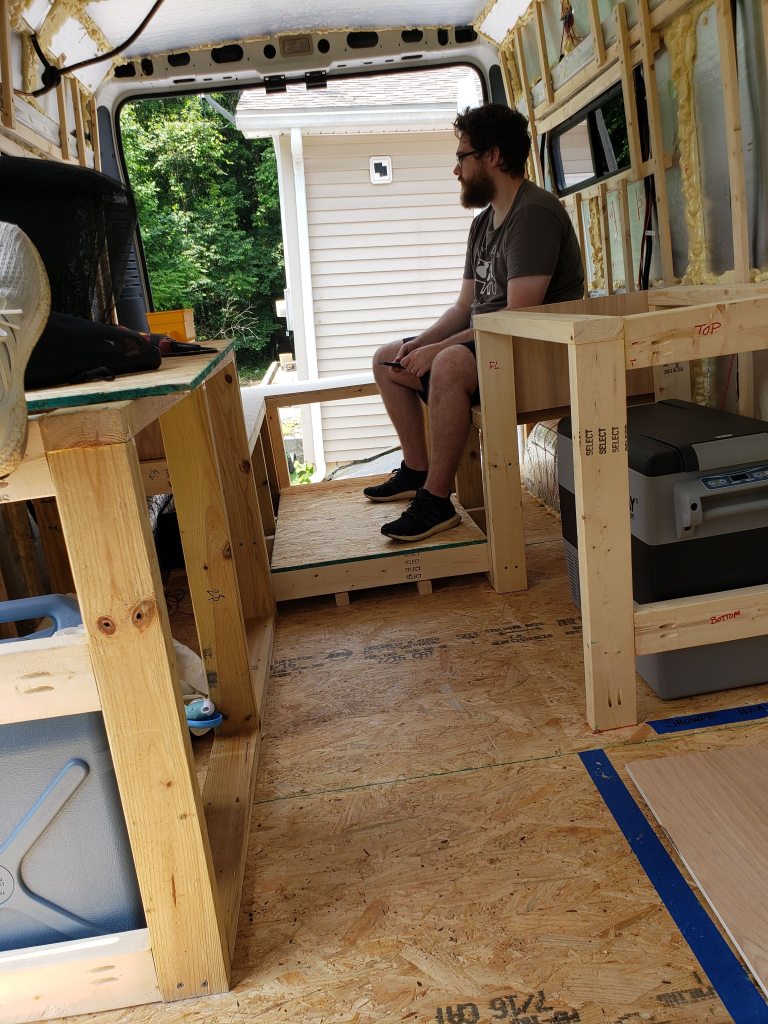
Some of your decisions may lead you to mount a table on a pedestal. That’s what we did, and a few things had to be taken into account. The pedestal itself needs to be able to go short enough to allow the table to lower until it’s even with the bench tops. At the same time, it needs to be able to raise up to a comfortable height to eat at. In our case, it also needed to rotate enough so we could easily get in and out of the booth. The one shown in the pictures does everything we need, but the price also reflects that.
Next week, I’ll break down the cost of building the dining and bed area!

Pingback: Van Conversion Financial Report: Building our Bed and Dining Booth – Just Edith
Pingback: Van Conversion: Framing plus Installing the Wall and Ceiling – Just Edith
Pingback: Van Conversion: Building Simple, Custom Cabinets – Just Edith