A guide for installing vinyl plank floors in a Ram Promaster 2500

One of the first things I notice when watching someone convert a van is that they usually start with the floor. Now, we started with installing a good, sturdy subfloor. However, it’s more frugal to wait and install flooring AFTER cabinets, bathrooms, beds, tables, benches, or whatever else gets installed. The less flooring needed, the more money you can spend elsewhere. Actually, most flooring is not supposed to be installed underneath cabinets or anything that may need to be secured in a mechanical fashion.
When it comes to the quality of the floor, it’s better to get something that will last. Even better if it has a warranty to back it up. One of the main reasons to get something high quality is because there are only a few places to walk in a van. The wear is going to be pretty high in those areas. Choose wisely.
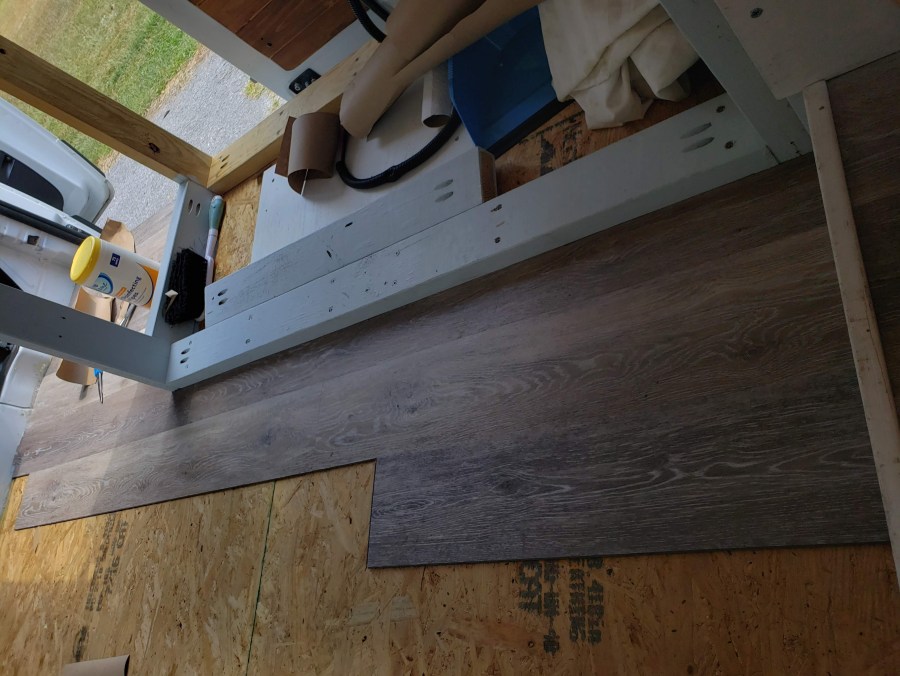
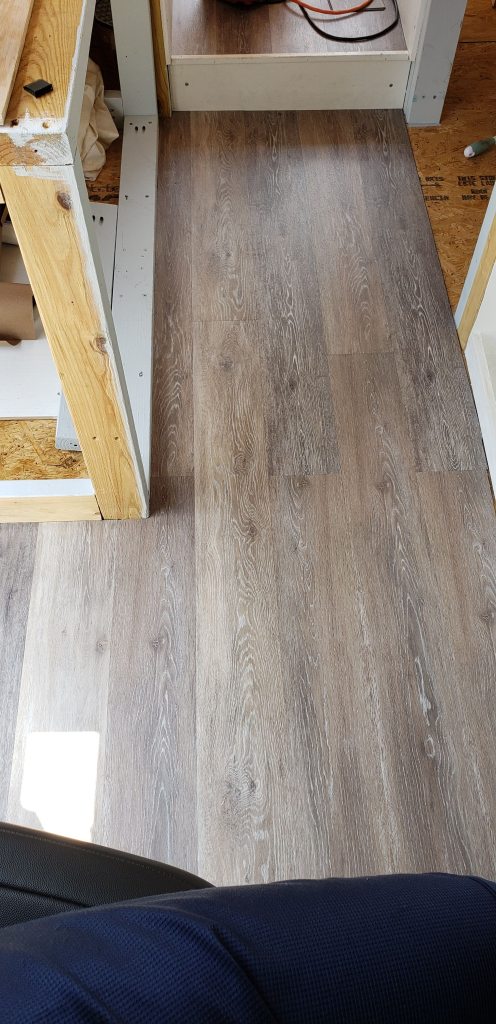
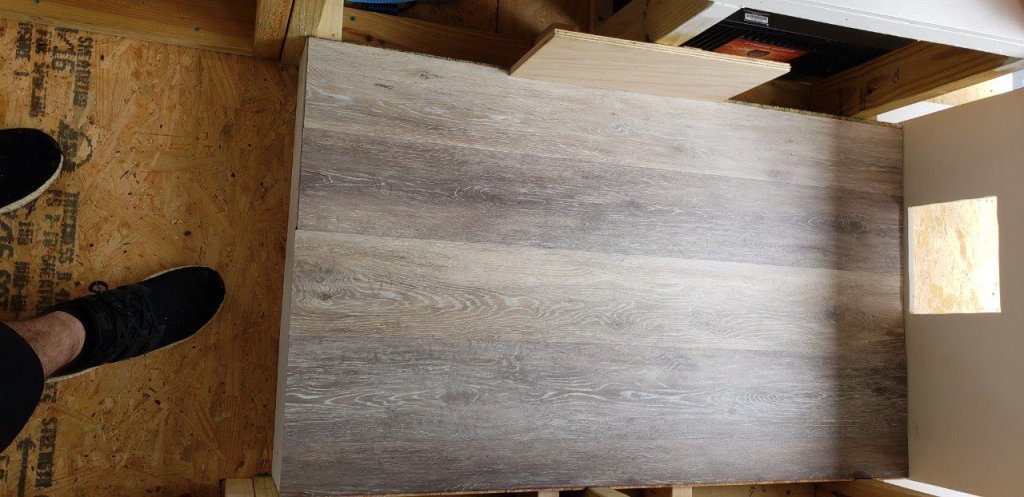
That’s why we went with the Stainmaster vinyl plank flooring from Lowe’s. This is not a paid advertisement, we just really like it. The floating planks do not require glue, has a nice texture to it, and is actually easy to install. The moment we started installing floors, the van really started feeling like a home.
The Stainmaster is INCREDIBLY thin. At just 4mm, it’s nearly negligible. Now, just because it’s thin does not mean it’s flimsy. Yes, it is flexible. However I actually had trouble cutting it with a sharp razor blade knife.
Some tips for installing vinyl planks in the van
First, do all of the painting before the flooring goes in. The last thing you want to deal with is a paint spill inside the van on top of your nice, new flooring. It’s not so bad to clean up a small paint mark, but no one wants to rip out the floor and start over.
Buy all of the flooring at once. After calculating the square footage you need to cover, go out and buy the flooring of choice. Accounting for an extra 10-20% or so is a good rule of thumb for all materials. More often than not, there will be a flaw with some of the purchase. Sometimes stores just sell out of materials, too. Err on the side of caution when the budget allows for it.
Take the warranty into account. As I mentioned before, the limited space in the van creates areas of heavy and frequent foot traffic. The Lowe’s Stainmaster flooring has a Lifetime residential warranty or 10 year commercial warranty. Sweet.
Remember, it’s hard to get things perfect the first time you try it. Don’t be too hard on yourself if you need to pull something out and start over. Half of the beauty of working in a van is how easy it is to just start redo something if necessary.
Tools for installing the vinyl flooring
- Miter saw
- Jigsaw
- Blades for saws
- Measuring tape
- Table saw – optional
Installing vinyl plank flooring
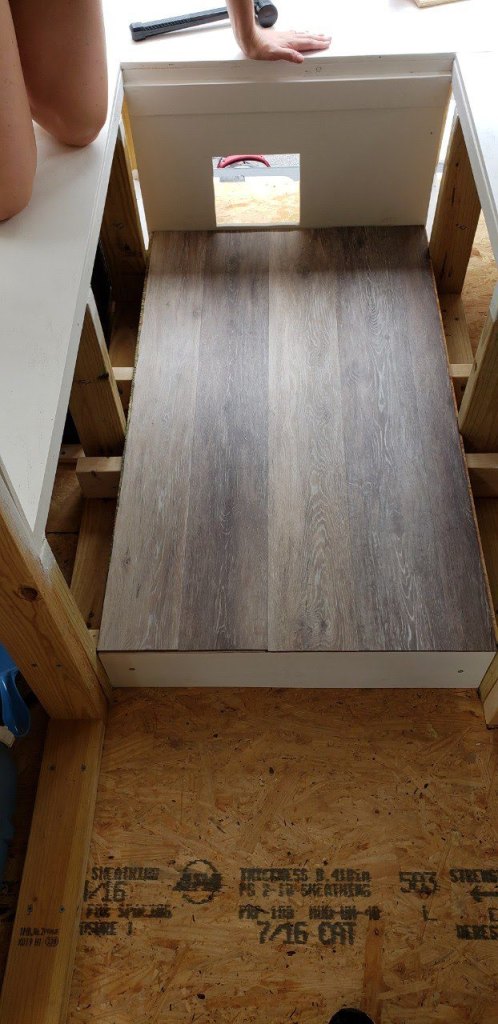
First thing is first: this set of steps really only apply to a specific type of flooring. This type of floor is flexible, yet sturdy. It’s floating, not glued. Essentially all of the pieces lock together, then a piece of trim can be installed on top of it in order to hold the edges down.
Measure the floor first. Once you know the width and length of the area, you can decided how to start. It’s important to take the size of the area into consideration. Sometimes the width of the floor space doesn’t divide evenly with the width of the planks. For instance, the planks might be 5 inches wide, and you have to cover 32 inches of width. That’s 6.4 planks wide. When that happens, you have to decide how you want to spread the cut. If it’s around a half plank of width, it will probably be fine to cut just one plank down to fit for the last piece.
However, if it’s less than half a plank, it might be necessary to rip the length of the first row so you aren’t installing just a sliver as the last row. Example: you measure the width of the room to be 31 inches. The plank width is equal to 5 inches. You don’t want to cut a 1-inch piece to fit as the last row. What you would need to do is cut 2-3 inches off the first ‘row’ of planks the entire length of the area. Then the last row can be wider and look less cobbled together.

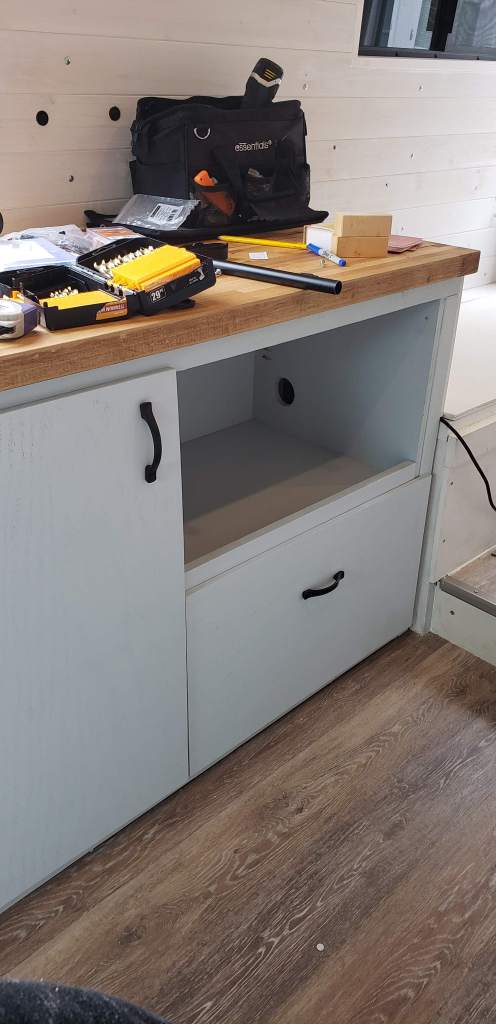

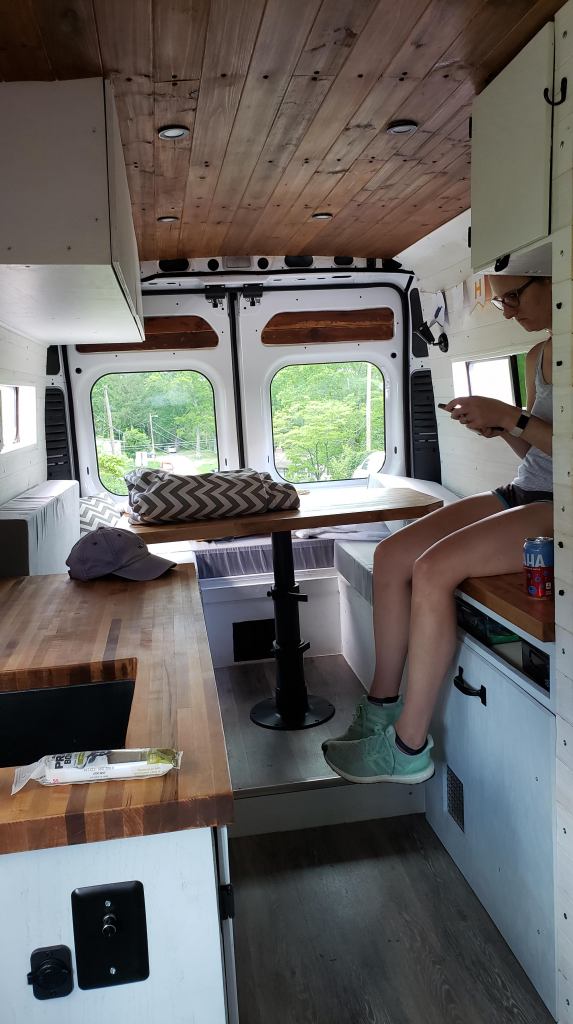
Once you have the measurements figured out, it’s a quick job in a van. Just cut and place as needed. Working around cabinets seems intimidating at first, but use some more cardboard templates if you need to. I would suggest sorting the planks by pattern, too. It may look awkward if you have similar pieces near each other.
Check out this quick video by Lowe’s for other tips.
How does your flooring look? Send me some links in the comments! I’d love to see other van build projects!
