How to install a simple system for running water to the kitchen sink in a Ram Promaster 2500
(no hook-up required)
Running water is an intimidating topic. You’ve invested a lot of time making sure the van looks nice. What happens if there’s a leak? I had a lot of the same worries, especially having very little experience with plumbing in general.
Please note: this page contains affiliate links to amazon products I used during this portion of the build. If you find this guide helpful, consider making a purchase through one of these links to help cover the cost of providing this information. Thank you!
Things needed to build an off-grid plumbing system
Tools
- Wire stripper/crimper
- Screw driver
- Sharp knife
- Wrench
Plumbing system details
Chances are, you have stumbled here while looking for a general idea of which components to buy for a simple, DIY running water system in your van. My system (currently) holds 6 gallons of fresh water for the sink, and an equal amount of grey water. Please note our system does not include hot water, but this set-up is perfect for bringing enough water for a couple days at a time.
All-in-all this system is a good starting point for running water when you just need something. It would be easy to build on this system to allow for a water heater, bigger fresh and grey water tanks, etc.
The basic parts for the water system:
- Fresh water holding tank
- Hose down to the bottom of the tank
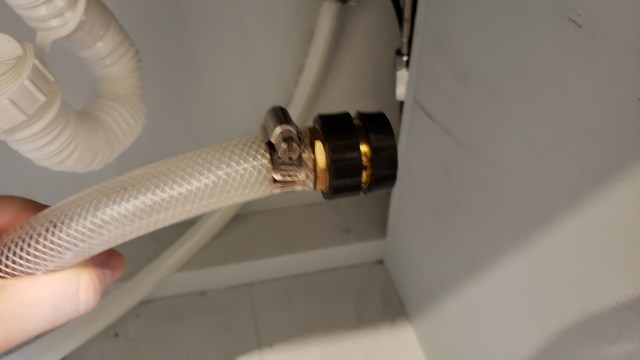
- Quick disconnect on the hose to easily remove the tank to refill
- More hose to a pvc adapter/water strainer to protect the pump from sediment
- water filter to a 12V DC water pump connected to the faucet
- Faucet to the sink basin, to the drain pipe, to the grey water tank
Who’s ready to write a catchy song to sing while connecting plumbing components? Maybe to the tune of “ankle bone connected to the leg bone”.
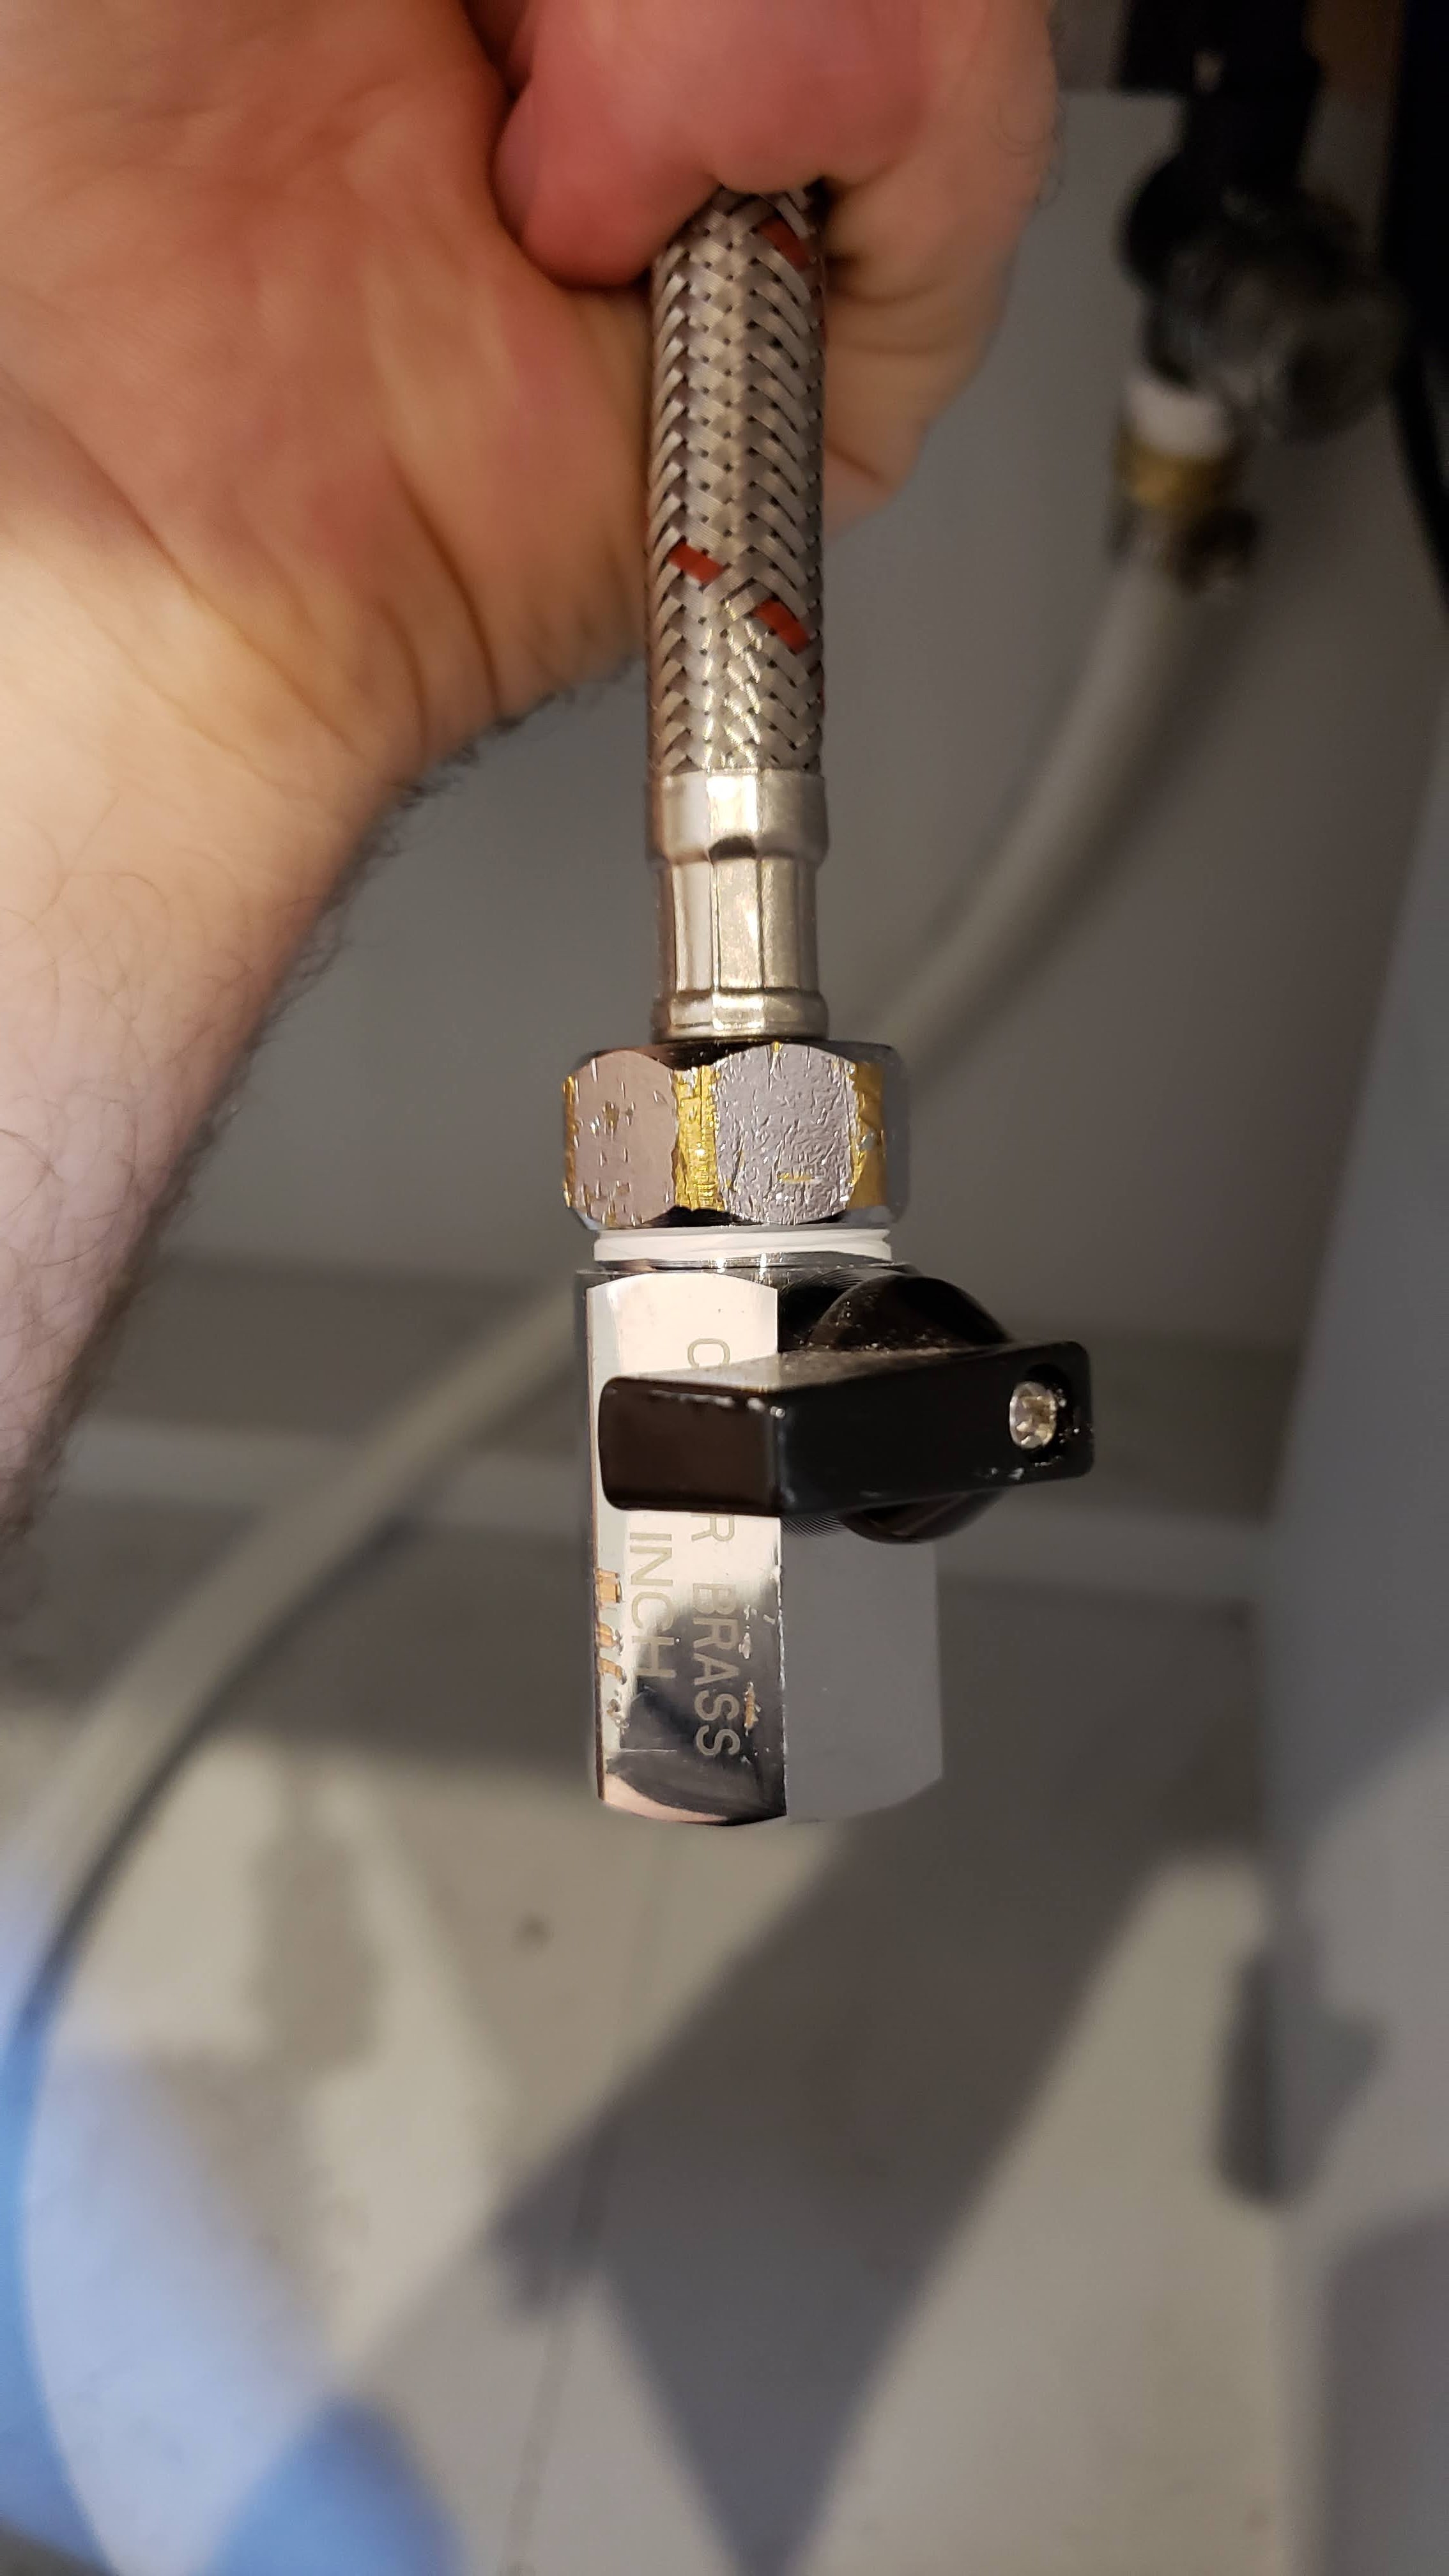
If you are running a setup without hot water, it’s also important to connect a braided hose to the hot-water side as well and then attach a shut-off valve to the end of the hose in order to prevent water from spilling out of the hot water side of the faucet.
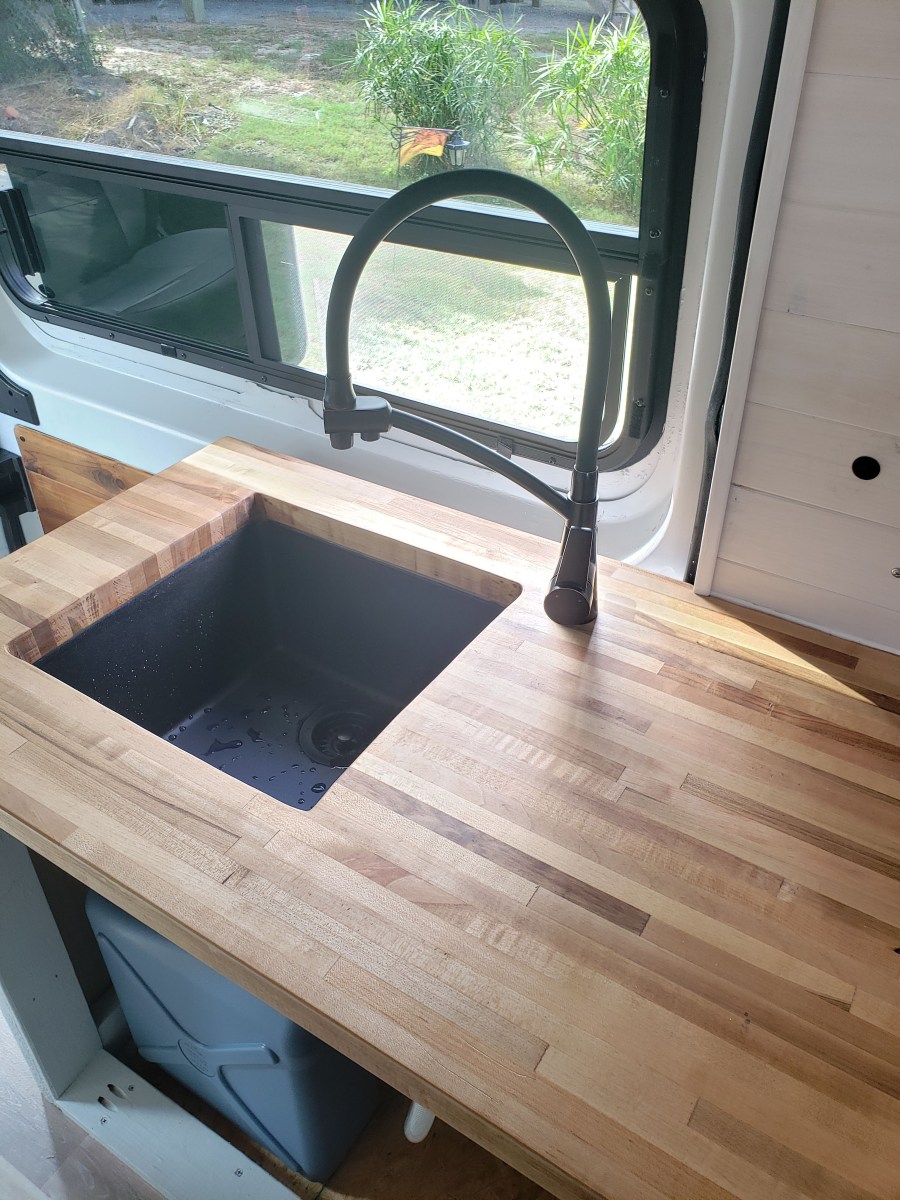
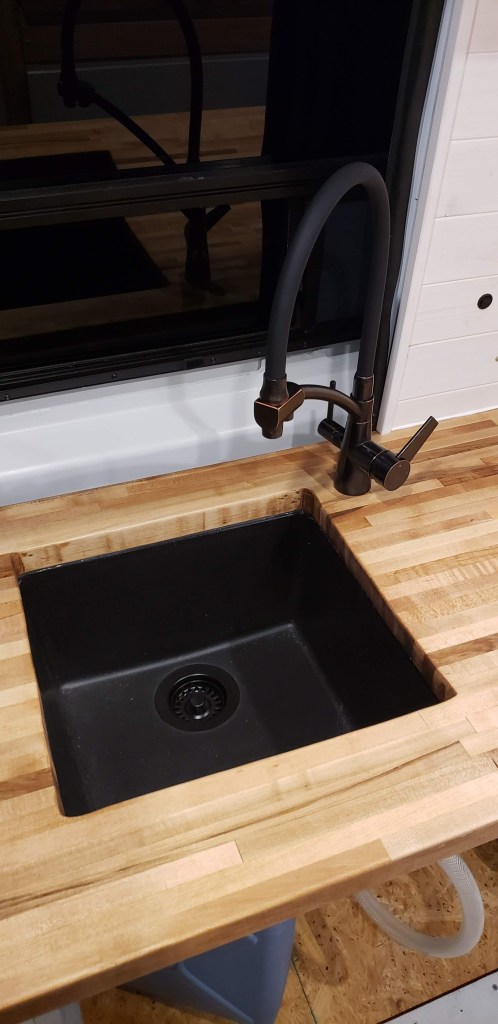
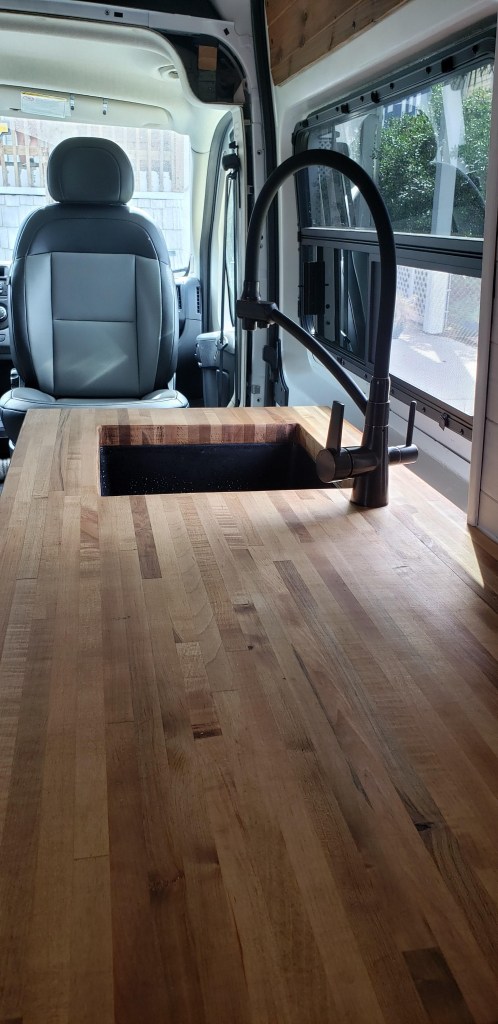
Step 0: Install the sink basin and faucet
Without having a faucet in place, it might be difficult to figure out where things need to be. Installing everything beforehand helps determine how much hose to buy and where things need to be installed.
This is also a good time to run electrical wiring for the water pump if you haven’t already. If you are using a foot pump or hand pump, no need to worry about this step.
Step 1: Mount the Shurflo water pump
One of the first things I did was to mount the pump and make sure the electrical component worked. Doing this step now means measurements will be exact later. The faucet we installed came with some braided hoses, so the pump could only be so far away from everything.
Step 2: Measure and cut vinyl hose
The first vinyl hose only needs to be long enough to go from the top of the water tank to the bottom.
The second hose needs to go from the top of the water tank to the water filter. Once those have been measured, cut them cleanly with a razor blade knife, or a pex cutter slices through a vinyl hose very smoothly.
Step 3: Connect the components
Already at this step? Plumbing for a simple system like this is pretty easy! I’m sure this article makes it over-simplified. The longest portion of any plumbing system is actually FINDING the right components.
For the hose in the water tank, add the male end of the quick-disconnect. Using a flat-head screwdriver, tighten the clamp around the barbed end of the adapter that slides into the hose.

For the hose connecting to the water filter before the pump, add the female end of the quick-disconnect. Isn’t it weird that plumbing components have gender? On the other end of this, add the connector from the garden hose connector in order to appropriately match the water filter connection. Using the same method as last time, fasten the connector with a clamp.

Connect the water strainer to the water pump.
Connect the water pump to the faucet with the braided hose provided with the faucet.
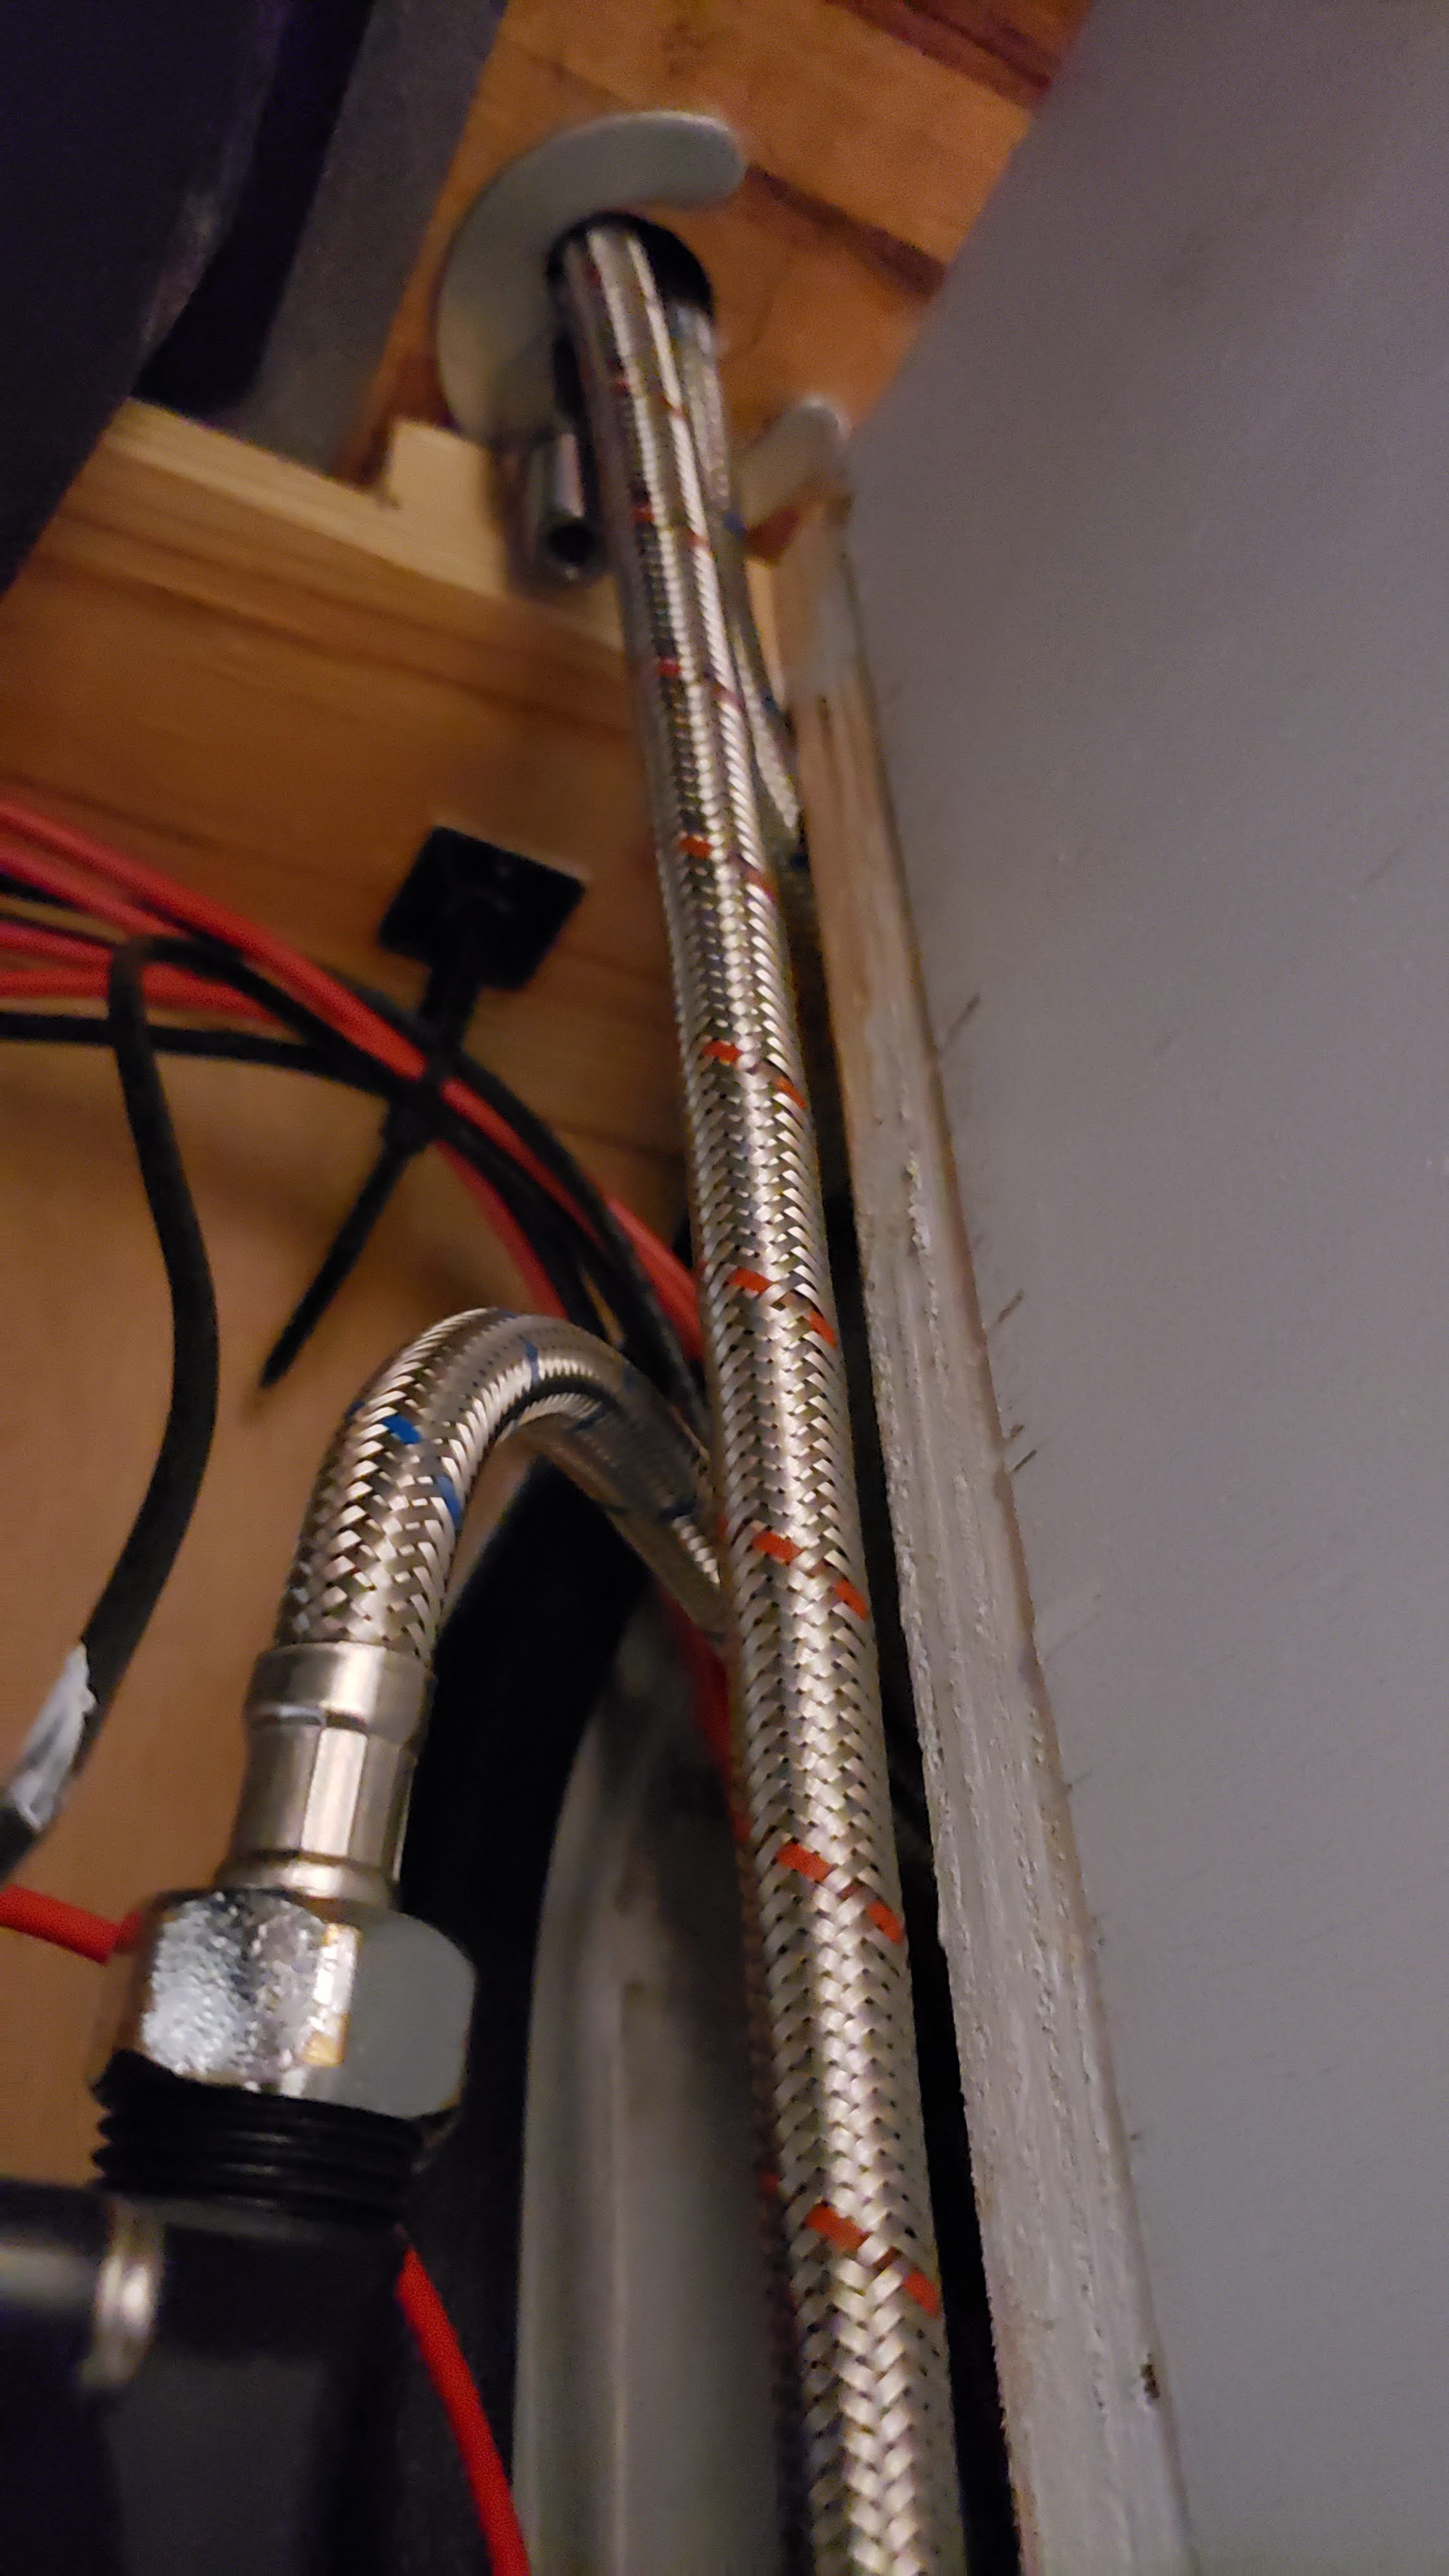
If you’re not using hot water, connect the other braided hose to the hot water side of the faucet, then add the shut off valve to the other end of the hose and tuck it away. Depending on the faucet, this may not be totally necessary.
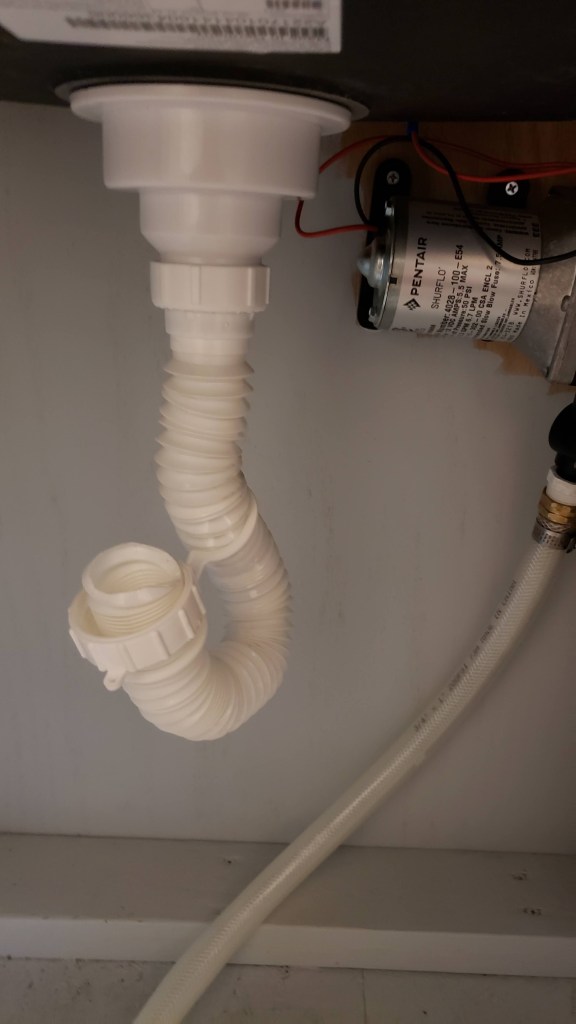
Attach the flexible drain to the sink basin to catch all of the water, then insert the drain into the grey water tank.
Step 4: Wash and rinse tanks
We noticed our water tasted like plastic for a little while after connecting everything. We added some dish soap, shook it vigorously for a good workout, then rinsed several times. The water no longer tastes like plastic or soap, and it likely removed any particles that could potentially clog up the water strainer. I highly recommend this step for any plastic tank owner.
Step 5: Fill up the tank and check for leaks
Once the water tank is full and everything is connected, make sure nothing is leaking while the pump is running. If it’s not, everything is good to go!
Congratulations, your van feels even more like a home!
Did I leave anything out? Have any questions for me? Please let me know in the comments.

Hey, how do I give this pump power? I’m trying to adapt it to run on a power outlet in my house.
LikeLike
I power mine from a 12v battery through a fuse box. If you want to run it in a house with different voltage, I think you will need to find an AC to DC power adapter rated for the pump.
LikeLike