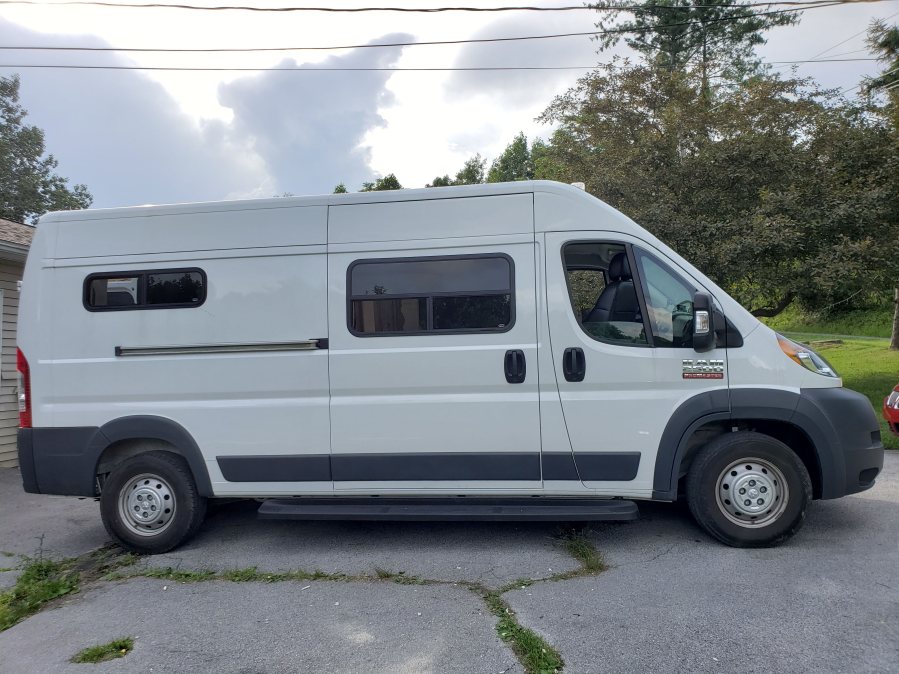
DIY guide for installing MotionWindows in a Ram Promaster 2500

This post contains affiliate links. These are links to products we own or recommend for this project. If you purchase an item from this page, we will receive a small commission.
Cutting a hole into the van sounds like the last thing anyone wants to do. But with a bit of confidence in the weather forecast, it’s not so scary. It’s generally a good idea to keep a tarp nearby… just in case a freak rain storm does happen to come through.
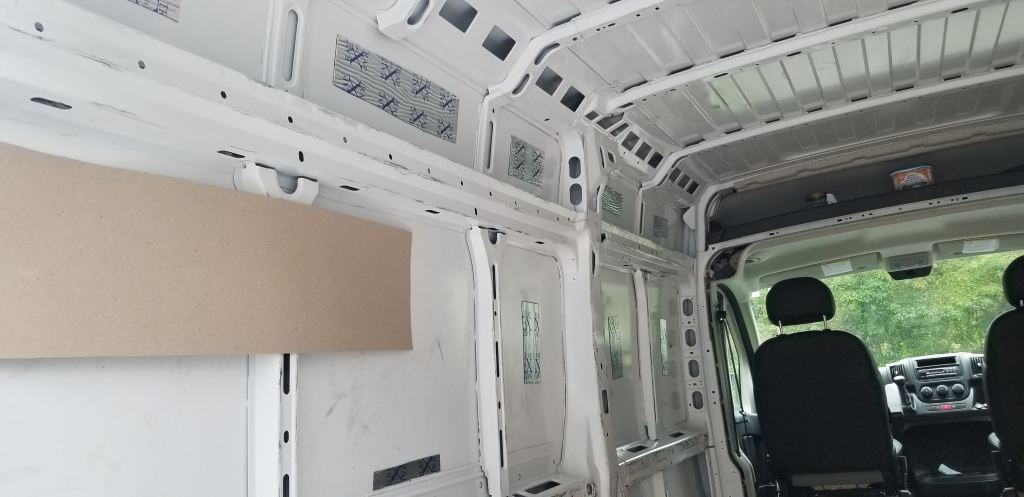
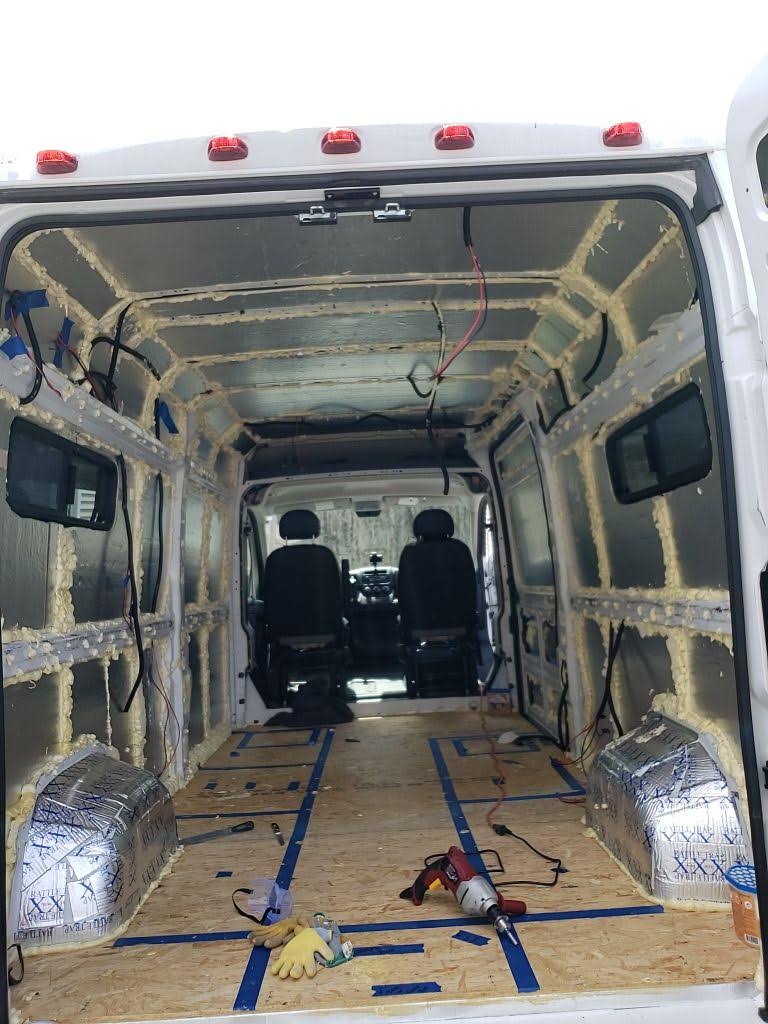
I would advise installing windows before we did in our process. It might be the first thing I would do in another build, at least before the insulation. Several people have a tendency to put it off because it’s intimidating, but that may make things more complicated. Firstly, if you insulate and then install windows, it becomes difficult to know exactly where to cut or what you may be cutting through. In the Promaster, there are vertical support ribs near the back that needed to be cut through that became difficult to see. Then any insulation in that area would just be thrown away.
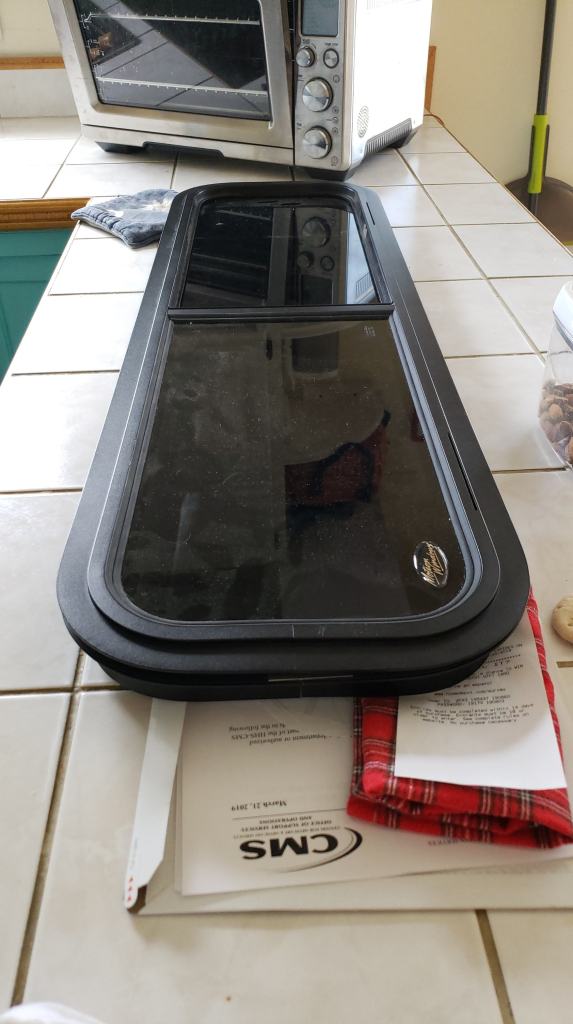
Once the decision has been made for how many windows will be installed, go ahead and order from MotionWindows immediately. Seriously the sooner the better. Maybe even order them before you get the van (sorta kidding). These windows took months to arrive for the Promaster.
Prep work for installation

Once the windows have arrived, go ahead and make some templates. I really wish MotionWindows would send some sort of template for the cut, but they do not. The best way that I found was to find a piece of cardboard large enough for the window and lay the metal frame/flange on the cardboard and trace the inside of the frame. Repeat for all the window shapes.
Once the templates are all made, I would suggest taping them up inside the van to get the placement right. Trace them onto the wall, making sure there is about 1-2 inches of clearance around the template for the flange. I made the mistake of not allowing for the flange and it was a hassle to deal with making the correction. Luckily, the flange allows for some errors to be made, so don’t sweat too much if the hole has to be cut larger later to account for a problem like that.
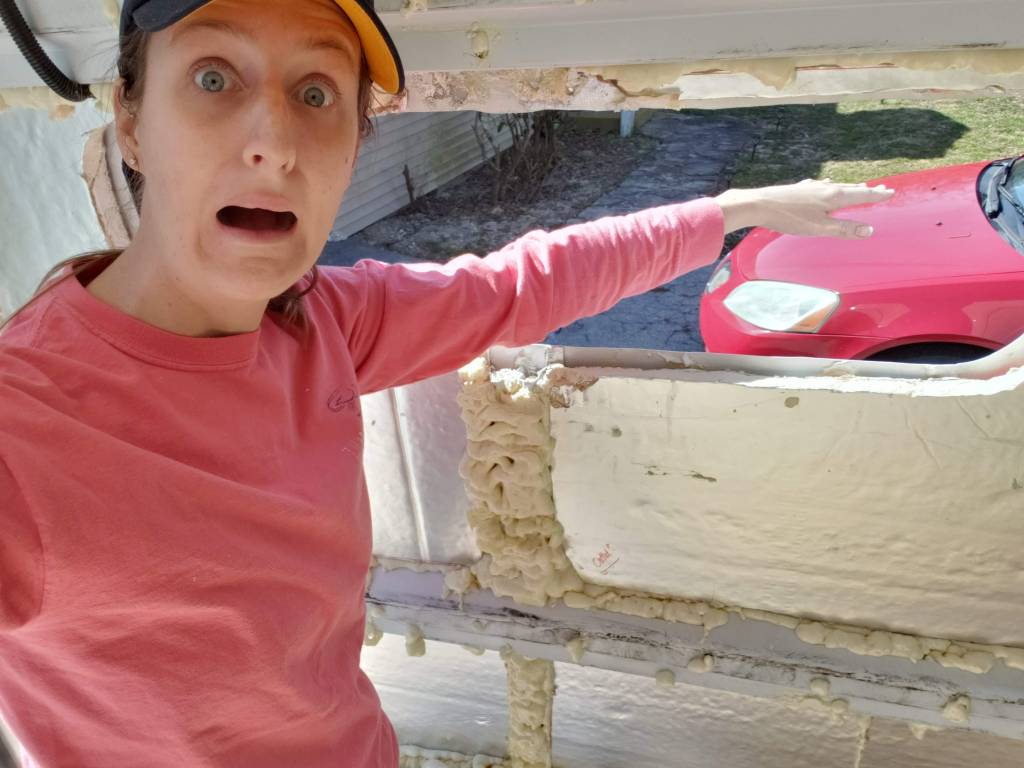
After the templates are traced on the inside of the wall, remove any of the vertical ribs that are in the way. Alternatively, you can just cut the rib where the window will be and remove a section of it. We used an oscillating saw to do the second option, but I believe it may have been easier to remove it entirely before putting in insulation.
Are you ready to cut some rather large holes into the body of your precious tiny home on wheels?
Tools and materials for installation
- Material to create template of the windows
- Painters tape
- Tape measure
- Sharpie
- Jigsaw
- Oscillating saw
- Fine tooth metal blades for both tools above
- Drill
- Drill bit big enough to allow the jigsaw blade to pass through
- Trashbag to catch metal shavings
- Window cleaner
- Metal file
- Rustoleum paint, blinding white
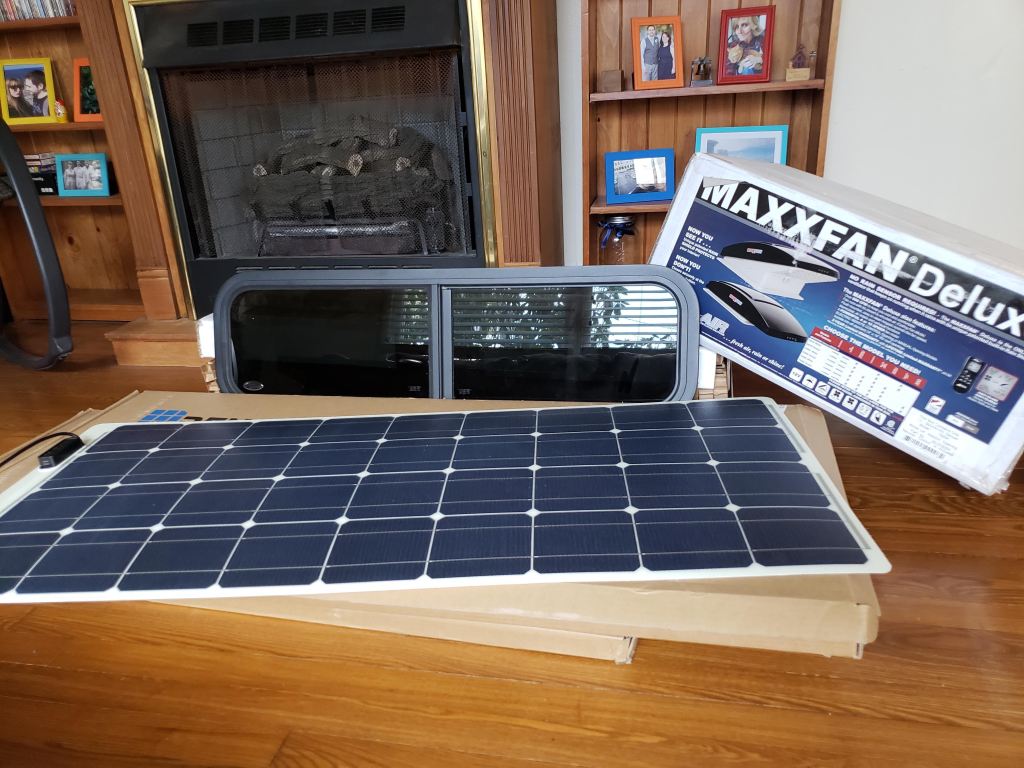
- Window, frame/flange, and the weather stripping included with the MotionWindows
- Vacuum cleaner
Process for installation
The weather forecast can be fairly important if the installation is going to happen outdoors. Find a clear day and set aside a couple hours per window. It will go faster with successive windows, but I’d recommend 2-3 hours at least for the first window if all the prep work has already been completed.
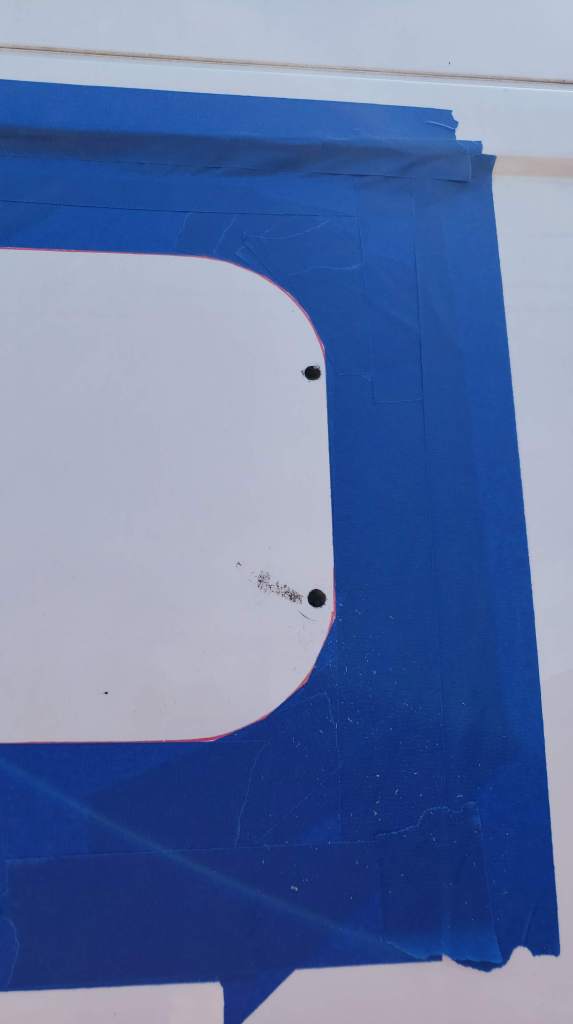


Once the process can begin, use a drill and poke some holes along the inside edge of the template that was traced on the wall of the van on the inside during the prep work. Make sure to get a few holes on each edge and near the curves. Once that’s done, take the cardboard template and tape it in place on the outside of the van using the drill holes as a guide. Use a tape measure to make sure all the edges are straight from reference points on the body of the van. Trace the template on the outside of the van.
After tracing the template to the body of the van again, start taping along the outer edge of the window shape with painters tape. Doing so will help prevent any scratches from happening while resting the jigsaw against the van during the main cut. One tip I’ve seen to help during the cutting is to add some screws as ‘handles’ to the piece of metal that will be removed during the cut. The vibrations tend to become problematic.
Tape up some plastic trash bags on the inside of the van underneath the window to catch any metal shavings that fall before getting to work.
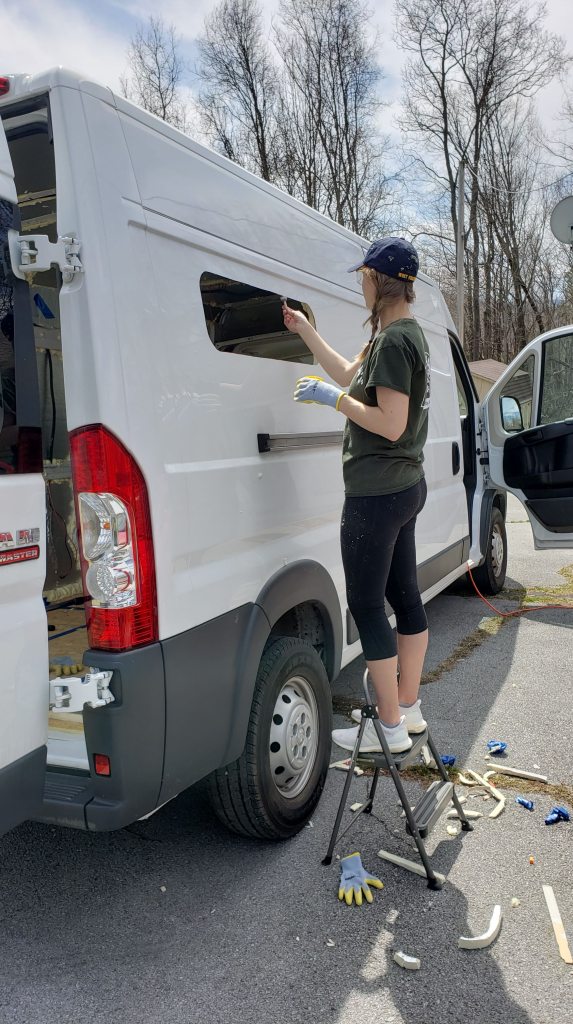
With the help of a friend, start cutting on the line with the jigsaw. Use the pilot holes to get started and just work around slowly. Most jigsaws have a setting that makes it easier to turn, just remember to reset it when going through a straight stretch. I personally started by cutting along the bottom first, then the sides, then along the top. That way, when the piece falls loose, the jigsaw won’t be in the way.

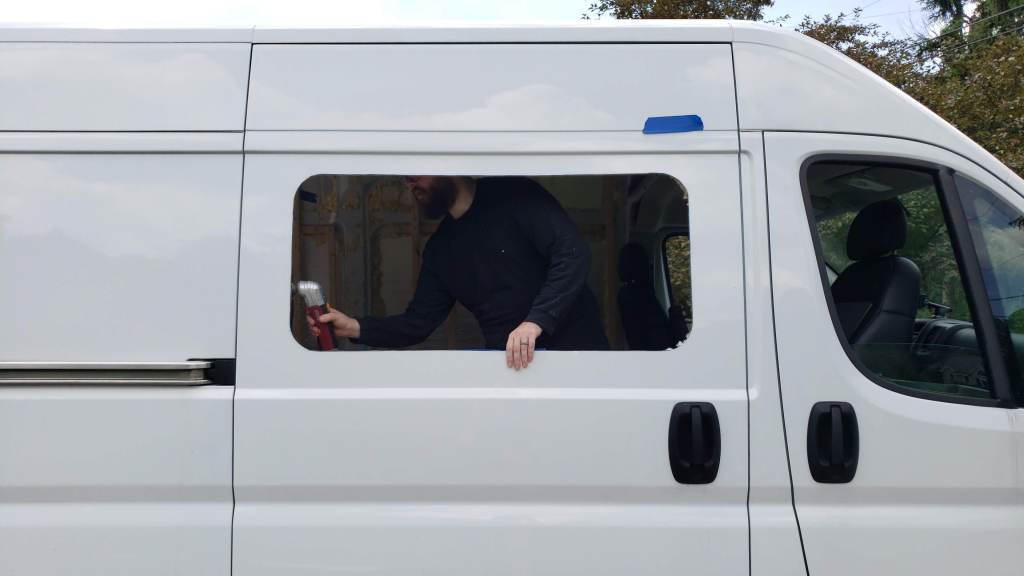
Holy moly! You did it! There’s a hole in your van! Ok, you’re not quite finished. Check the fit of the window by sliding it in place and noting where some additional cuts need to be made. Once everything slides into place easily, remove all of the tape from around the edge of the cut and start filing off any rough edges with a metal file. I recommend using headphones as the sound this produces grates against the human soul. I imagine it’s the same feeling that dogs get when you pet them against the grain.

After filing everything down, use the Rustoleum paint to cover the exposed metal to prevent any sort of rust problems down the road.
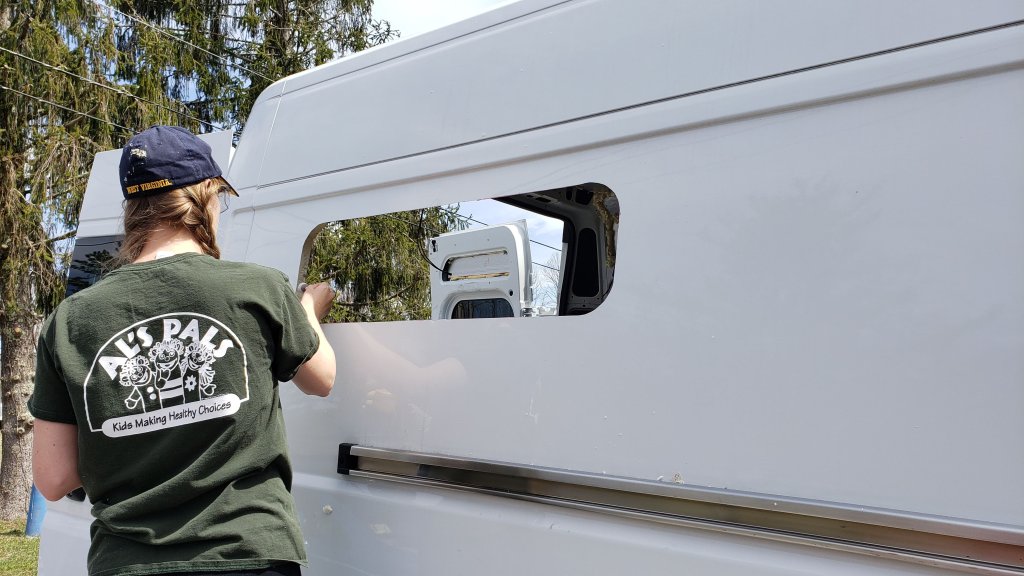
For the actual installation, it’s necessary to clean the surface of the van around the cut and the edge of the window that will rest on the surface of the van prior to installing the included weather stripping. Use some window cleaner for that task, then start sticking the weather proof foam to the window edge and slide the window in.
On the inside of the van, attach the flange/frame with the provided screws. This should create a tight seal all the way around the outer edge of the window.


Repeat the process for all the windows!
