
How we insulated and prepped our Ram Promaster 2500 for solar power


So it has been a little while since we have shown any updates on our progress during the conversion of our 2017 Ram Promaster. This is partly due to the fact that progress has been somewhat slow. In our last post, we were detailing the insulation and framing of the flooring.
We ran into some challenges along the way, but I think it would be much easier now that we have an idea of what to do. I hope the same can be said as we finish up some of this part of the electrical work. We decided basically after we had all of the wiring ran that conduit may be an important thing that will prevent woes down the road. My dad pointed out that if something happens to the insulation of a wire underneath the insulation and it touches the body of the van, it will be bad news and really difficult trying to figure out where the problem is.
Installing conduit and wiring
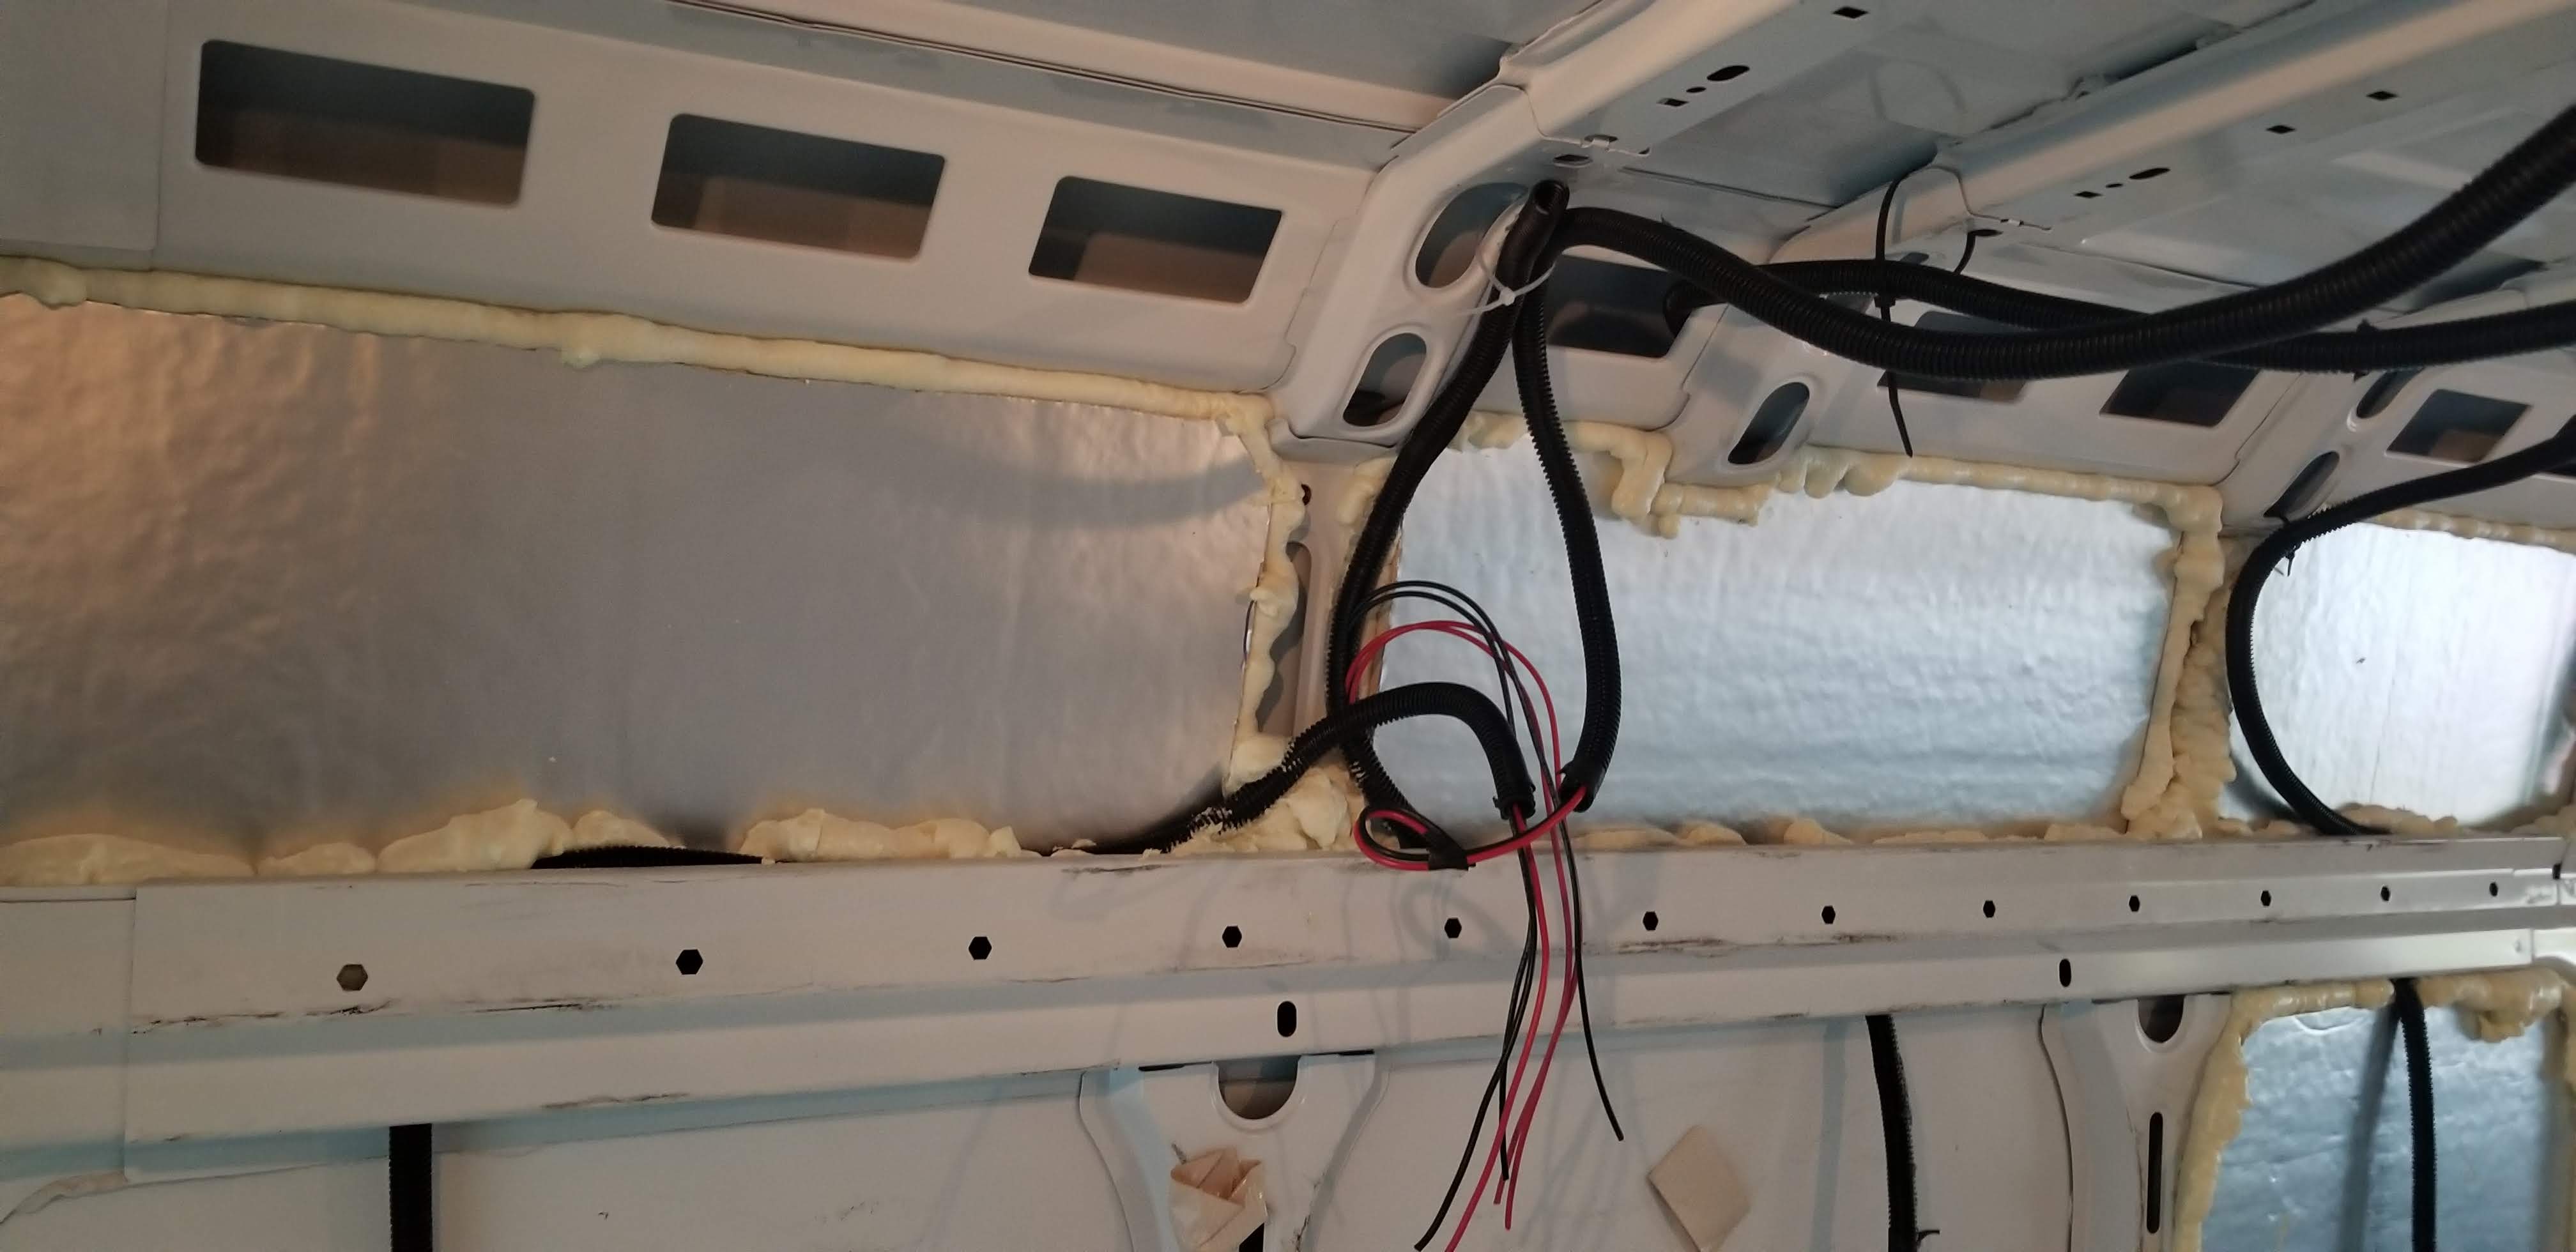
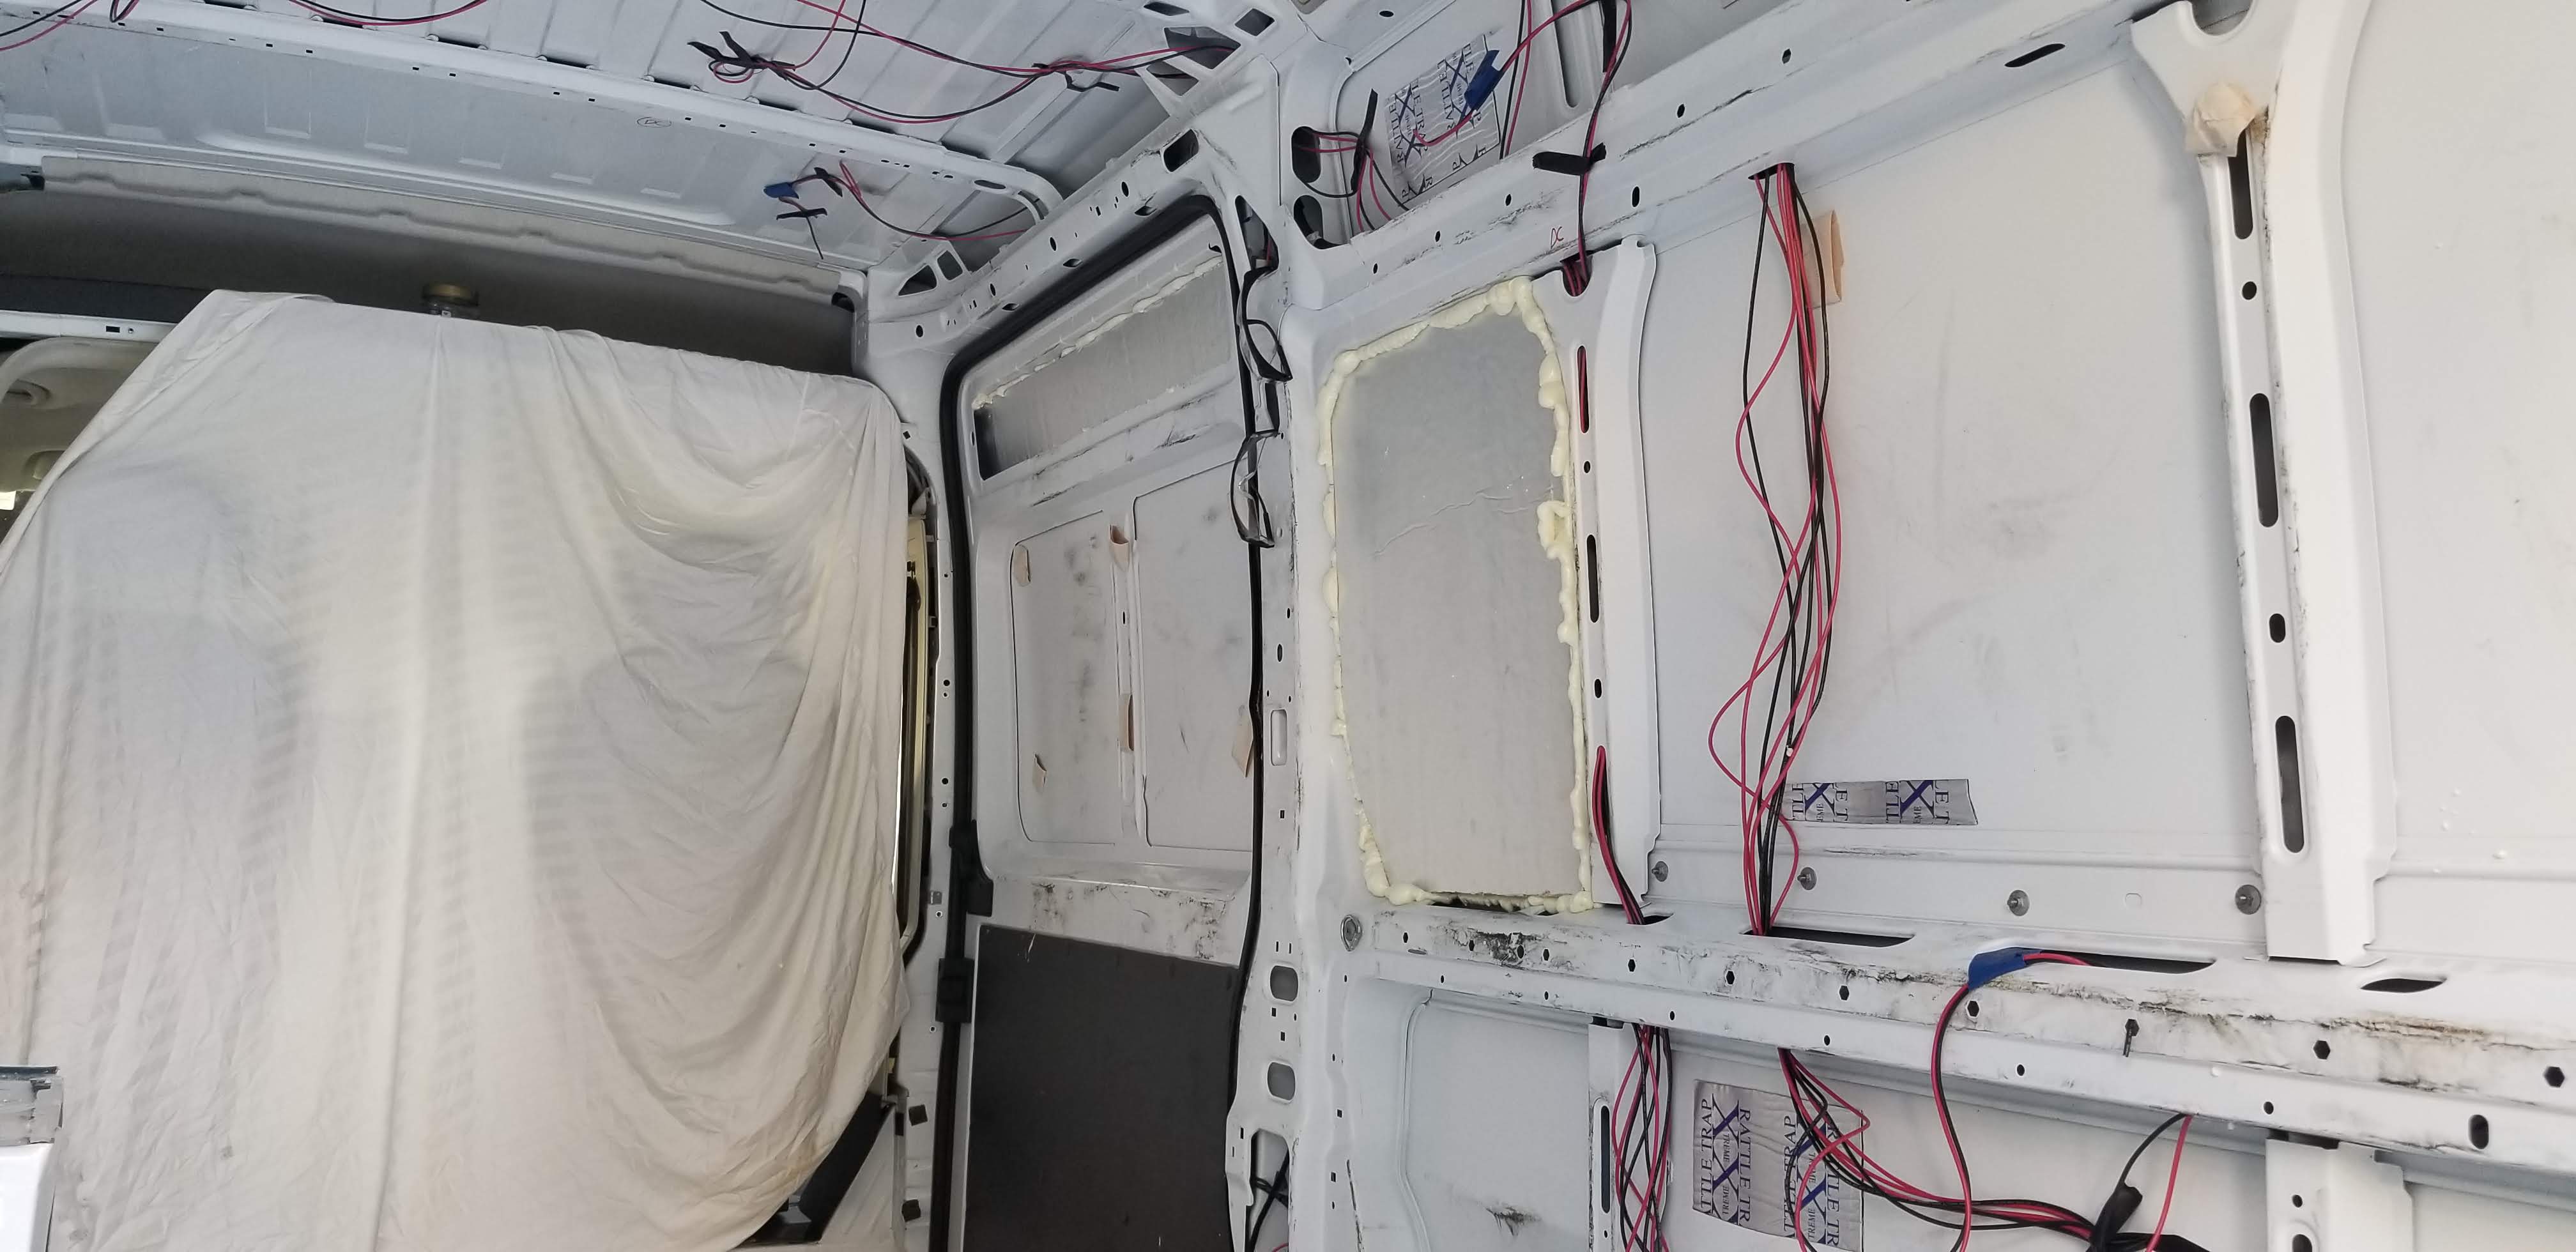
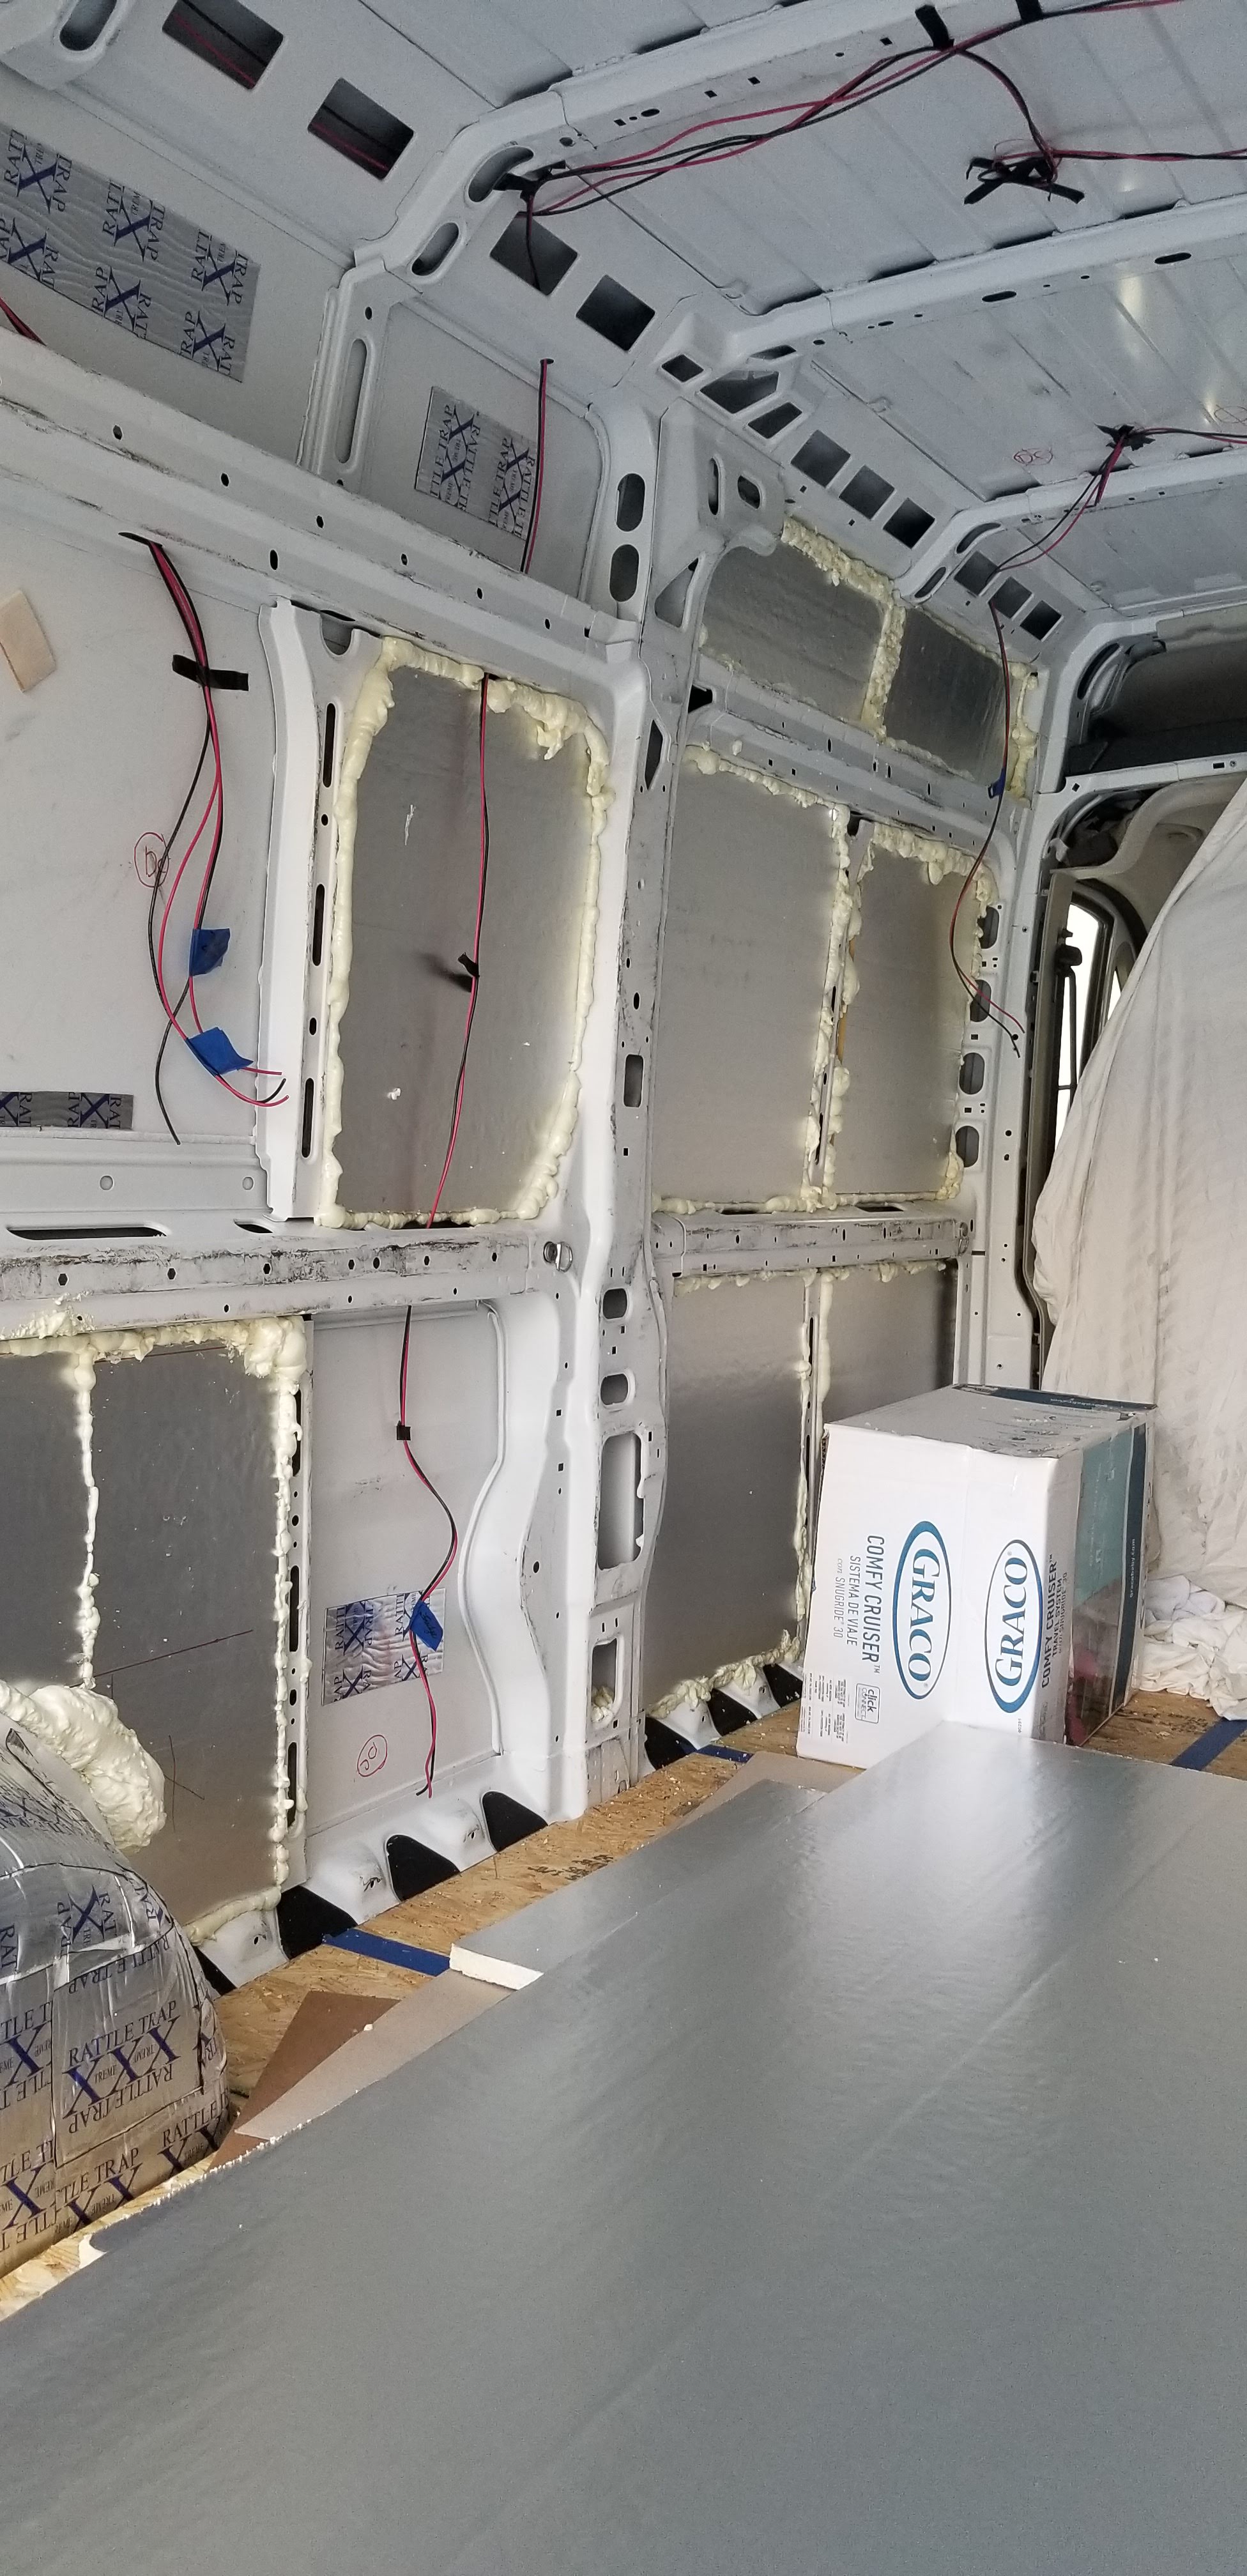
This part can be a little bit challenging, figuring out exactly what goes where. It’s important to have a good idea of the overall layout of the van for this part. From my experience, it seems like it’s a lot easier to run the wiring before you fully insulate things. The conduit barely fits in some of the holes that allow you to pass through the ribs of the van. We picked a few things from the suggestion of Trent & Allie’s van tour and we were able to pick up some other things from a local hardware store. First we purchased 14 & 12 AWG wire from amazon, followed by some split loom plastic tubing. The tubing was very similar to the stuff that you might have seen already running through the van.
Decide where you want your electrical control stuff to be placed, then run all of your wires basically with that in mind. We are hoping to put most of our stuff underneath the bench on the passenger side, so we are running the wiring to a location in front of the rear wheel well on that side. The conduit should be used anywhere that the wiring will be near the body of the van and could possibly be shorted out.
Insulating wall cavities
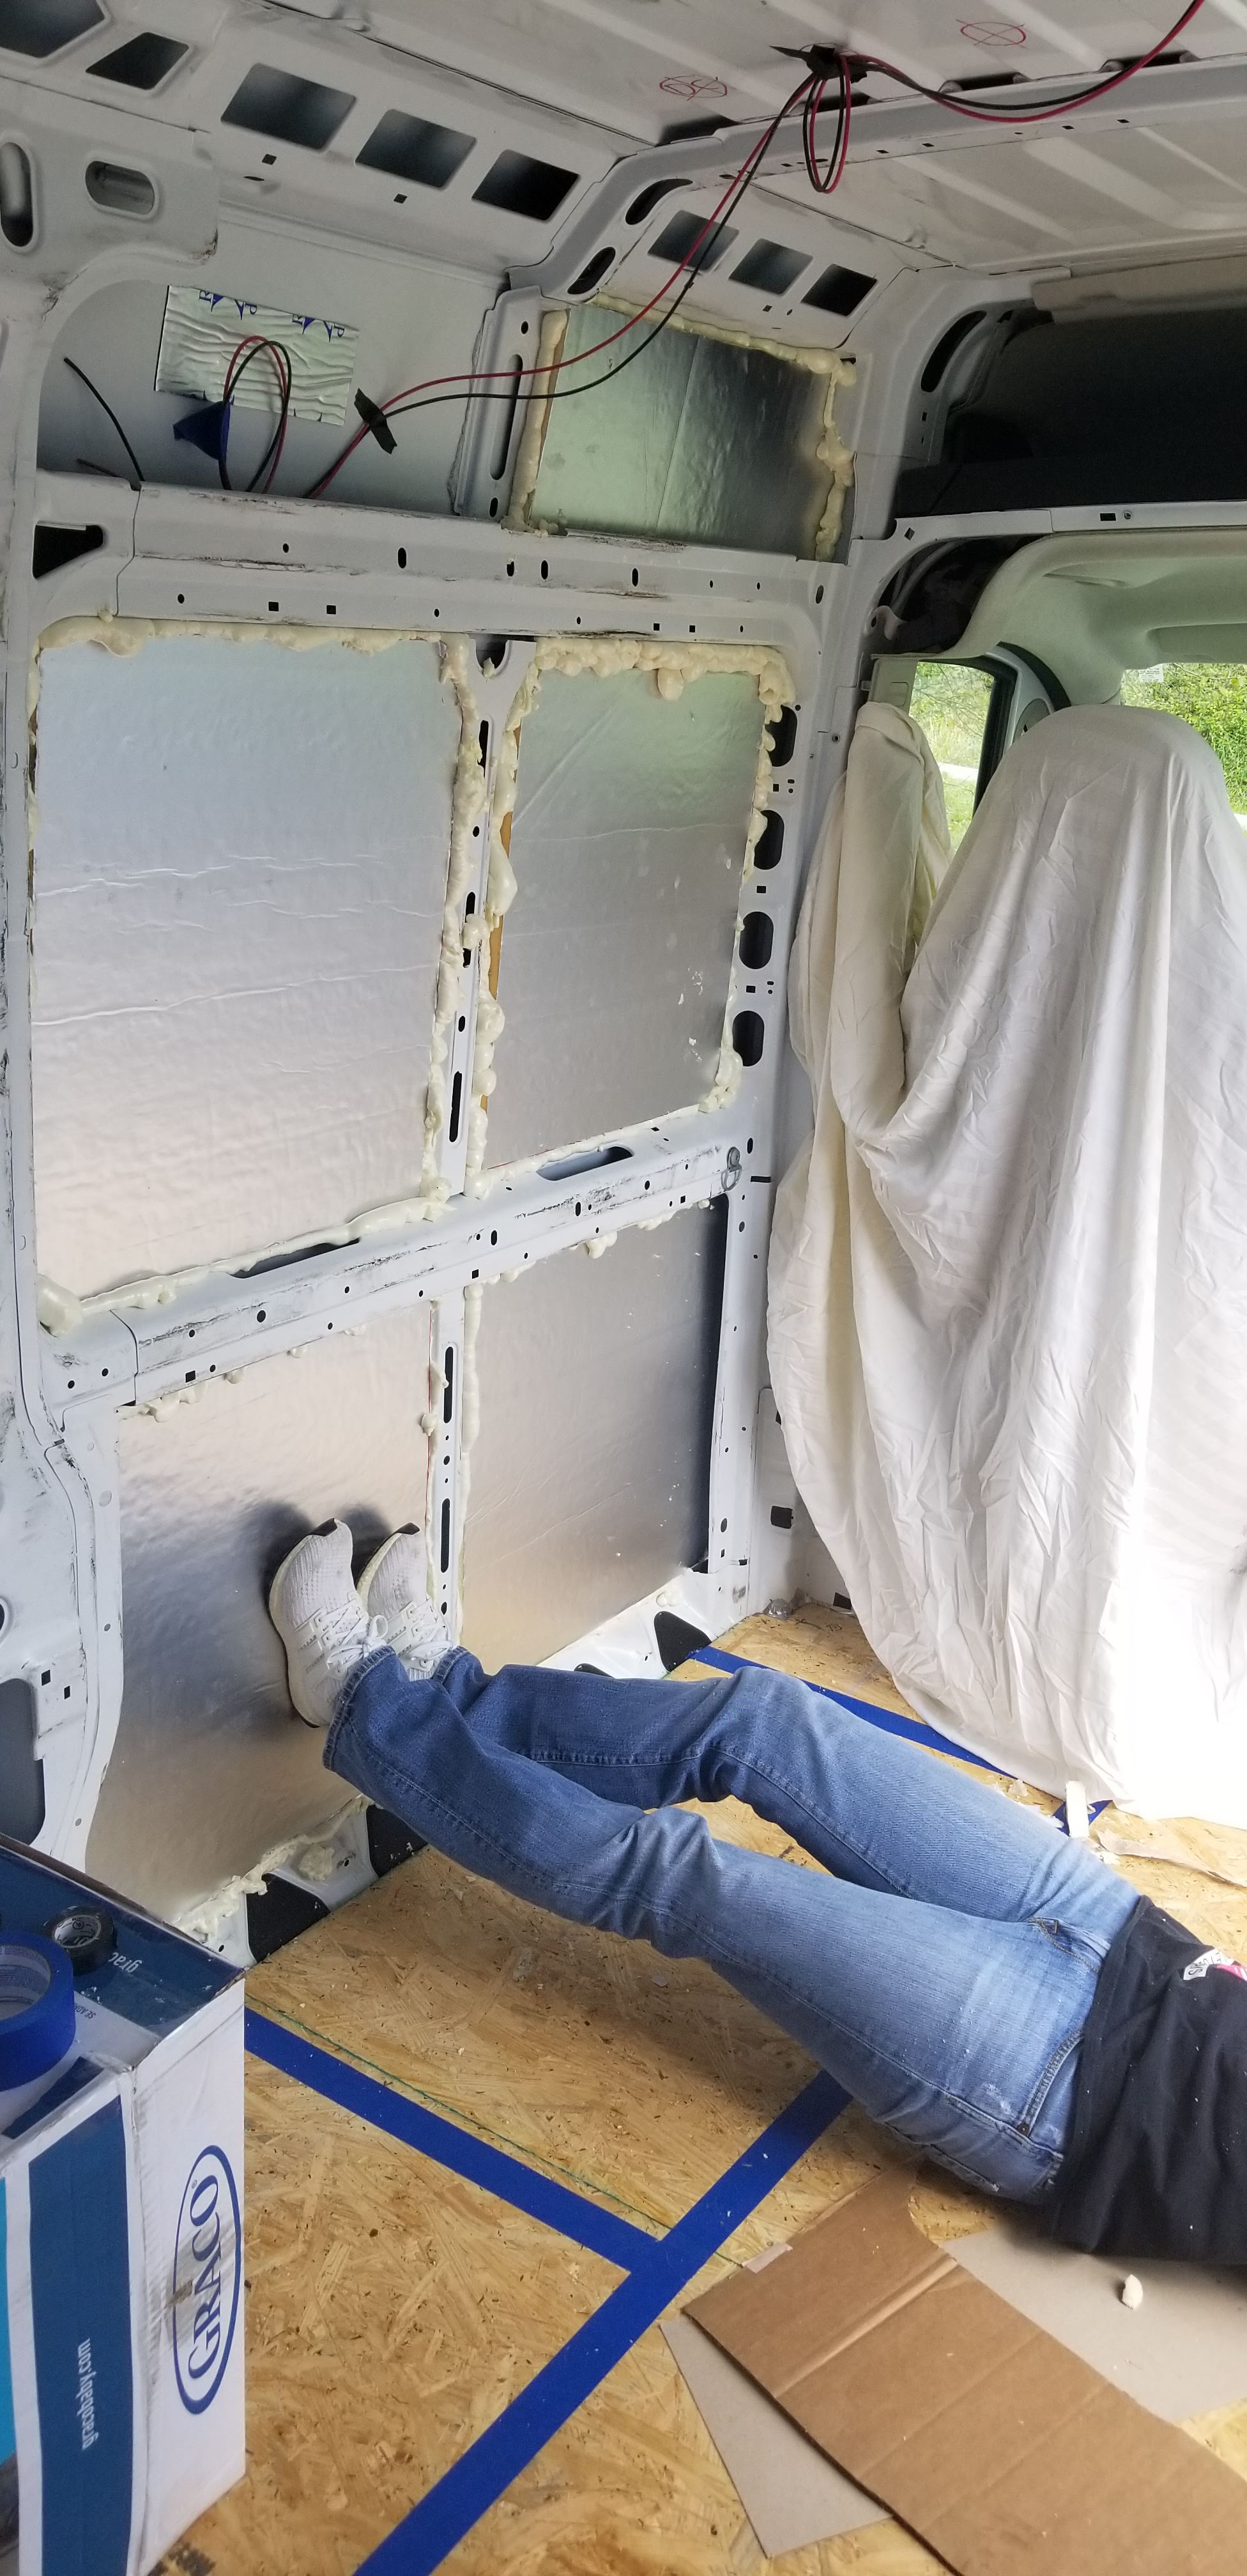
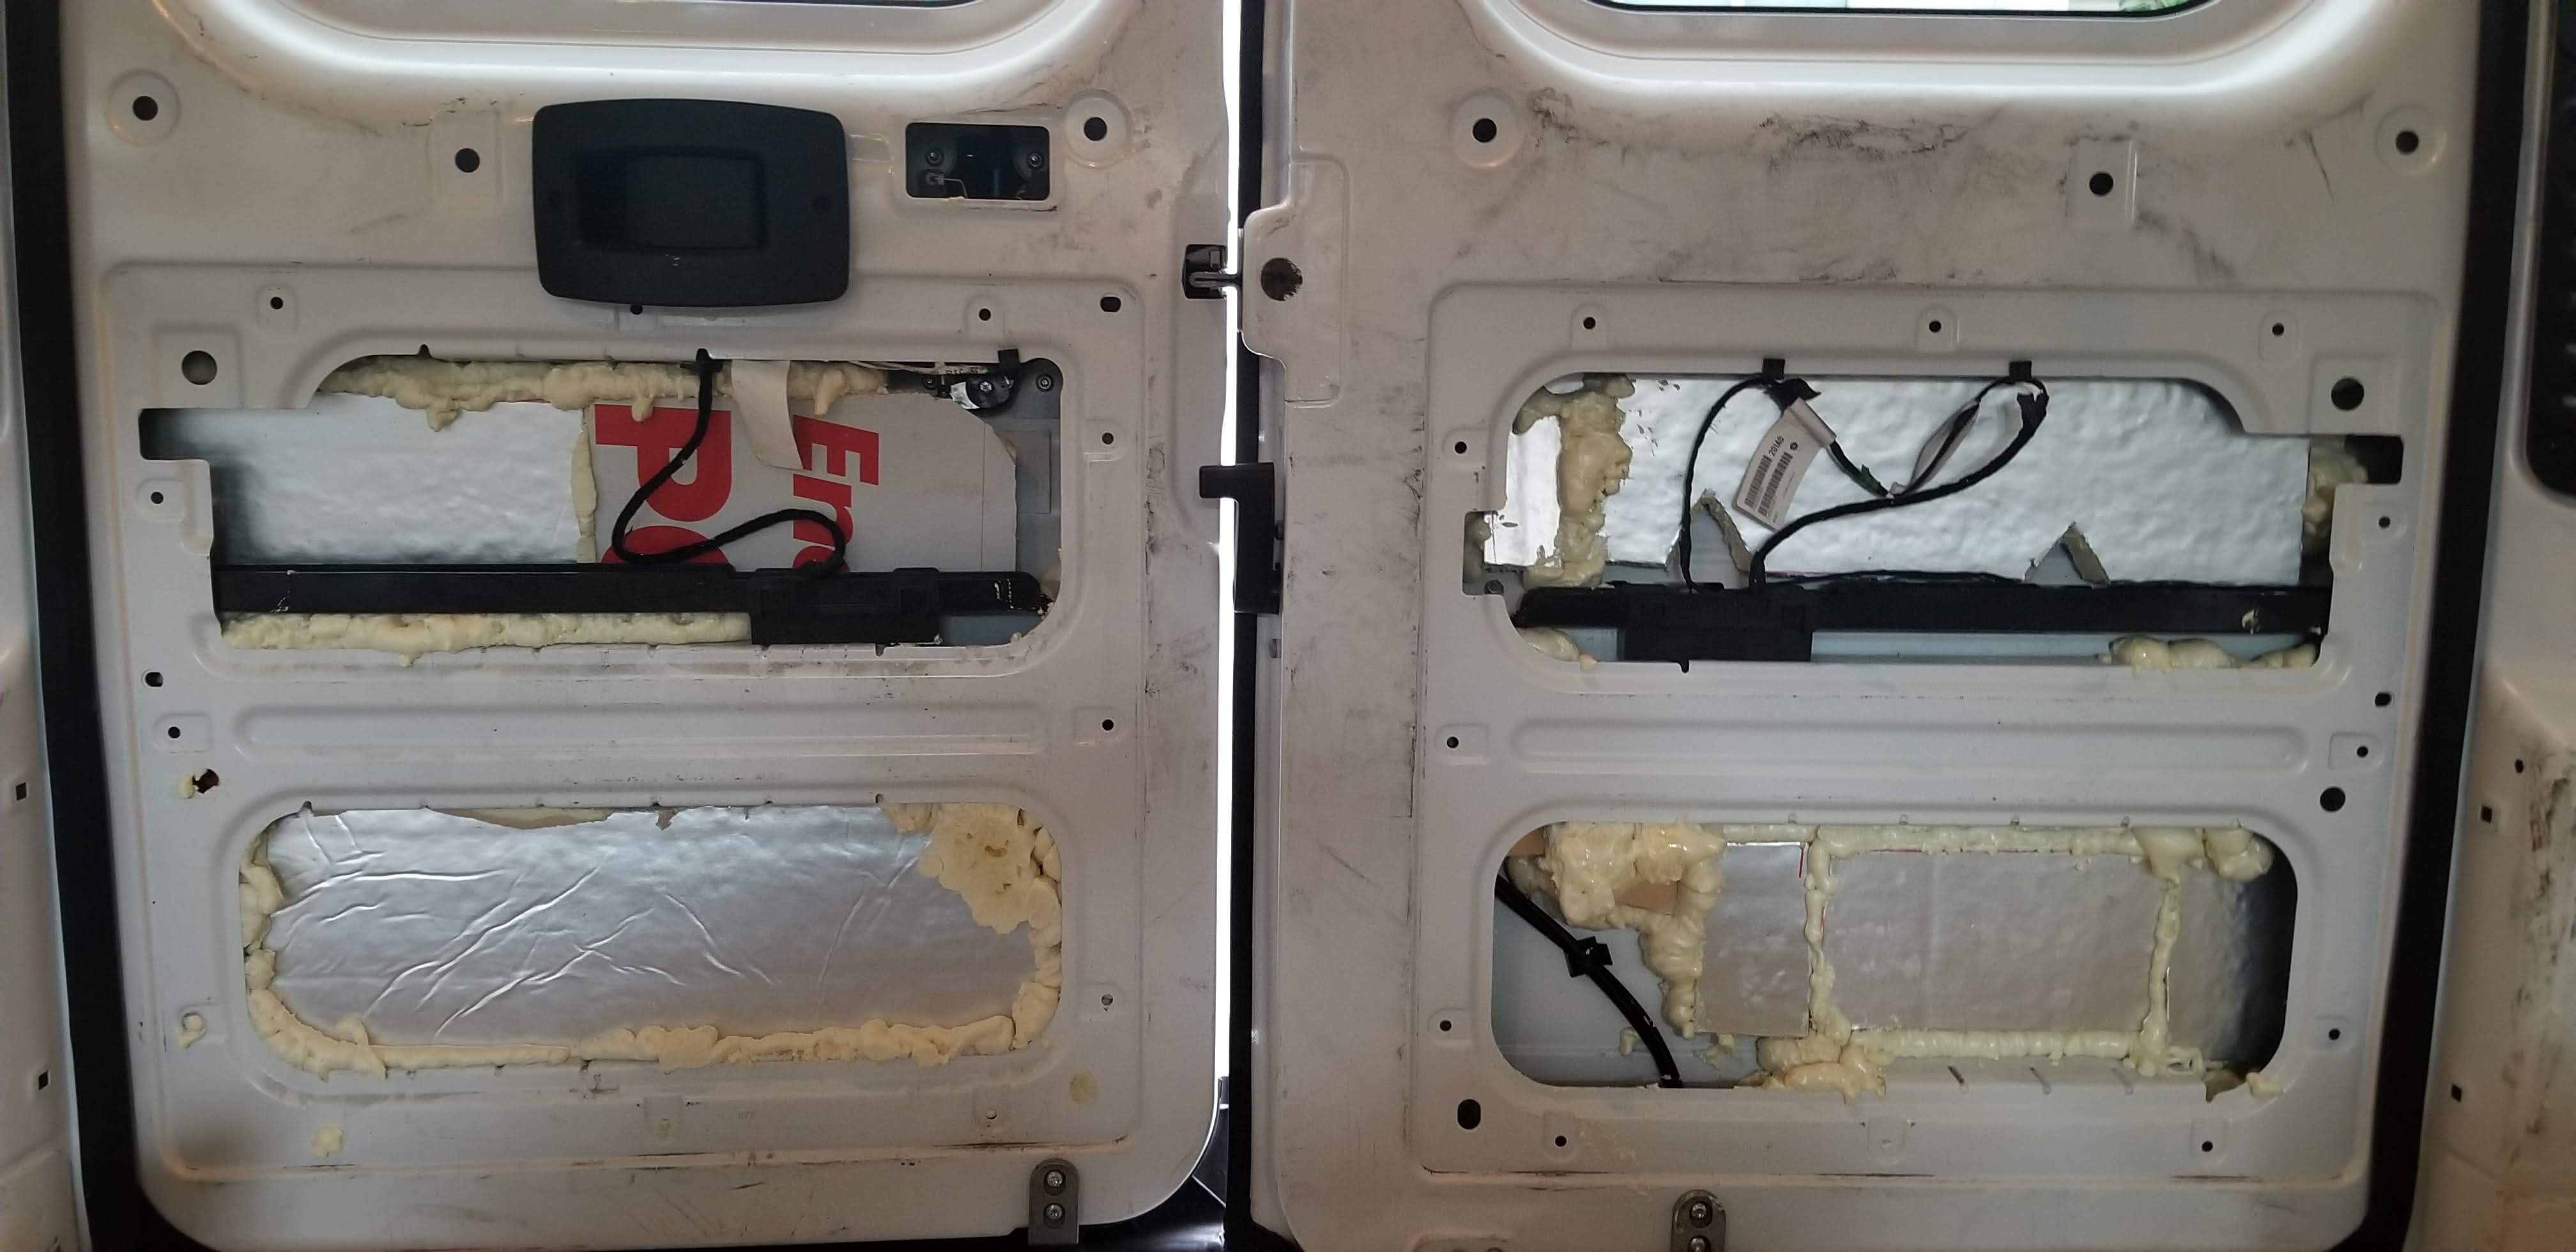
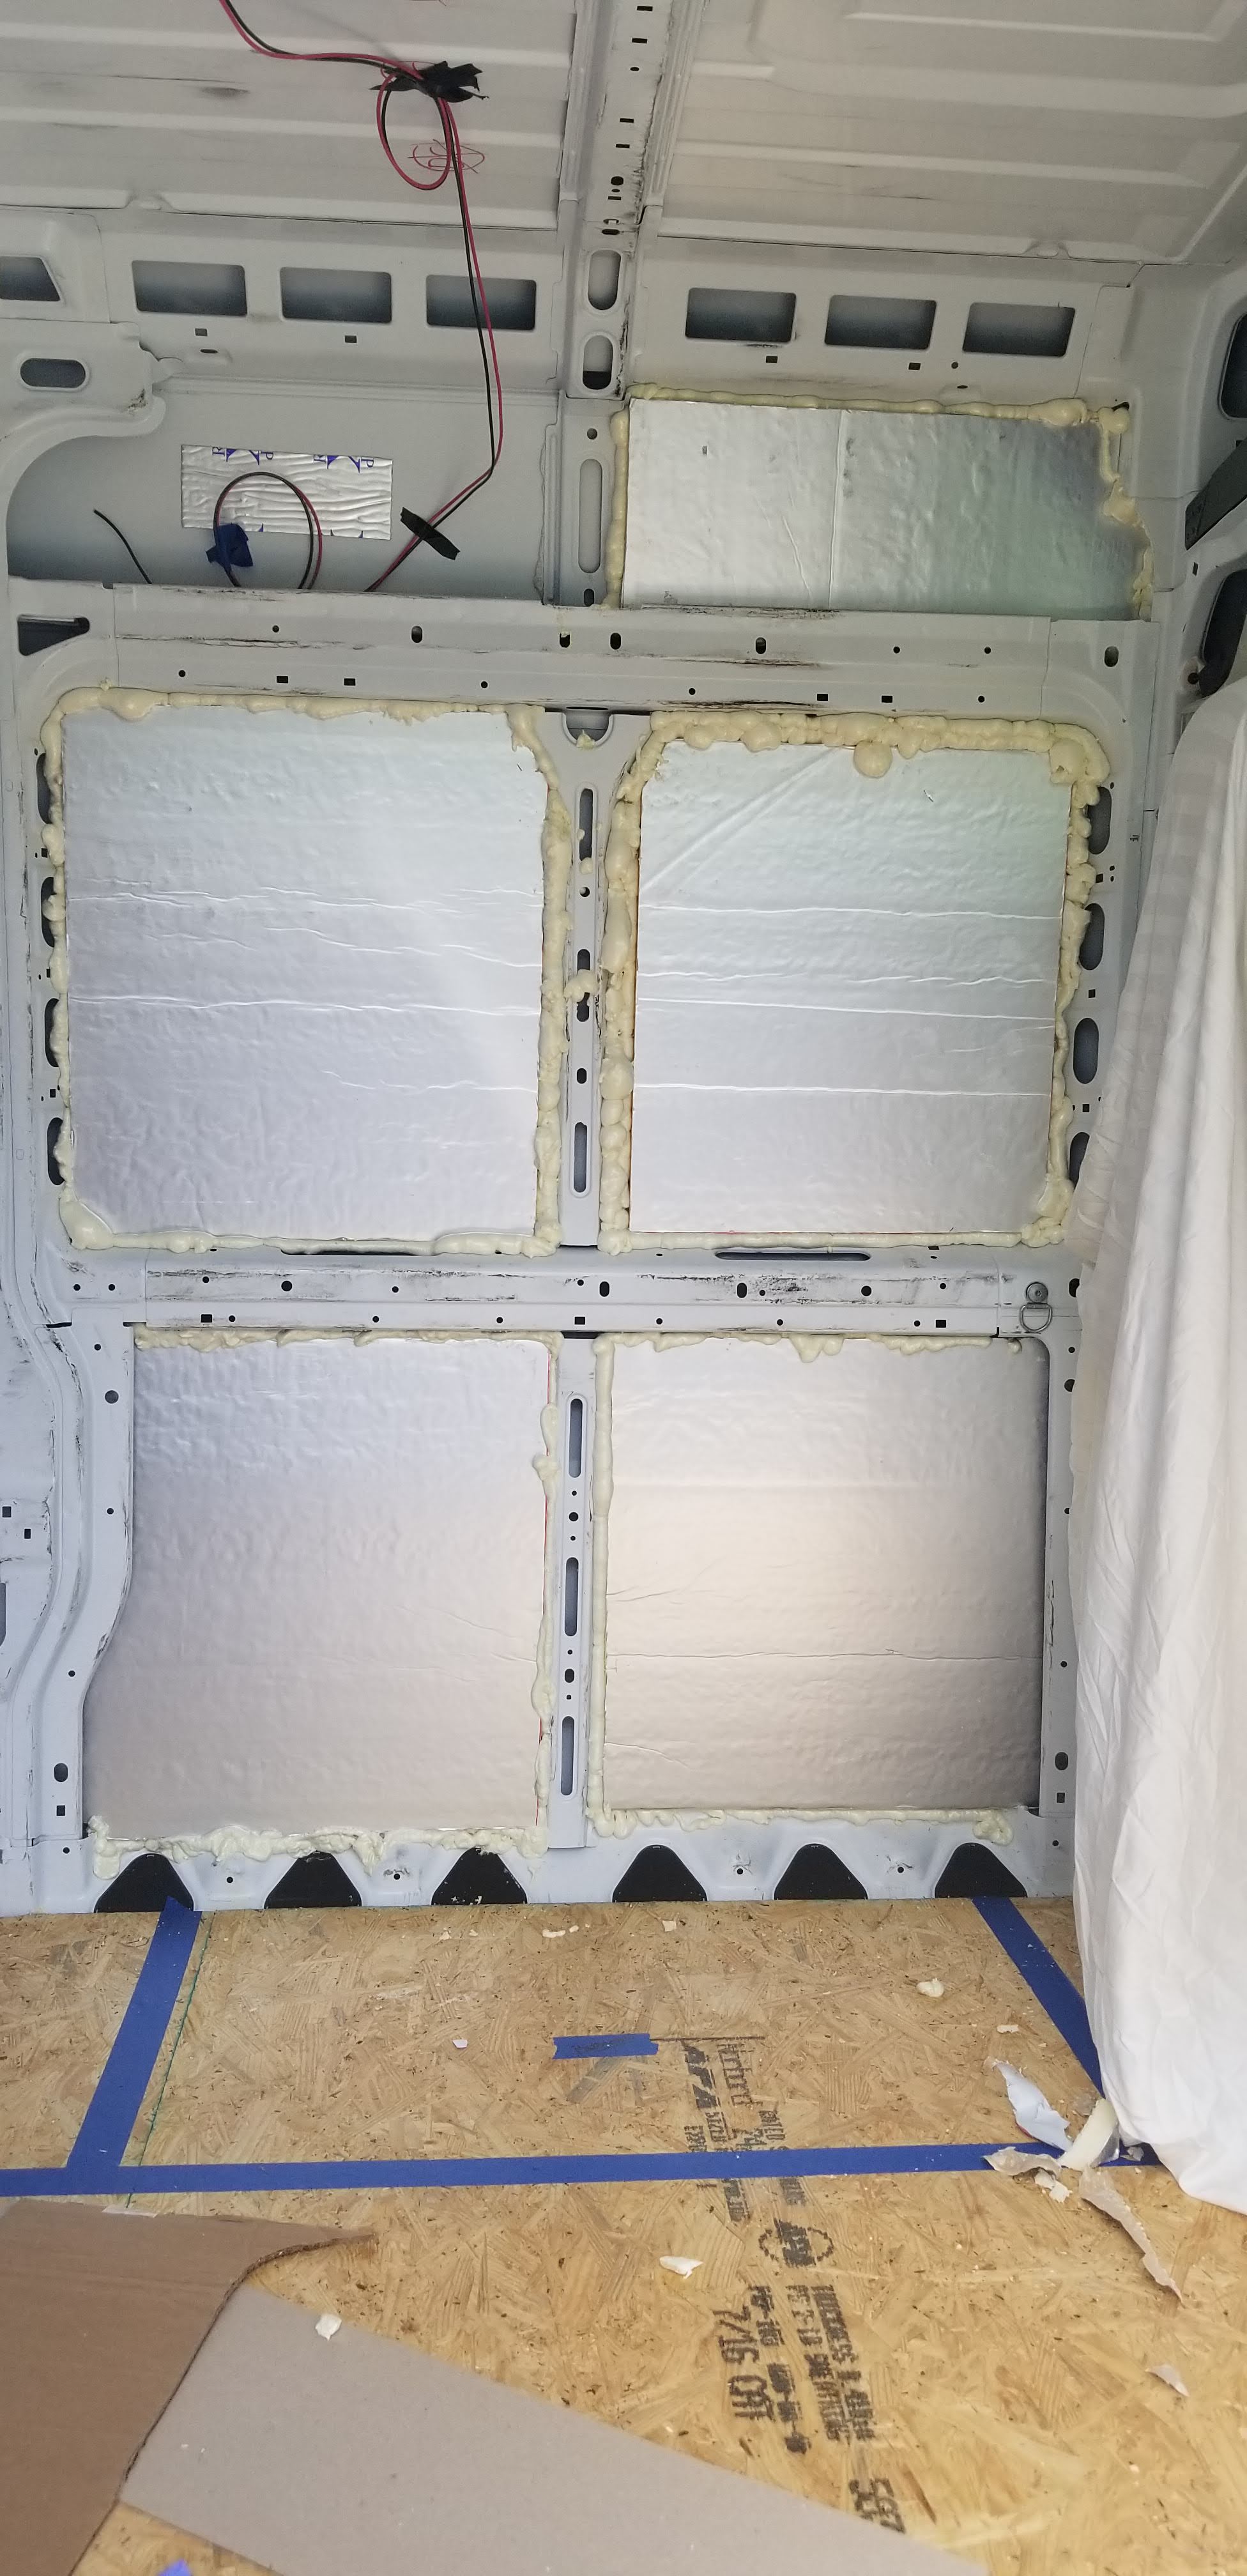
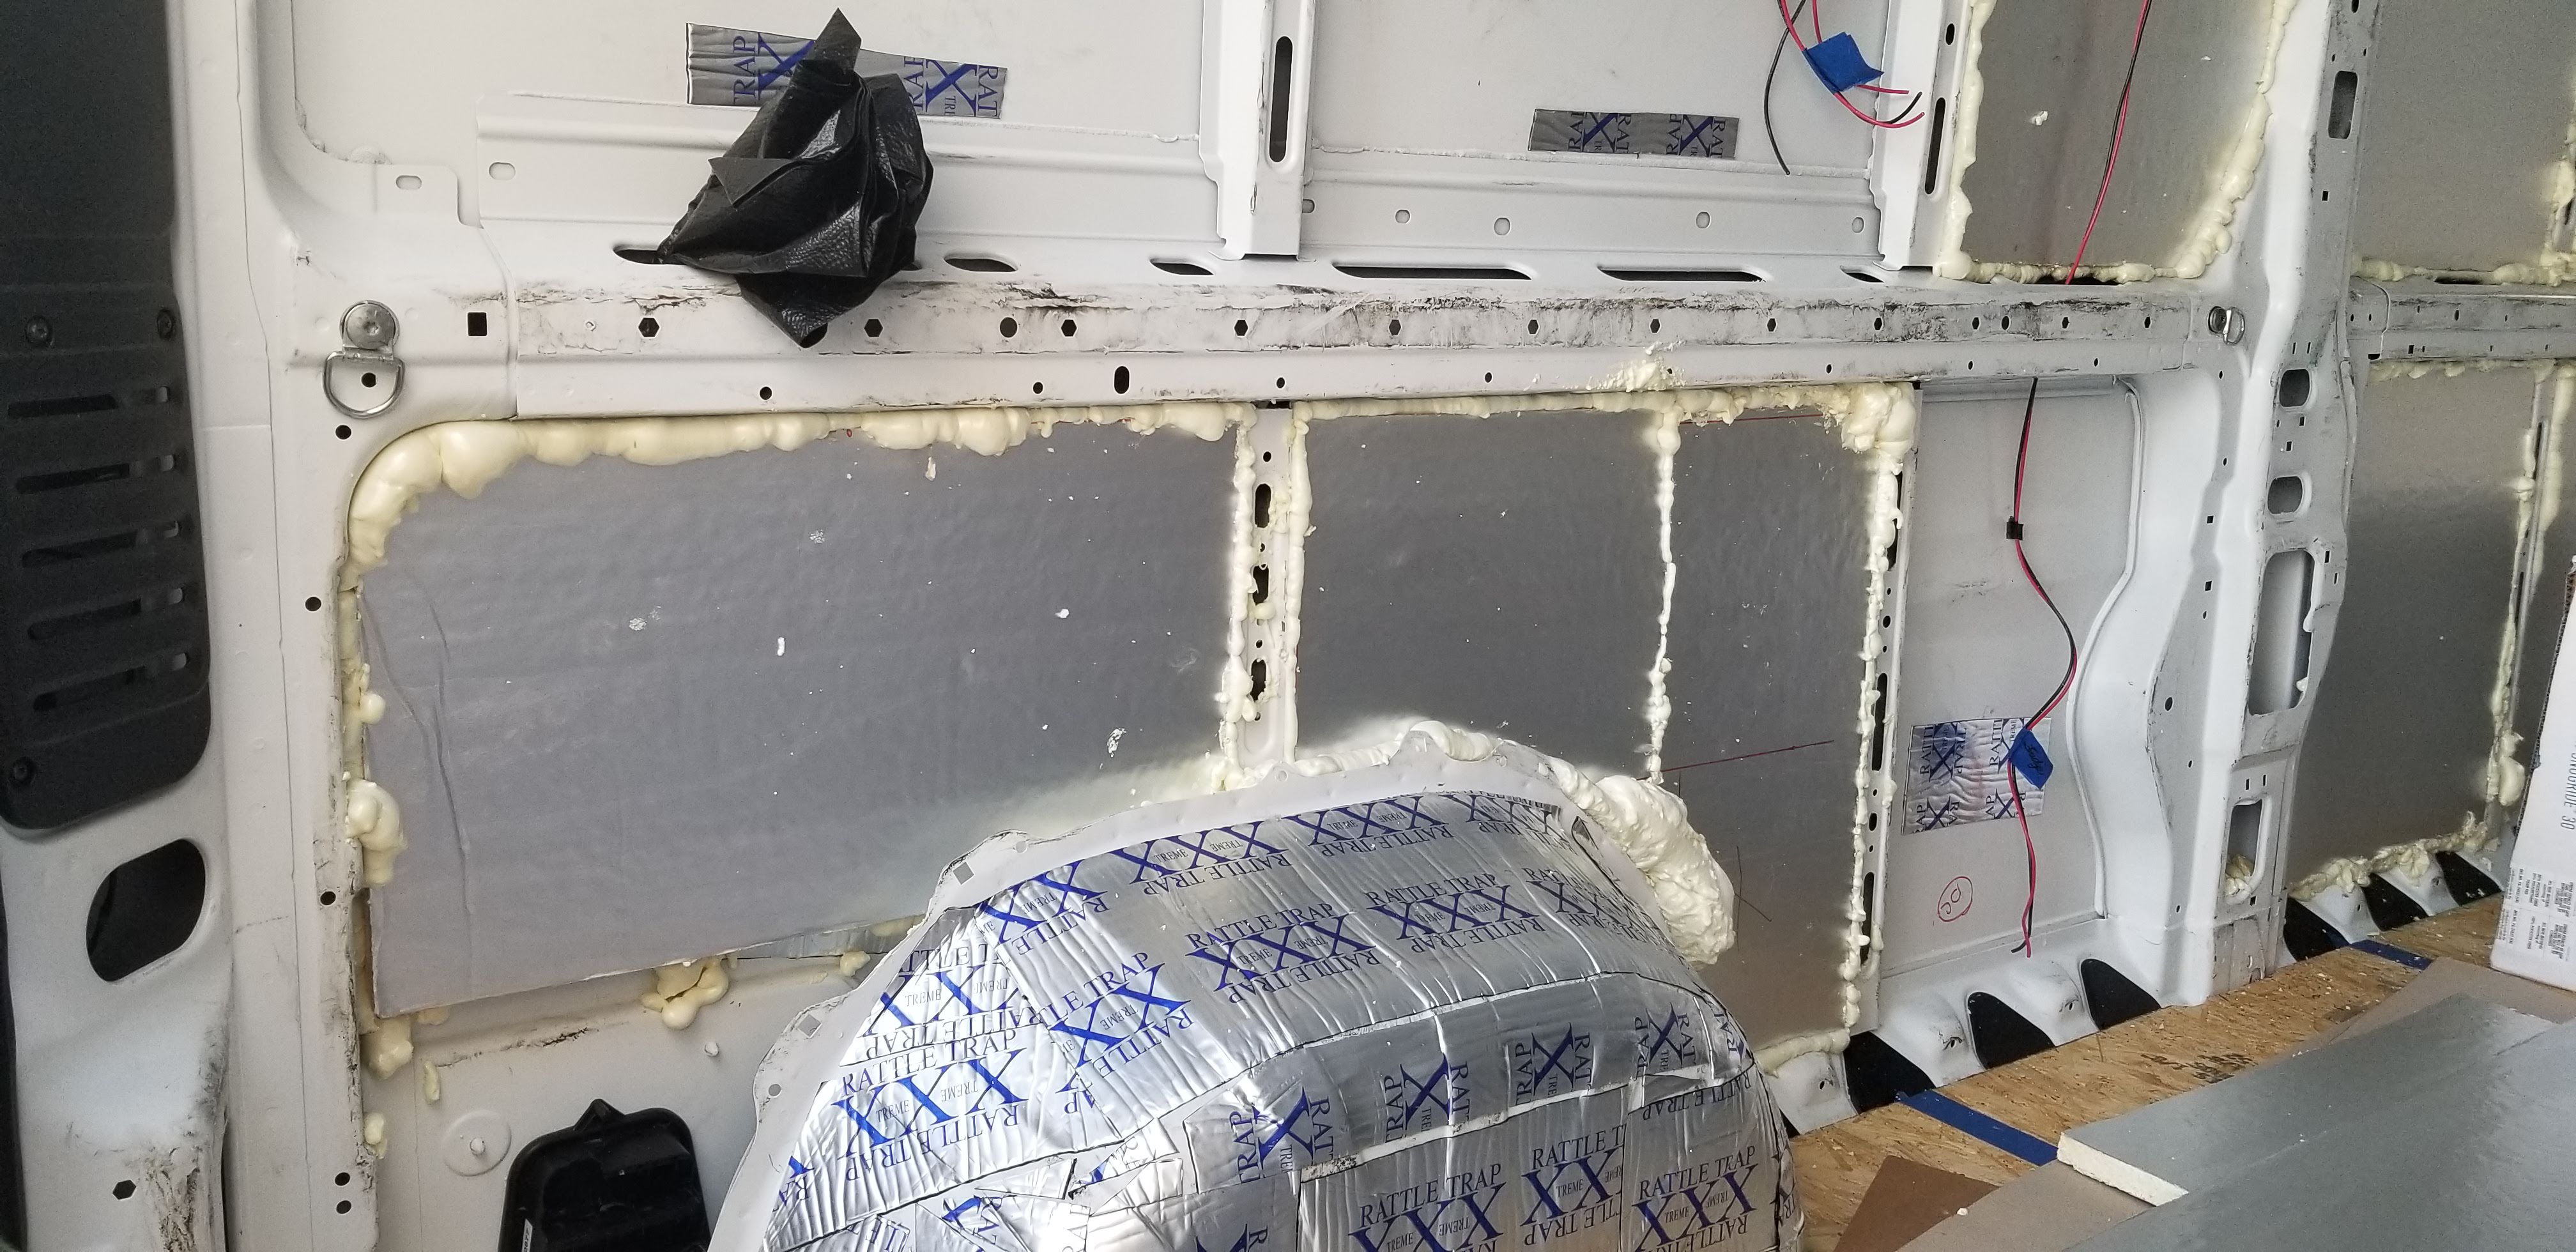
If you read our post about flooring insulation, this will sound like I am repeating myself. We came to the conclusion that using 1-inch PolyISO foam board insulation gave us the best R-value for the money. In portions of the wall, I think 2-inch would be great, if you can find it. I was only able to find a single store within 60 miles that even carried the 1-inch version. The ceiling, however doesn’t seem like it would be able to do more than 1-inch as the ribs are not as deep as they are on the walls.
Some of this can be done the same time the wiring is happening, as there won’t be wiring in every spot within the van.
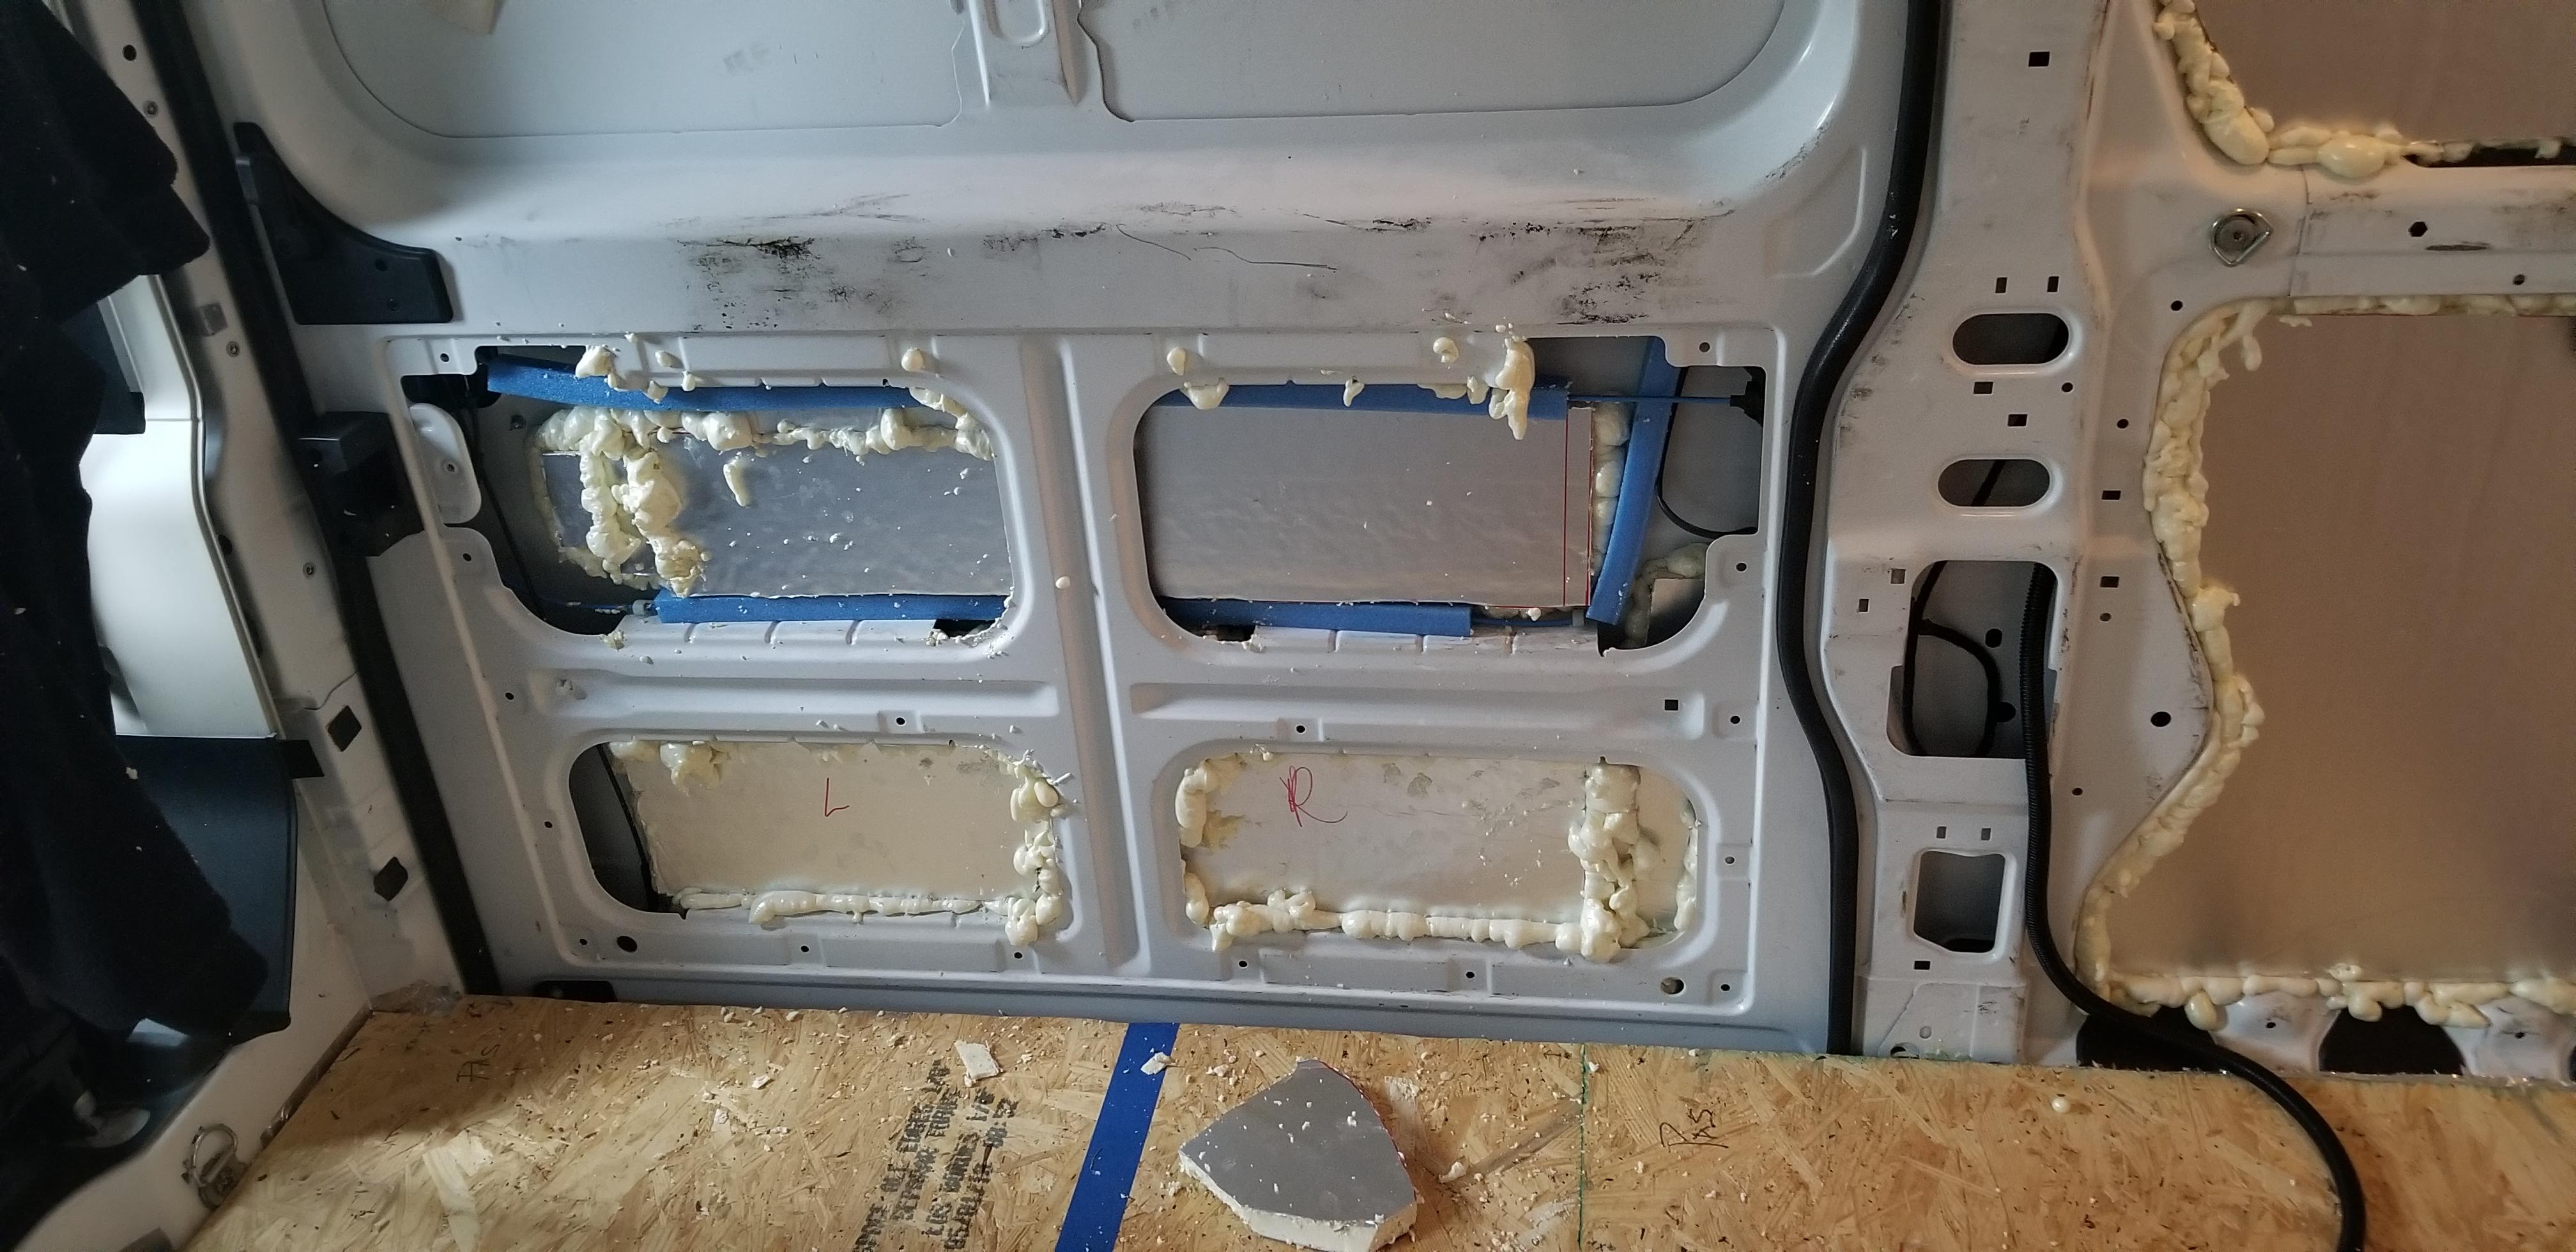
The first thing you’re going to want to do is make a template of the area you are trying to insulate. We used some handy RAM board. It’s a fairly thin cardboard that can conform to areas pretty easily and then just cut with a box cutter. Then we lay that on top of our foam board and score the board with the box cutter.
Next we put the ever-so-versatile Great Stuff gaps and cracks on the PolyISO board and then held it in place in the cavity. Then if someone has a free hand, we spray some additional around the edges just for some additional hold.
I know this wasn’t a super exciting update, but I wanted to keep our posts regular to show the challenges we are having and the ways we are discovering around them.
